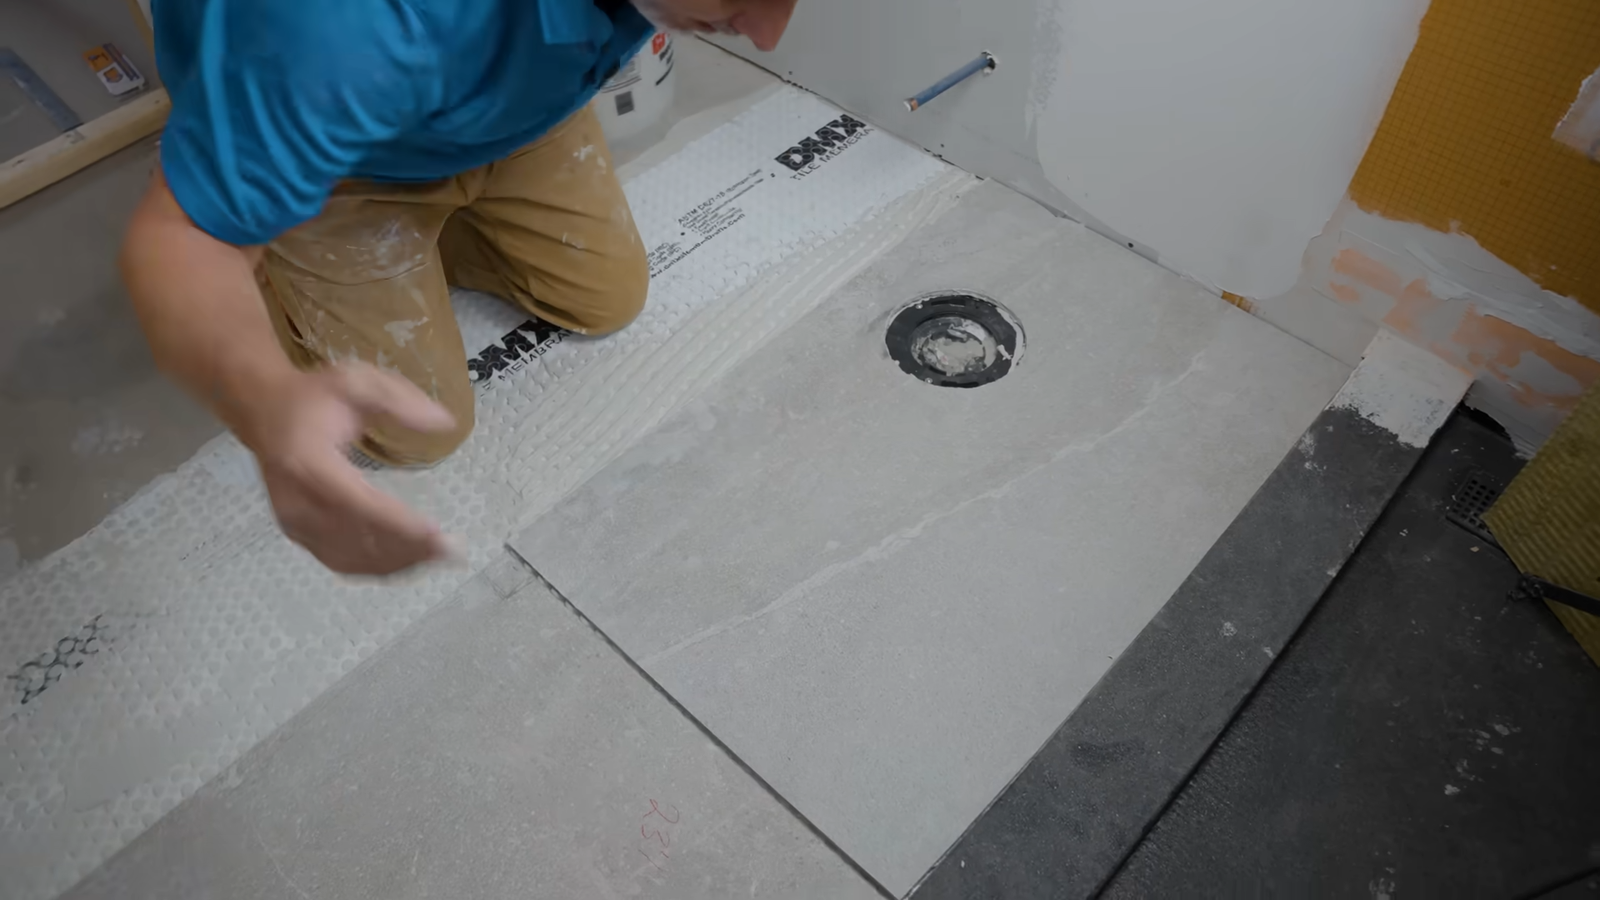
When it comes to bathroom renovations or fresh installations, the sequence of what gets installed first isn’t just a matter of preference—it’s the blueprint that determines efficiency, cost, and long-term durability.
Many people jump straight into the pretty stuff like tiles and fixtures, only to regret not laying the proper groundwork. Think of a bathroom installation like baking a cake—you wouldn’t slap on the frosting before mixing the batter, right?
1. Planning and Layout Comes Before Everything
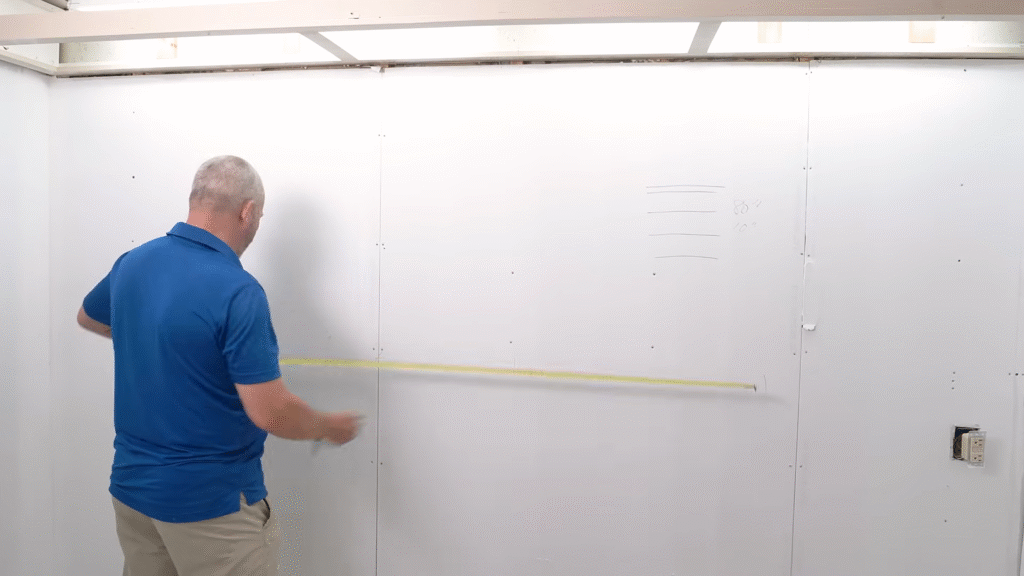
Before swinging a hammer or ordering tiles, the planning stage is the first and most important step. You need a clear roadmap of where each element—sink, shower, toilet, vanity—will go.
Why this matters:
- According to the National Kitchen and Bath Association (NKBA), improper layout is one of the top three reasons homeowners regret their bathroom remodel.
- Redesigning a bathroom after installation can cost up to 25% more than the original budget.
Here’s what to do in this phase:
- Measure your bathroom dimensions accurately.
- Mark the location of plumbing and electrical outlets.
- Decide where fixtures will be placed (toilet, sink, shower, tub).
- Consider traffic flow—nobody wants a door that swings into the toilet.
Pro tip from my own experience: In my first DIY bathroom project, I installed a vanity without measuring door clearance. Every time I opened the bathroom door, it smacked the vanity edge. That daily frustration could have been avoided with just 10 minutes of planning.
2. Plumbing Rough-In Installation
Once the blueprint is ready, plumbing rough-in comes first. This means installing all the water supply lines and drain pipes inside the walls and floors before you even think about walls or tiles.
Why plumbing goes first:
- Pipes need to be concealed within the walls and under the floor.
- Any leaks or adjustments can be handled before finishing touches are added.
- It prevents the nightmare of breaking newly tiled walls just to fix a pipe.
What happens in this stage:
- Hot and cold supply lines are run to sinks, showers, tubs, and toilets.
- Drainage pipes are positioned to align with fixture placement.
- Shower pans or bathtub drains are connected and tested.
Stat check: A study by HomeAdvisor shows that fixing plumbing mistakes after finishing work costs an average of $1,500 more than addressing them during rough-in.
Secret tip: Always request a pressure test after plumbing installation. This ensures there are no leaks hiding behind your walls.
3. Electrical Rough-In Installation
Next comes electrical rough-in. Once plumbing is in place, electricians step in to wire outlets, lighting, exhaust fans, and any heated floors or towel racks.
Why this step is critical:
- Bathroom circuits must meet National Electrical Code (NEC) standards since water and electricity are a dangerous mix.
- Proper placement of outlets, especially near vanities, can make daily routines (like hairdrying or electric shaving) hassle-free.
In this stage:
- GFCI (Ground Fault Circuit Interrupter) outlets are installed to prevent shock hazards.
- Wiring for lighting above the vanity, overhead, and in the shower area is set.
- Ventilation fans are connected to reduce moisture buildup.
From my own life: I once skipped installing an outlet near the vanity because I thought, “I’ll never need it.” Guess what? Three months later, I bought an electric toothbrush and ended up with an extension cord dangling through my bathroom. Not chic.
4. Framing and Structural Work
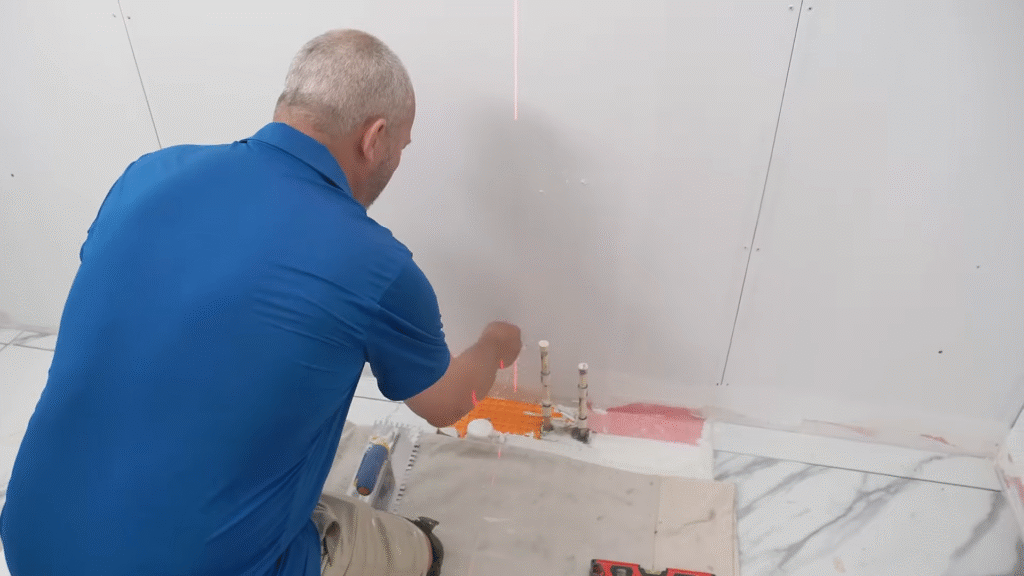
With plumbing and electrical roughed in, the focus shifts to framing. This means building or reinforcing walls, niches, or enclosures for bathtubs and showers.
Why framing matters:
- It supports heavy items like vanities, cabinets, and wall-hung toilets.
- Custom shower niches (those handy little shampoo cubbies) need framing before walls are sealed.
Tasks in this phase:
- Studs are reinforced where fixtures will be mounted.
- Wall openings are created for recessed shelves or medicine cabinets.
- Subfloor repairs or leveling are completed.
Stat nugget: According to Remodeling Magazine, poor structural framing accounts for 30% of failed bathroom renovations because fixtures like wall-hung toilets collapse if studs aren’t reinforced.
5. Wall and Floor Preparation
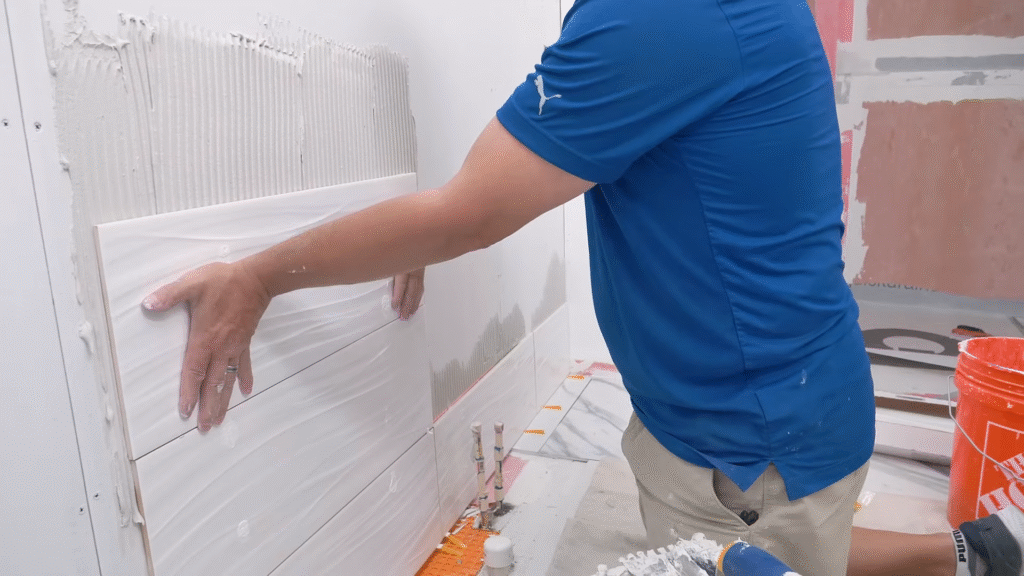
Before tiling or waterproofing, the walls and floors must be properly prepared. Skipping this step is like trying to paint on a greasy wall—it won’t stick.
In this phase:
- Cement backer boards are installed on walls that will receive tile.
- Waterproof membranes are added in wet areas (like showers and tubs).
- Subfloors are inspected and leveled to ensure even tile placement.
Personal confession: I once tiled directly over drywall in a shower to “save time.” Within a year, mold crept in, and tiles started popping off. Trust me—waterproofing isn’t optional.
6. Shower, Tub, or Wet Area Installation
Once the base is ready, it’s time to install the big players: your shower or bathtub.
Order matters here because:
- These fixtures are bulky and difficult to maneuver once walls and floors are finished.
- Plumbing connections must align perfectly with the fixtures.
- Waterproofing must be done seamlessly around them.
Tasks include:
- Setting the bathtub or shower pan.
- Ensuring proper slope for drainage.
- Sealing all joints to prevent leaks.
Stat check: The Environmental Protection Agency (EPA) reports that shower leaks waste 10 gallons of water per day on average if improperly installed.
7. Flooring Installation
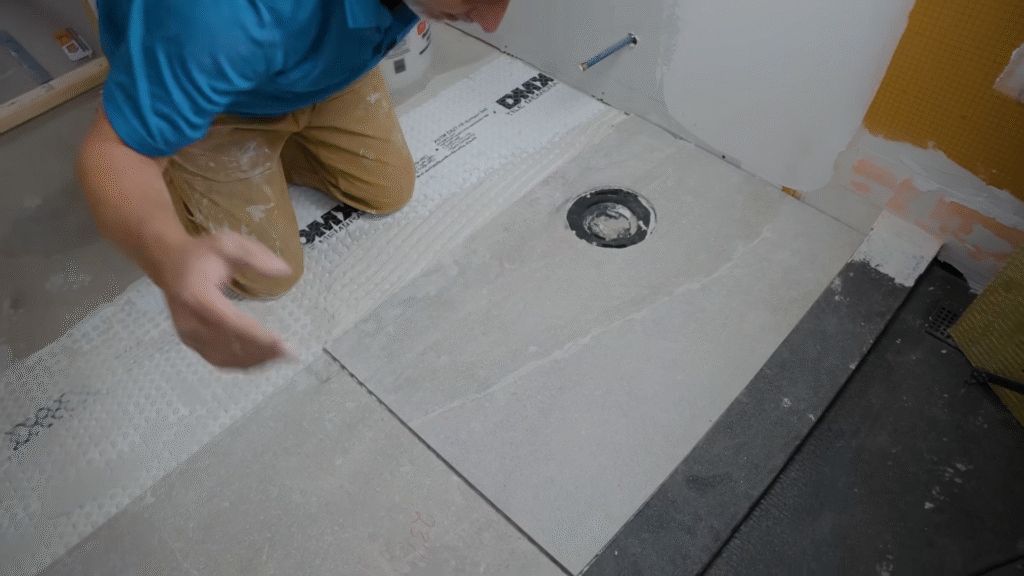
After tubs and showers are set, it’s time to install flooring. This includes tiles, vinyl planks, or stone.
Why flooring comes after big fixtures:
- Large items like tubs could crack or damage freshly laid tiles if installed afterward.
- Flooring must be cut precisely around fixtures.
Tasks in this step:
- Apply mortar or adhesive evenly.
- Lay tiles with spacers for consistent grout lines.
- Seal tiles and grout to protect against water damage.
Secret trick: Always start tiling from the center of the room outward, not from a wall. This avoids awkward tile slivers at the edges.
8. Wall Finishes and Tiling
Now comes the fun part—walls and backsplash tiling.
Why this step comes after flooring:
- Prevents tile adhesive or grout from dripping onto finished floors.
- Ensures smooth alignment between wall and floor tiles.
Tasks include:
- Tiling shower walls, backsplashes, and half-walls.
- Painting any non-tiled areas with mold-resistant paint.
- Sealing all grout lines.
Pro tip: Use light-colored grout in small bathrooms to make the space feel larger, but darker grout in busy households—it hides dirt better.
9. Toilet and Vanity Installation
Finally, the bathroom starts looking like a bathroom again. The toilet and vanity are installed after walls and floors are complete.
Why this timing matters:
- Prevents damage to these fixtures during heavy tiling or flooring work.
- Allows for precise fitting and sealing against finished surfaces.
Steps:
- Secure the toilet to the flange and connect to water supply.
- Mount the vanity and connect plumbing for sinks.
- Install mirrors and medicine cabinets.
Fun fact: The average toilet flushes 1.6 gallons per flush in modern models compared to 5 gallons in older ones. Upgrading here saves hundreds of gallons annually.
10. Lighting and Electrical Fixtures
With the vanity and toilet in place, it’s time to install lights, switches, and fans.
This includes:
- Overhead lights, vanity sconces, or LED mirrors.
- Exhaust fan covers.
- Outlet and switch plate covers.
Stat check: Proper lighting placement can reduce shadowing on the face by 40%, which matters if you’re someone who applies makeup or shaves in front of the mirror.
11. Accessories and Final Touches
At this point, you’re on the home stretch. Install accessories like:
- Towel bars and rings.
- Toilet paper holders.
- Shower shelves or glass doors.
This is where personality shines through—your bathroom finally feels like your space.
Personal anecdote: I always splurge on a good-quality heated towel rack. It feels like wrapping yourself in a warm hug after a shower, and it’s honestly one of life’s underrated luxuries.
12. Final Inspection and Cleanup
The last step is ensuring everything works as intended.
Checklist:
- Test plumbing for leaks.
- Check electrical outlets with a voltage tester.
- Ensure ventilation is functioning.
- Do a deep clean to remove grout haze and construction dust.
Stat check: The NKBA notes that bathrooms account for up to 60% of home water usage, so leak-free plumbing is essential for both your wallet and sustainability.
Conclusion
So, what should be installed first in a bathroom? The answer is clear: plumbing rough-in comes first, followed by electrical rough-in, framing, then structural finishes, and finally fixtures. The sequence matters more than most homeowners realize. Skipping or rearranging steps can lead to leaks, electrical hazards, or costly do-overs.
Think of it like building a sandwich: you can’t add the lettuce before the bread. By following this order—planning, plumbing, electrical, framing, wall prep, major fixtures, flooring, wall finishes, then accessories—you’ll save money, stress, and future headaches.
FAQs
1. What should be installed first in a bathroom: toilet or shower?
The shower or bathtub is installed before the toilet. This ensures proper waterproofing and prevents damage to flooring or fixtures during heavy installation work.
2. Should flooring be installed before or after the toilet?
Flooring should be installed before the toilet. This creates a seamless look and prevents gaps around the toilet base.
3. Do you tile walls or floors first in a bathroom?
Floors are typically tiled first, followed by walls. This prevents grout or adhesive from dripping onto finished flooring.
4. Can I install fixtures before tiling?
No, fixtures like toilets and vanities should be installed after tiling. Installing them first risks damaging them and creates awkward gaps around tiles.
5. What happens if I don’t follow the correct order of installation?
Skipping or rearranging steps can lead to leaks, electrical hazards, poor waterproofing, and costly repairs. Always follow the recommended sequence for efficiency and safety.

