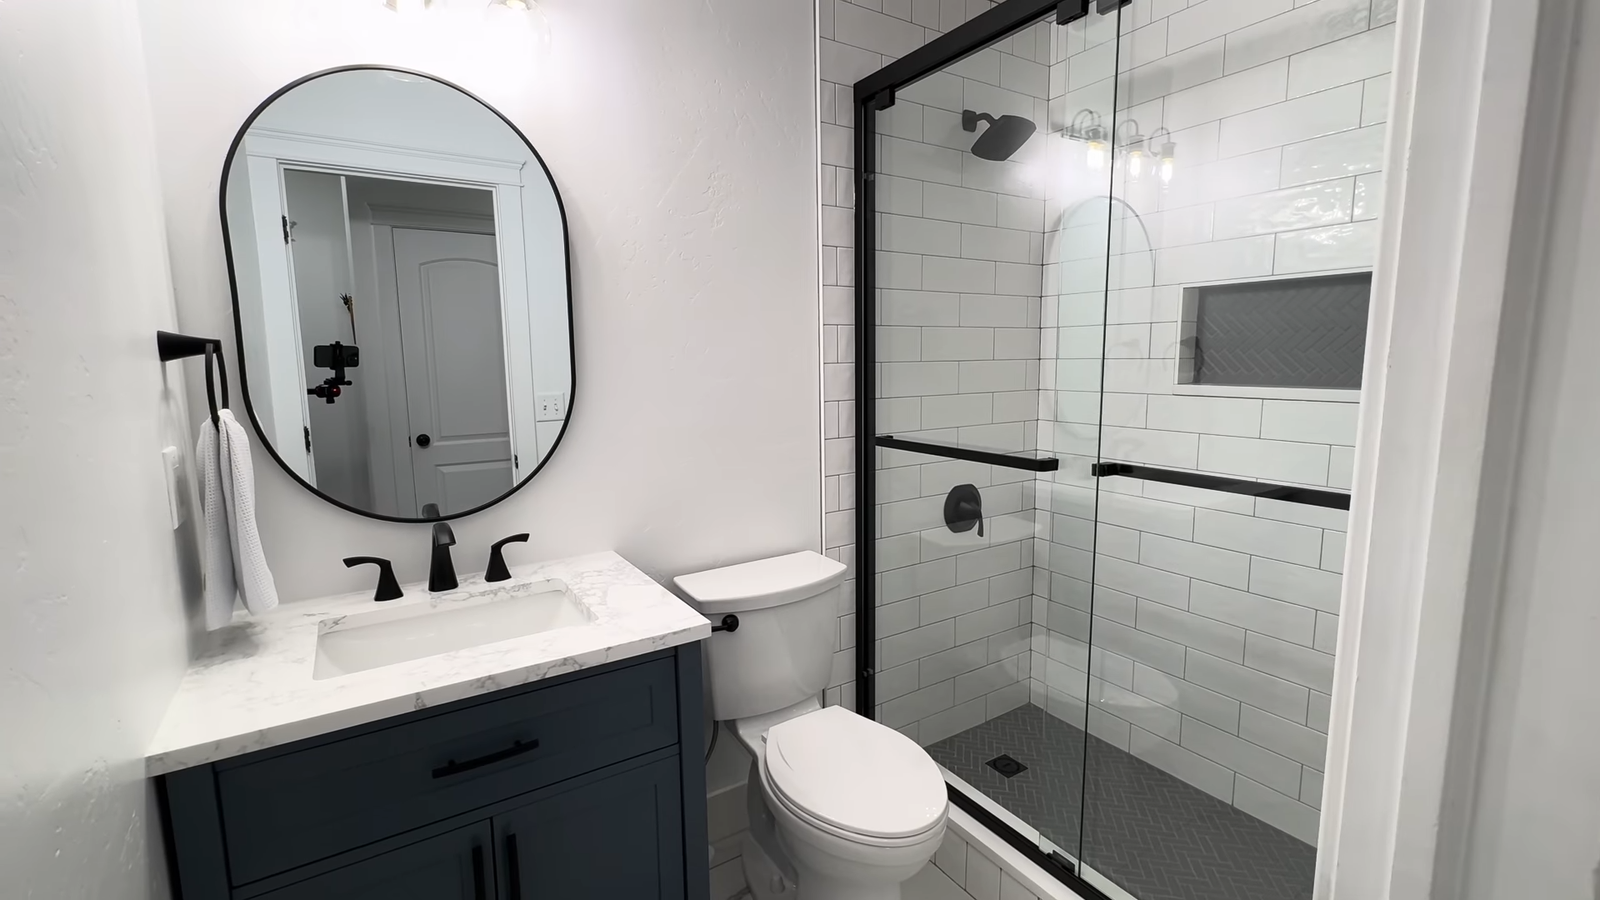
When you dive into a bathroom remodel, the first question that sneaks into your mind is simple but tricky: what’s the right order to tackle this beast?
Trust me, skipping steps or mixing up the sequence can turn your project into a money-draining maze. I learned this the hard way when I once tried to paint before fixing the plumbing—spoiler: it didn’t end well.
1. Plan and Budget Like a Pro
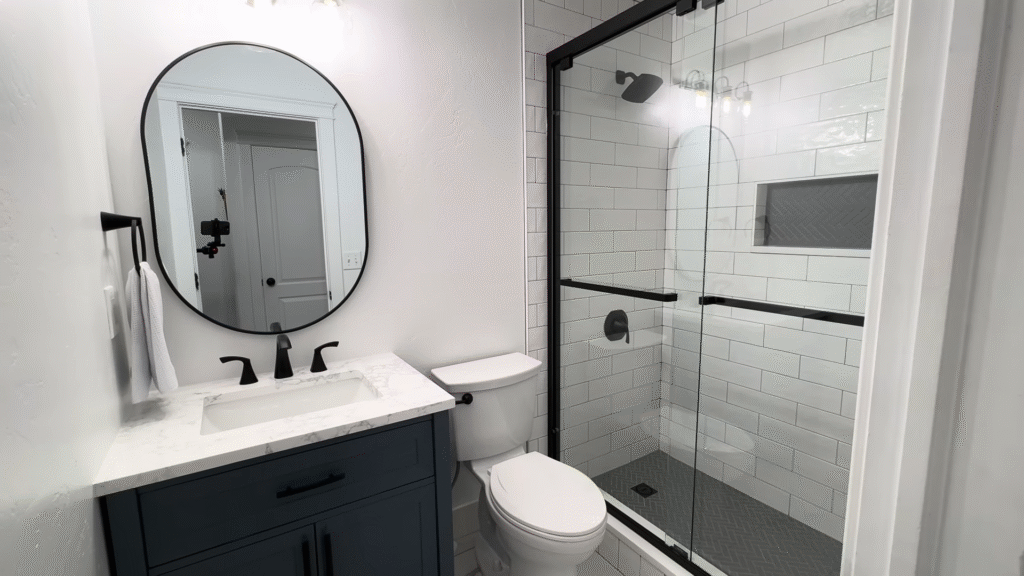
Before touching a single tile, planning is your first power move. A bathroom remodel without a plan is like going grocery shopping hungry—you’ll overspend and forget the essentials.
- Define your goals: Are you just replacing fixtures or doing a full gut job?
- Set a budget: According to HomeAdvisor, the average bathroom remodel costs between $6,600 and $16,600, with high-end projects shooting above $25,000.
- Prioritize must-haves: Heated floors? Double vanity? Or maybe you’re craving a walk-in shower. Write it down.
Personal tip: When I remodeled my guest bathroom, I created two lists: “Needs” (better lighting, leak-free plumbing) and “Wants” (fancy rainfall showerhead, marble vanity). Separating the two kept my wallet from crying.
2. Demolition: The Messy Start
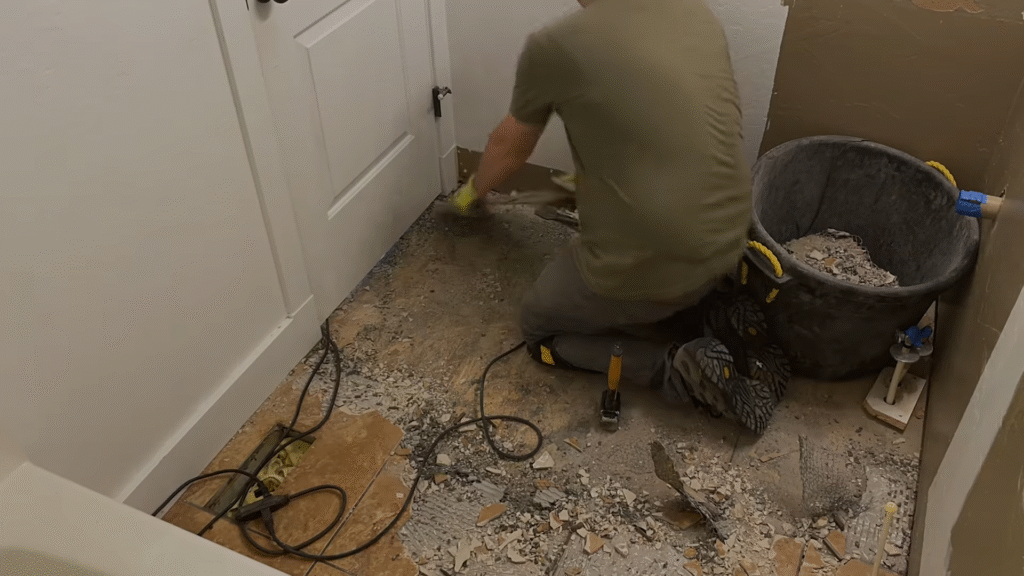
This is where the fun (and dust) begins. Demo day feels satisfying—smashing old tiles, ripping out a clunky vanity, and finally saying goodbye to that avocado-green toilet. But it’s not just about destruction; it’s about doing it safely.
- Shut off water and electricity first.
- Use protective gear—gloves, goggles, mask.
- Rent a dumpster or plan waste removal.
Here’s a stat to chew on: the EPA estimates over 600 million tons of construction and demolition debris are generated in the U.S. annually. If possible, recycle fixtures or donate them instead of dumping everything.
Pro secret: Don’t swing a hammer blindly. Check behind walls for pipes or wiring. I once punched a hole straight into a copper pipe. Cue indoor waterfall.
3. Plumbing and Electrical Rough-In
Once the old is gone, it’s time to build the bones. Plumbing and electrical rough-in is the stage where pros reroute pipes, install new wiring, and prep for future fixtures.
- Plumbing: Install new supply lines, drains, and vents.
- Electrical: Add outlets, light boxes, and wiring for things like heated mirrors or towel warmers.
Did you know? Building codes now require at least one GFCI outlet in bathrooms for safety. And if you’re considering future-proofing, run extra conduit—you’ll thank yourself later when adding tech like Bluetooth speakers.
Here’s where you should absolutely hire professionals unless you moonlight as a licensed plumber. Mistakes here lead to leaks, electrical fires, or costly re-dos.
4. Structural Work and Framing
If your remodel involves changing the layout, this is the time for framing. Maybe you’re moving a wall to make space for a bigger shower or adding a niche for shampoo bottles.
- Reinforce walls for heavy items like stone countertops or wall-hung toilets.
- Frame in shower benches or recessed shelves.
- Install backer boards for tile areas.
Think of framing as setting the stage. Without it, everything else is like hanging art on a crumbling wall.
5. Insulation and Drywall
Bathrooms are naturally humid, which means you need to protect walls and ceilings from moisture.
- Use moisture-resistant insulation (like closed-cell spray foam or fiberglass).
- Install cement board around showers and tubs instead of regular drywall.
- Green board (moisture-resistant drywall) works well for other areas.
Here’s a quick stat: Mold remediation can cost between $500 to $6,000 depending on severity. Trust me, skimping here could cost more than splurging on that designer faucet.
6. Waterproofing
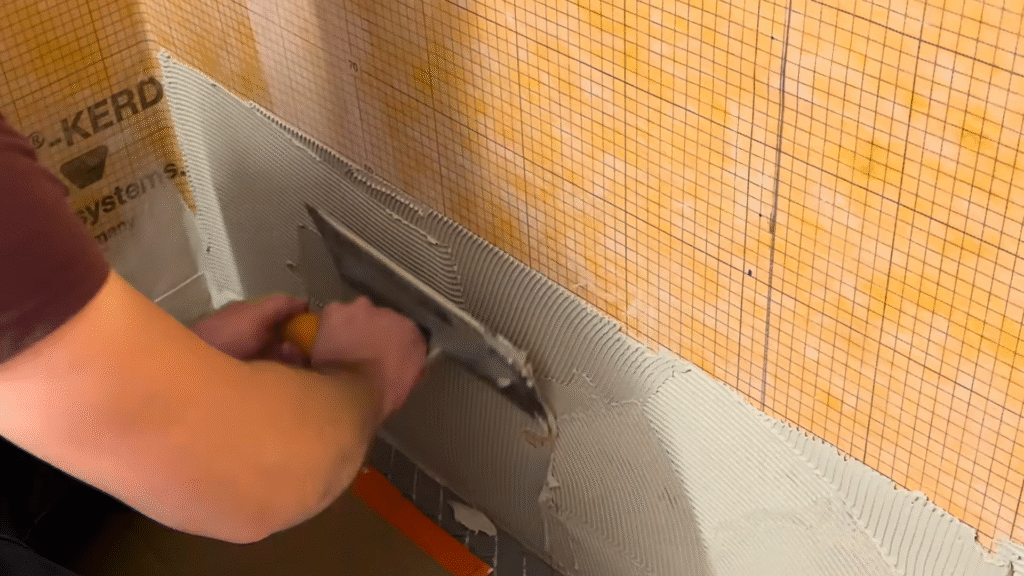
Here’s where many DIYers trip up. Just because you tiled your shower doesn’t mean it’s waterproof. Tile is decorative; water still seeps through.
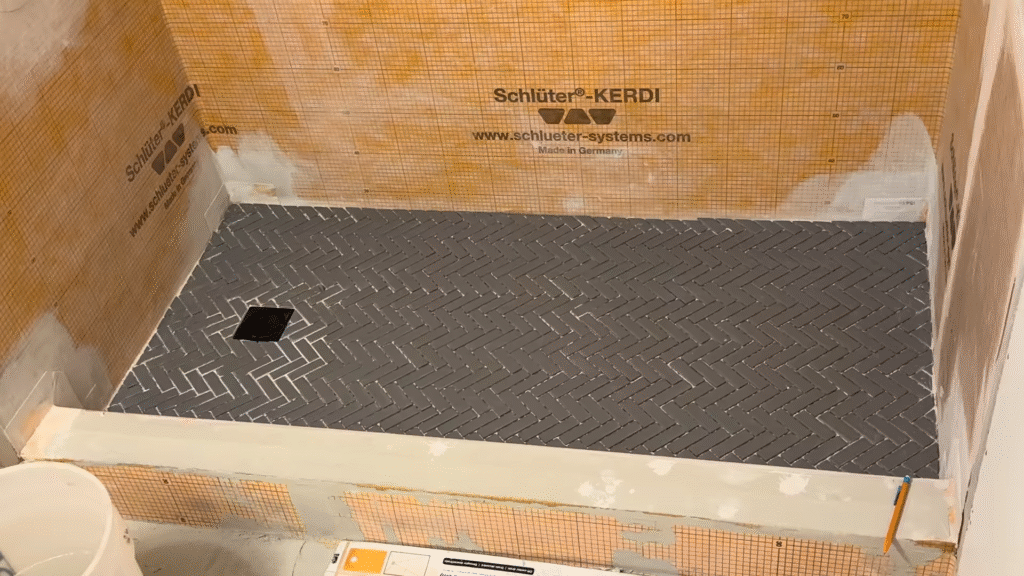
- Apply waterproof membranes (like RedGard or Schluter systems) before tiling.
- Seal corners, seams, and screw holes.
Think of waterproofing as a raincoat for your bathroom walls. Without it, you’re basically inviting leaks and mold to move in rent-free.
7. Flooring Installation
Once your bathroom’s protected, you can move to flooring.
- Tile: Classic and durable. Porcelain is less porous than ceramic.
- Vinyl: Budget-friendly and surprisingly waterproof.
- Natural stone: Gorgeous but high-maintenance.
When I installed tile in my bathroom, I learned one golden rule: always use a slight slope towards the drain in wet areas. Nothing’s worse than water pooling like an unwanted guest.
8. Wall Finishes and Painting
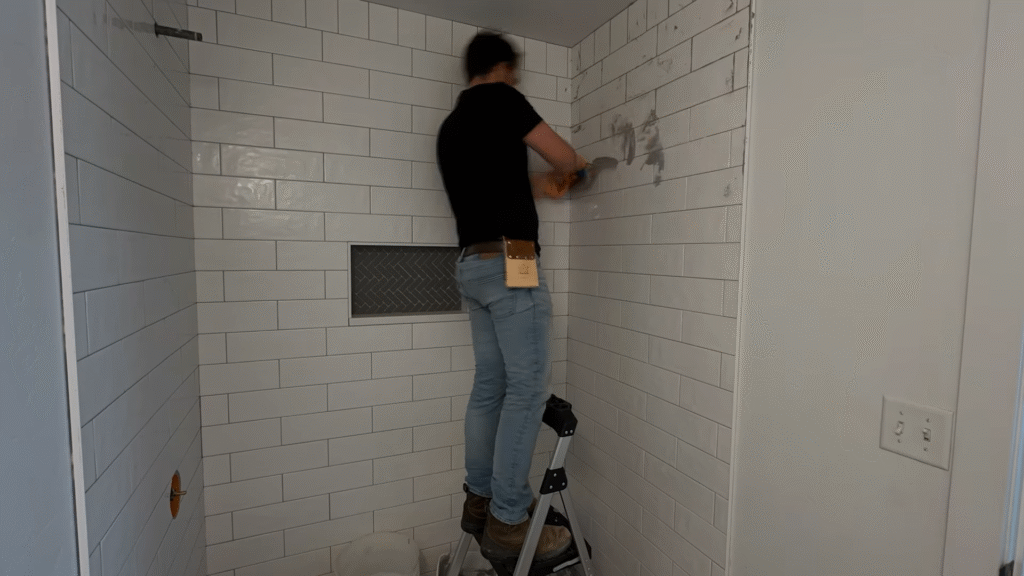
With drywall up and sealed, it’s time for wall finishes.
- Use moisture-resistant paint with a satin or semi-gloss finish.
- Consider tile wainscoting (half-wall tiling) for a timeless look and easy cleaning.
- If wallpaper tempts you, choose vinyl-coated wallpaper to withstand steam.
Personal anecdote: I once tried matte paint in a bathroom. Big mistake—it absorbed every drop of condensation and left streaks like tears on a rainy window. Lesson learned: shiny is your friend here.
9. Cabinetry and Vanity Installation
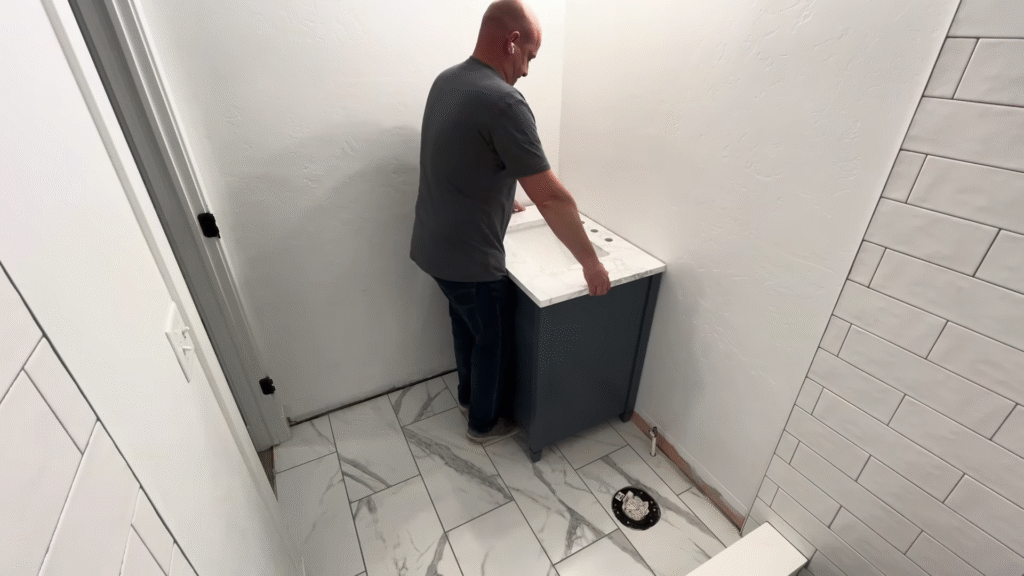
Now the bathroom starts to feel like, well, a bathroom again. Cabinets and vanities anchor the space.
- Choose materials that can handle moisture, like plywood over particle board.
- Soft-close drawers are worth every penny (no more midnight slams).
- Wall-mounted vanities create an illusion of more space.
Stats show that adding double sinks can increase resale value since 55% of homeowners prefer them in master bathrooms. If you’ve got the room, go for it.
10. Countertops and Fixtures
Next up, install countertops and hook up fixtures.
- Quartz is a popular choice—it’s non-porous and low-maintenance.
- Granite looks stunning but needs sealing.
- Marble? Gorgeous but high-maintenance, like a diva.
Fixtures include sinks, faucets, and showerheads. Don’t forget to seal around them with silicone to prevent water sneaking underneath.
11. Toilet and Shower/Tub Installation
Now it’s time for the big players.
- Toilets: Modern low-flow toilets save water. The EPA says they can reduce water use by 20-60%, which is nearly 13,000 gallons a year per household.
- Tubs and showers: Freestanding tubs are trendy, but walk-in showers are the king of practicality.
Pro tip: Always test flush before calling it done. I once discovered a leak mid-housewarming party. Not the kind of splash you want guests to remember.
12. Lighting and Ventilation
Good lighting is the difference between feeling like a movie star or a cave troll in your bathroom mirror.
- Install task lighting around mirrors.
- Add dimmable options for relaxing baths.
- Don’t skimp on ventilation—a powerful exhaust fan prevents mold and stale air.
Stat check: Poor ventilation is responsible for 80% of bathroom mold cases reported in homes. It’s like skipping deodorant; you’ll regret it fast.
13. Accessories and Hardware
Now comes the fun part—the finishing touches.
- Towel bars, robe hooks, and mirrors.
- Floating shelves for storage.
- Plants (yes, bathrooms love greenery like ferns or pothos).
This stage is like adding jewelry to an outfit. Small, but it ties everything together.
14. Final Inspection and Cleanup
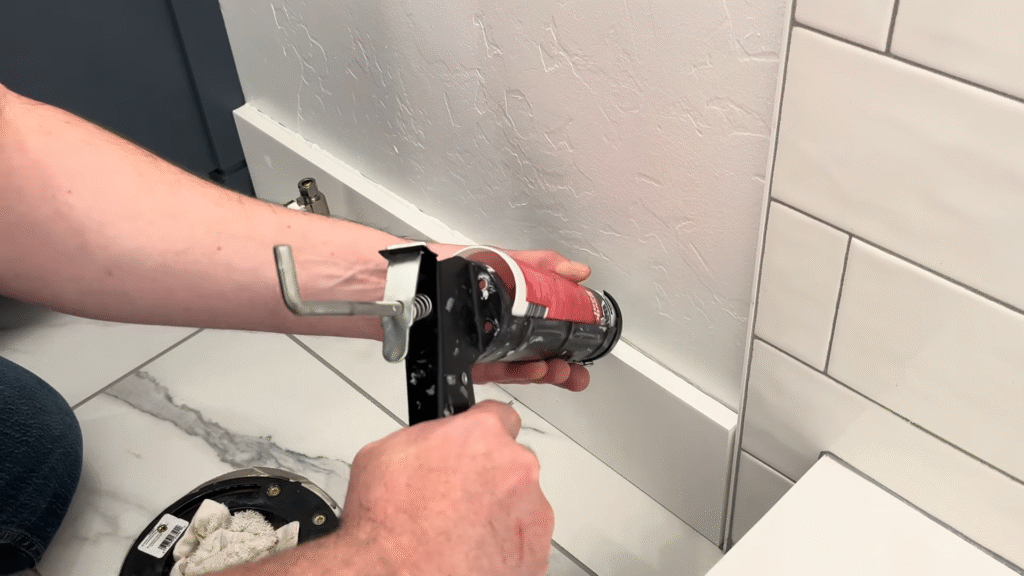
Before calling it complete, do a walk-through.
- Test plumbing for leaks.
- Check that GFCI outlets work.
- Confirm doors and drawers close smoothly.
- Seal grout lines if needed.
Only after this can you officially light a candle, pour a bubble bath, and toast your success.
Conclusion
Remodeling a bathroom isn’t just about picking pretty tiles—it’s about following the correct order so everything works seamlessly. Skipping waterproofing or rushing plumbing can turn into disasters that cost more than the remodel itself. But if you stick to the step-by-step process, you’ll end up with a bathroom that’s functional, beautiful, and built to last.
I’ve learned from my mistakes—like painting before plumbing or skipping ventilation—and now I’m passing those lessons to you. Follow the order, and you’ll thank yourself every morning when your bathroom feels like a mini spa retreat instead of a construction headache.
FAQs on What Is the Correct Order to Remodel a Bathroom?
1. Can I remodel a bathroom myself, or should I hire pros?
You can DIY smaller tasks like painting, tiling, or installing accessories. But for plumbing and electrical rough-in, it’s best to hire professionals to avoid safety risks and code violations.
2. What’s the first step in a bathroom remodel?
Always start with planning and budgeting. Then move to demolition before touching plumbing, electrical, or cosmetic upgrades.
3. How long does a bathroom remodel take?
A small remodel can take 3-4 weeks, while a full renovation might stretch to 8-12 weeks depending on complexity, materials, and contractor schedules.
4. What’s the most expensive part of remodeling a bathroom?
Labor is the biggest cost—usually 40-65% of the total budget. After that, fixtures like tubs, vanities, and tile eat up the most money.
5. Can I change the remodel order?
Not really. The order ensures everything builds on a solid foundation. Skipping steps—like painting before plumbing—usually means redoing work and wasting money.

