Waterproofing a bathroom wall isn’t just a fancy renovation step—it’s a must-do task if you want to protect your home from mold, leaks, and expensive repairs down the line.
Bathrooms are moisture playgrounds. Between steamy showers, splashing sinks, and damp towels, your walls are under constant attack from water. If you skip waterproofing, your drywall or plaster can become a breeding ground for black mold, rot, and even structural damage.
1. Why Bathroom Walls Need Waterproofing
Before diving into the cheapest options, let’s pause for a second to understand why waterproofing is so critical. You might think tile or paint is enough, but water has sneaky ways of seeping through.
- Moisture = Mold: According to the CDC, mold exposure can cause respiratory problems, allergies, and even asthma attacks. Bathrooms are mold’s favorite hangout spot.
- Structural Damage: Water can seep into drywall and studs, weakening the frame of your home. Repairing rotted framing can cost upwards of $2,000–$5,000, compared to a few hundred dollars for prevention.
- Paint Peeling & Cracks: Without a waterproof barrier, you’ll notice paint bubbling, tiles loosening, or cracks forming within months.
Think of waterproofing as buying a raincoat for your house. It’s a one-time investment that saves you from getting drenched in repair bills later.
2. Cheapest Option: Waterproof Paint or Sealant

If you’re on a tight budget, the most affordable method is using waterproof paint or sealant.
What it is:
Waterproof paint (also called elastomeric coating or moisture-resistant paint) creates a barrier that keeps water from penetrating the wall surface. It’s designed for high-moisture areas like bathrooms, basements, and kitchens.
How it works:
You apply it just like regular paint—roller, brush, or sprayer. Once it dries, it forms a moisture-resistant film.
Cost:
- $30–$60 per gallon (covers 300–400 sq. ft).
- Average bathroom walls = $60–$120 in paint.
Pros:
- Very affordable upfront.
- Easy to DIY—no contractor needed.
- Comes in different finishes, so you don’t sacrifice style.
Cons:
- Only surface-level protection (if water seeps behind tiles, the paint won’t save you).
- Needs reapplication every 3–5 years.
Personal tip: I once painted a small guest bathroom with a waterproof bathroom-specific paint after noticing peeling near the shower. It worked like a charm for under $100. Three years later, it still looks fresh, and I didn’t have to mess with tiles or cement boards.
3. Waterproofing Membranes (Budget-Friendly Middle Option)

If you want a step up from paint but still don’t want to splurge, go for liquid waterproofing membranes.
What it is:
It’s a liquid rubbery coating (brands like RedGard or Laticrete) that you paint or roll on your wall. Once dry, it forms a seamless, flexible, waterproof barrier.
Cost:
- $50–$80 per gallon, covers ~50–60 sq. ft with two coats.
- For a small bathroom, expect around $150–$250 in material cost.
Pros:
- Stronger and longer-lasting than paint.
- Can be applied under tiles, so it’s hidden.
- Flexible enough to handle wall movement or cracks.
Cons:
- Takes more effort than paint (needs multiple coats).
- Requires proper surface prep.
Pro tip: If you’re tiling a shower wall, applying a waterproofing membrane underneath the tiles is a game-changer. I’ve seen bathrooms where people skipped this step—within two years, tiles started falling off due to hidden water damage.
4. Cement Backer Boards (Cheap Long-Term Protection)
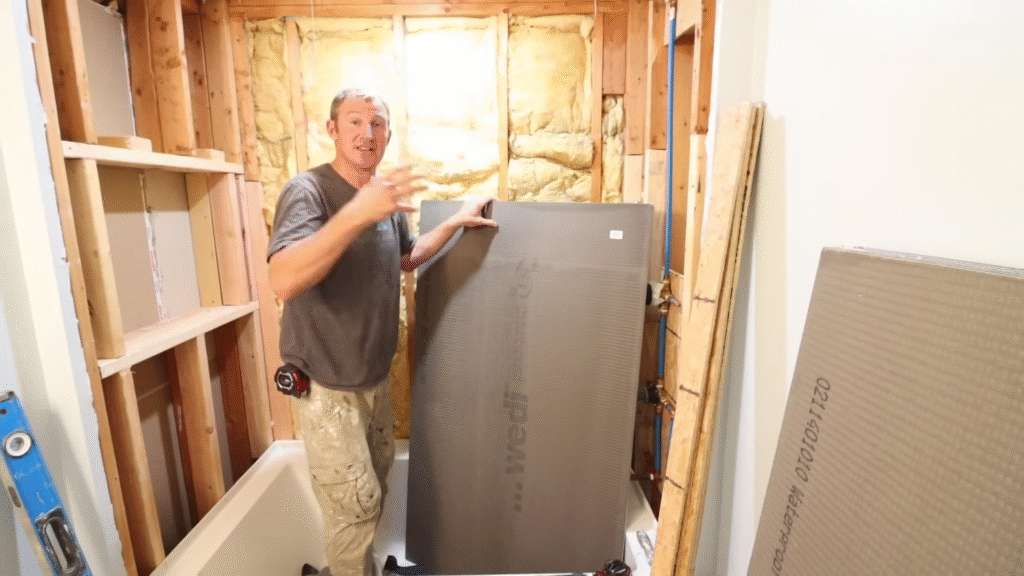
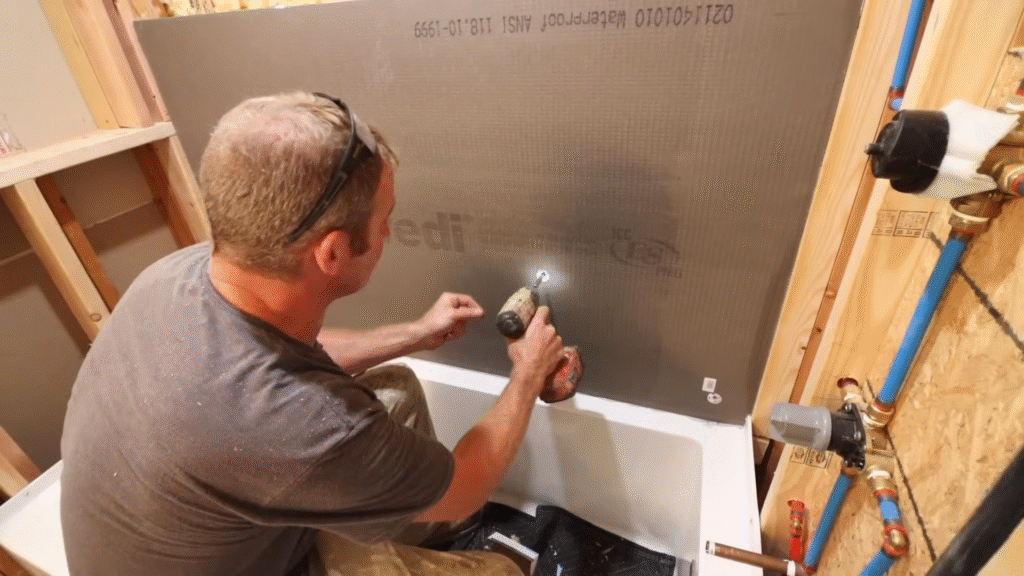
When you’re doing a remodel, another affordable waterproofing choice is replacing drywall with cement backer boards.
What it is:
Instead of using regular drywall (which soaks up water like a sponge), you install cement boards behind your tiles. They’re water-resistant, sturdy, and mold-resistant.
Cost:
- $15–$20 per sheet (3×5 ft).
- For a standard shower, you’ll need about $100–$150 worth of boards.

Pros:
- Long-lasting—will outlive most tiles.
- Mold-resistant.
- Affordable when remodeling anyway.
Cons:
- More labor-intensive (cutting and installing).
- Not a standalone waterproof solution—you’ll still need a membrane or sealant on top for full protection.
If you’re renovating your bathroom walls from scratch, this is hands-down the most cost-effective long-term strategy.
5. Cheapest DIY Hack: Vinyl Wallpaper or Panels
Here’s a creative, low-cost hack: use vinyl wallpaper or waterproof panels.
What it is:
Vinyl wallpaper has a plastic-like surface that resists moisture. Similarly, PVC wall panels are budget-friendly alternatives to tiles.
Cost:
- Vinyl wallpaper: $30–$60 per roll.
- PVC panels: $100–$200 for a small bathroom wall.
Pros:
- Incredibly cheap.
- Quick DIY install—peel, stick, or clip into place.
- Stylish patterns available (some mimic tiles or marble).
Cons:
- Not as durable as membranes or cement boards.
- Best for half-walls, powder rooms, or low-moisture zones (not directly in the shower).
When I helped a friend redo her rental bathroom, we used stick-on waterproof panels behind the sink instead of tile. It cost under $80, and two years later, it still looks amazing with zero peeling.
6. Compare the Costs and Lifespan
Here’s a quick breakdown so you can see where each option stands:
| Method | Cost Range | DIY Friendly | Lifespan | Best For |
|---|---|---|---|---|
| Waterproof Paint | $60–$120 | Yes | 3–5 years | Low-moisture walls, rentals |
| Waterproof Membrane | $150–$250 | Yes | 10–15 years | Shower/tub walls |
| Cement Backer Board | $100–$150 (plus install) | Moderate | 15–20 years | Remodel projects |
| Vinyl Wallpaper/Panels | $30–$200 | Yes | 3–7 years | Cheap quick fixes, rentals |
If you’re looking for the absolute cheapest way, waterproof paint wins. But if you want the best balance of cost and durability, liquid waterproofing membranes are the sweet spot.
7. Common Mistakes to Avoid
Waterproofing doesn’t have to be expensive, but if you cut corners in the wrong way, you’ll regret it.
- Mistake #1: Using regular drywall in wet zones – It’s cheaper, but it’s basically asking for water damage.
- Mistake #2: Thinking tile is waterproof – Tiles repel water, but grout lines don’t. Always waterproof behind tiles.
- Mistake #3: Skipping primer or prep – Even waterproof paint will fail if the wall isn’t clean and dry before application.
- Mistake #4: Forgetting the edges – Corners, seams, and edges are where leaks start. Always seal them properly.
8. My Personal Take on the Cheapest Waterproofing
If you want my honest opinion:
- For small bathrooms or rentals, go with waterproof paint.
- For shower walls, invest in liquid waterproofing membranes—they’re still affordable and far stronger.
- For full remodels, combine cement backer boards + waterproofing membrane for a bulletproof system.
The cheapest upfront fix is paint, but the cheapest long-term solution is a waterproofing membrane.
Conclusion
The cheapest way to waterproof a bathroom wall comes down to your needs and budget. Waterproof paint is the most affordable upfront option, costing less than $100 for most bathrooms.
If you’re willing to spend a little more, liquid waterproofing membranes offer better protection and last much longer. For remodels, cement backer boards paired with membranes give you the best long-term value. And if you’re in a rental or want a quick fix, vinyl wallpaper or panels can work wonders on a budget.
Think of it this way: waterproofing isn’t about making your bathroom look fancy—it’s about protecting your home from silent, expensive damage. Spending a few extra dollars now can save you thousands in repairs later.
FAQs
1. What is the cheapest way to waterproof a bathroom wall?
The cheapest way is using waterproof paint or sealant, which costs around $60–$120 for an average bathroom.
2. Can I waterproof bathroom walls myself?
Yes, most options like waterproof paint, membranes, or vinyl panels are DIY-friendly if you follow instructions carefully.
3. Do I need to waterproof behind bathroom tiles?
Absolutely. Tiles themselves aren’t waterproof—water can seep through grout lines. Always add a membrane or cement board behind them.
4. How long does waterproof paint last in a bathroom?
Typically 3–5 years, depending on humidity levels and wall prep before painting.
5. Is vinyl wallpaper good for bathrooms?
Yes, but only in low-moisture areas like behind the sink or half-walls. It’s not suitable for shower walls.

