Ever wondered what actually happens the moment a bathroom fitter steps foot in your home? I used to think they just ripped out tiles, slapped in a bathtub, and called it a day. But after going through a bathroom renovation myself, I learned there’s a whole behind-the-scenes dance happening before a single screw gets tightened.
If you’re planning a remodel, trust me — knowing what comes first will save you stress, money, and arguments with contractors. Let’s break it down step by step, the way a fitter really approaches the job.
1. The Very First Step: Assessment and Survey
The first thing a bathroom fitter does isn’t grabbing a hammer — it’s assessing the space. Think of it like a doctor checking vitals before surgery.
A fitter will usually:
- Measure the entire room down to the millimeter.
- Check water supply lines and waste pipes.
- Assess wall conditions, flooring strength, and existing ventilation.
- Identify any potential structural issues (like damp walls or weak subfloors).
Why does this matter? Because even the most stunning bathroom design falls apart if the bones aren’t strong. According to UK-based HomeHow, up to 35% of bathroom renovations uncover hidden structural or plumbing issues during the initial survey.
When my own fitter came in, he spent nearly two hours just measuring and poking at walls. At first, I thought, “Isn’t this overkill?” But later, when he found a slow leak behind the toilet, I realized that small delay saved me from a massive mold problem.
2. The Planning Conversation
Once the survey is done, the fitter sits you down for what I call the “bathroom therapy session.” This is where they blend your dreams with reality.
Expect questions like:
- Do you want a walk-in shower or a bathtub?
- Are you leaning toward modern minimalism or something more traditional?
- Where do you want outlets and lighting?
- What’s your budget ceiling (and how flexible is it)?
This planning session is crucial because bathroom fitting isn’t just about aesthetics. Placement of fixtures needs to align with existing plumbing unless you want to pay extra for rerouting pipes.
Here’s a tip I learned the hard way: always leave at least 10% of your budget for unexpected issues. Stats from Houzz show that over 45% of bathroom remodels go over budget, and it’s usually because homeowners change their mind or surprise plumbing gremlins appear.
3. Stripping Out the Old Bathroom
Once the paperwork and planning are clear, the fitter’s first physical task is ripping out the old bathroom. This stage is loud, messy, and honestly, kind of satisfying if you like watching walls crumble.
They will typically:
- Remove old tiles, sanitary ware, and flooring.
- Cap off and make safe old plumbing and electrical lines.
- Dispose of rubble in a skip or waste bags.
One thing to know: professionals don’t just start smashing. A skilled fitter dismantles carefully to avoid damaging pipes hidden behind walls. When mine did this step, he even salvaged my old sink (which I later sold online for £40 — not bad for “junk”).
4. Prepping Plumbing and Electrical Work
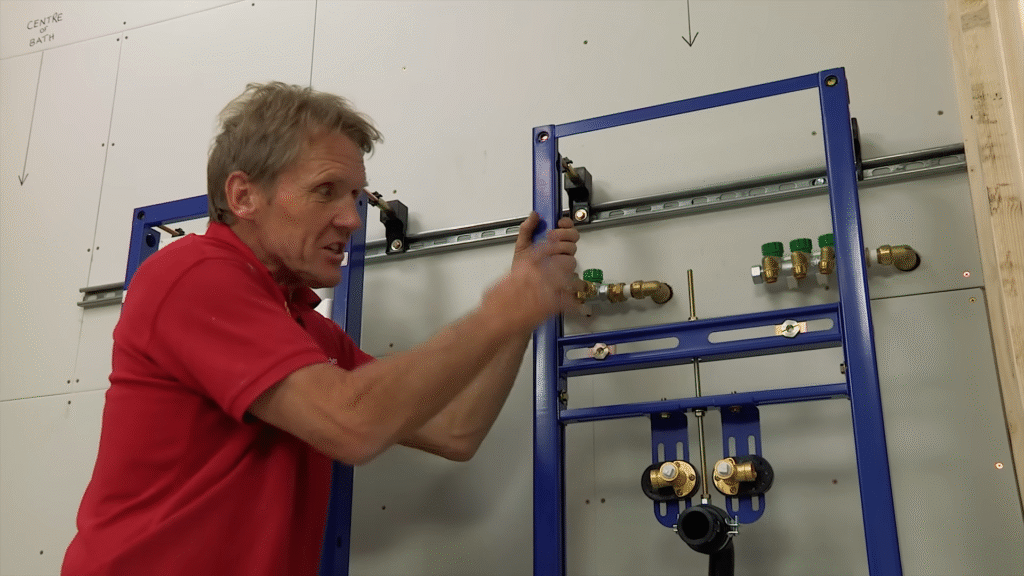
Here’s where the real magic starts — the unseen backbone of your bathroom. Fitters usually bring in specialist plumbers and electricians if they’re not multi-skilled themselves.
What happens here:
- Moving or extending water pipes.
- Upgrading waste systems for showers or baths.
- Installing underfloor heating pipes or electric mats.
- Running wiring for lights, shaver sockets, or heated mirrors.
This stage is vital because once walls are tiled, you don’t want to discover you forgot a socket for your electric toothbrush. Trust me — I lived with an extension cord across my bathroom floor for months before finally fixing that mistake.
According to a report by Which?, around 1 in 4 homeowners regret not adding enough outlets in their new bathroom. Don’t be that person.
5. Building the Framework
Now comes the part where your bathroom starts taking shape, like a skeleton getting muscles. Fitters will:
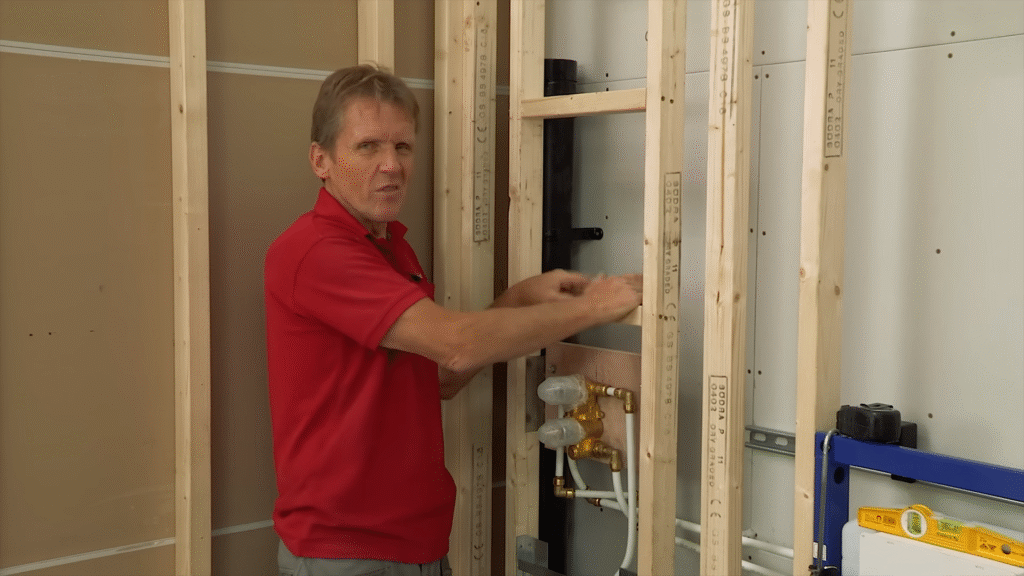
- Install stud walls if needed.
- Build boxing to hide ugly pipes.
- Reinforce floors for heavy items like cast iron tubs.
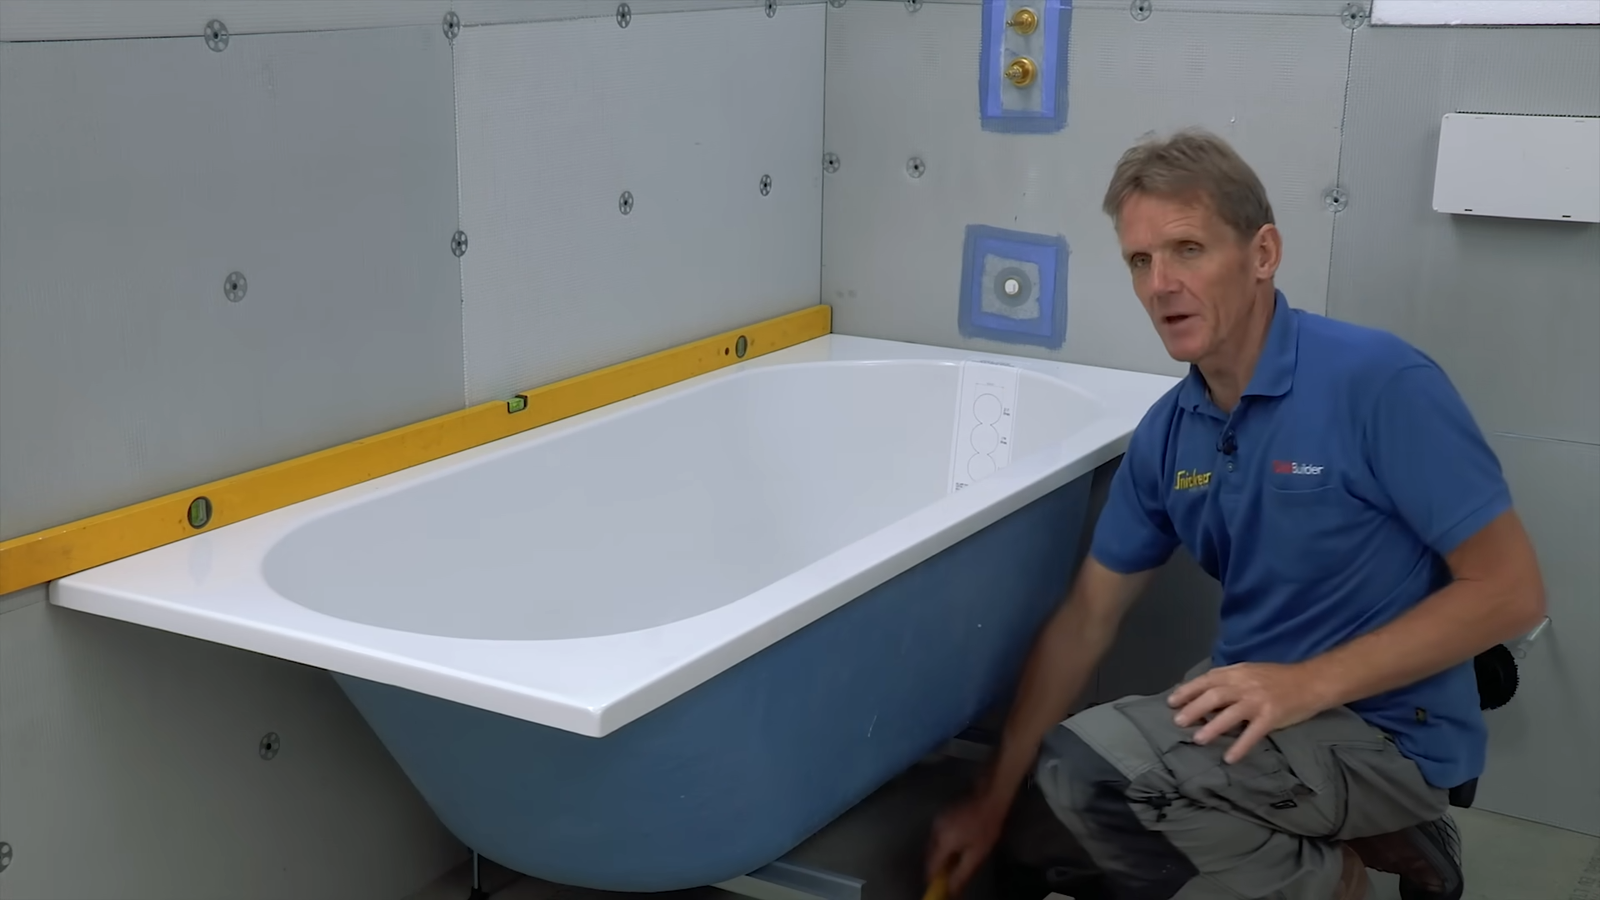
- Fit waterproof backer boards behind future tiling areas.
This stage is less glamorous, but without it, your bathroom would feel like a wobbly IKEA desk after a year. My fitter explained it best: “Tiles are just the skin. This is the skeleton.”
6. Waterproofing: The Unsung Hero
If you’ve ever seen cracked grout and moldy corners, chances are waterproofing was skipped or rushed. A good fitter never skips this step.
Tasks here include:
- Applying tank membranes around showers.
- Sealing joints between floors and walls.
- Adding vapor barriers behind tiles.
In the US, the National Kitchen & Bath Association reports that over 80% of bathroom water damage claims stem from poor waterproofing. That’s why I’d argue this is the most important thing fitters do first — even before tiles or tubs go in.
7. Installing the First Fix Items
“First fix” is contractor lingo for getting the infrastructure set up before final finishes. At this stage, your bathroom looks like a construction site, but all the hidden systems are nearly ready.
This includes:
- Positioning shower trays or bathtubs.
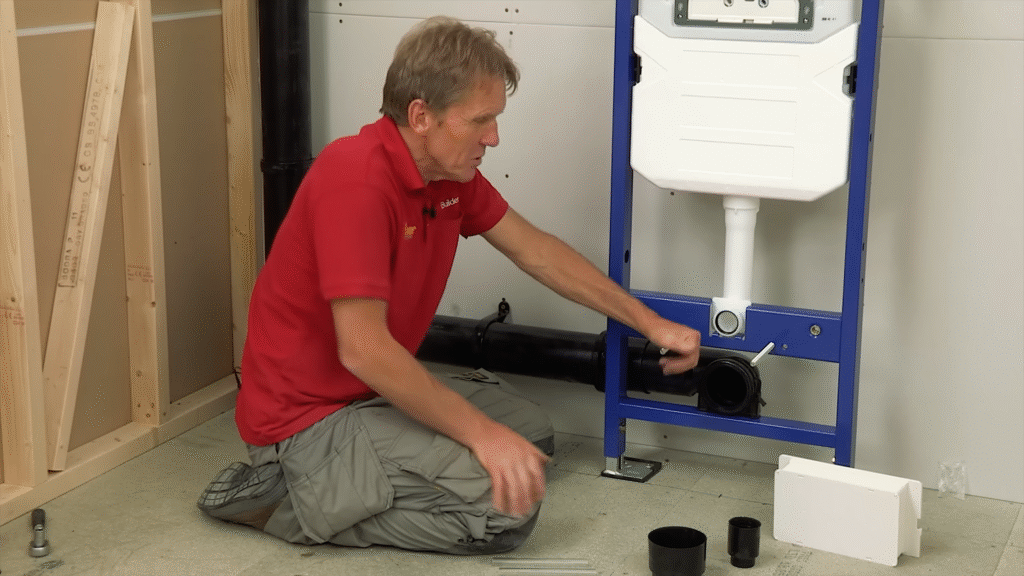
- Fixing toilet frames or concealed cisterns.
- Running pipes exactly where taps will go.
- Setting up underfloor heating systems.
Think of it as setting the stage before the play begins. You don’t see much beauty yet, but the foundations are locked in.
8. Plastering and Wall Prep
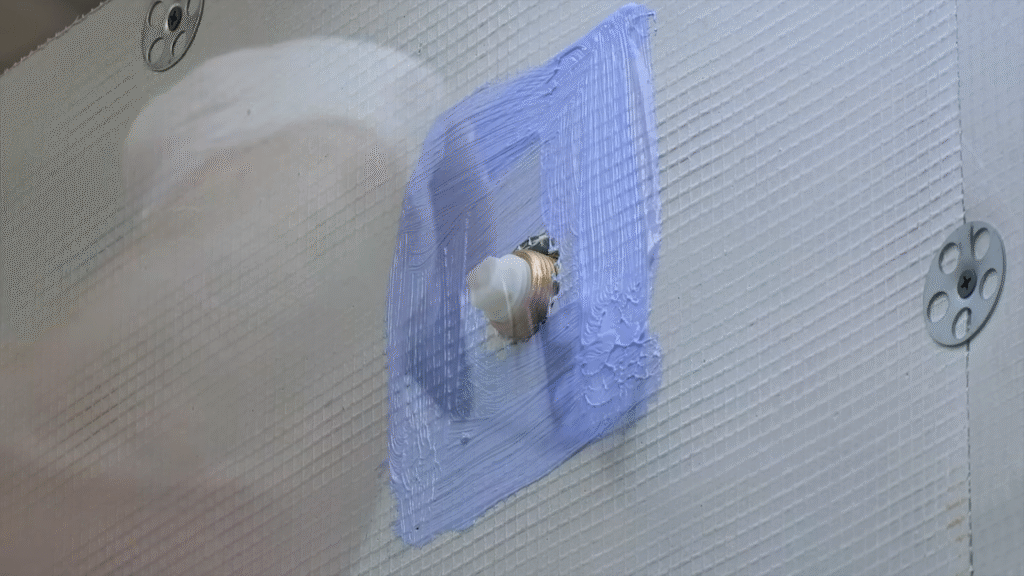
Before tiles or paint, your walls need to be perfectly smooth. Fitters often plaster walls or apply smoothing compounds.
This step matters because uneven walls = wobbly tiles. And nothing screams “cheap job” louder than a bathroom with slanted grout lines.
When my bathroom walls were plastered, I remember my fitter running his hand across the wall like an artist feeling canvas. He said, “Tiles deserve a flat home.” I rolled my eyes at the time, but after seeing the flawless finish, I got it.
9. Tiling the Walls and Floors
Now comes the eye candy — tiles. This is usually the longest part of the job, but it’s also where you start to see your vision.
Fitters will:
- Lay out tiles dry to ensure the pattern flows.
- Cut tiles around awkward spaces (toilets, pipes, corners).
- Apply adhesives and grouts with waterproofing additives.
Pro tip: Always order at least 10% extra tiles. Breakages, cuts, and later repairs will eat into your stash. I ignored this once and ended up with three mismatched tiles from a different batch — and yes, I see them every single day.
10. Installing the Fixtures
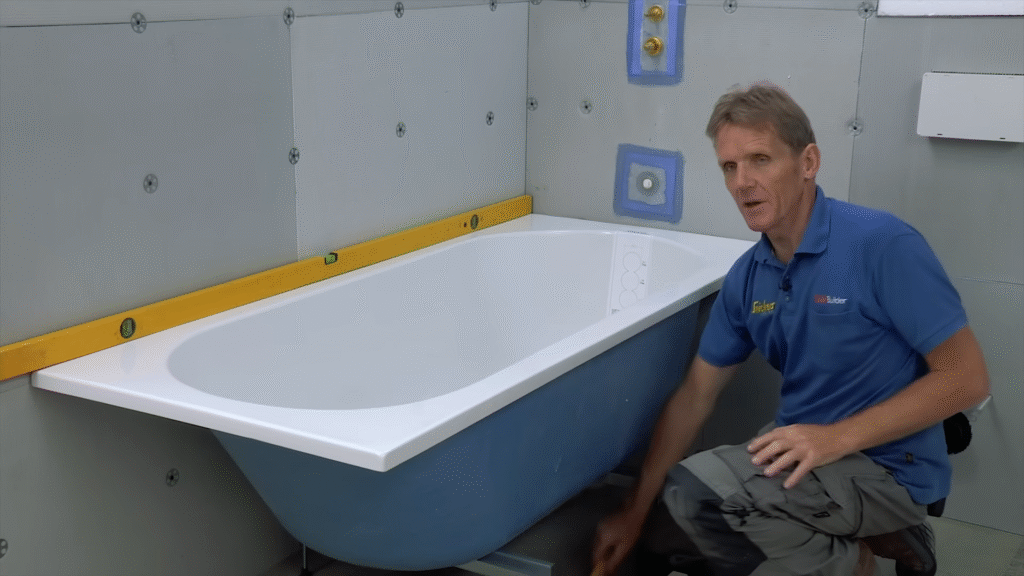
At this stage, things finally start looking like a bathroom again. Fitters bring in the “jewelry” — sinks, toilets, showers, baths.
They will:
- Fix toilets and test flush pressure.
- Attach basins and vanities securely.
- Install taps and mixers.
- Fit shower screens or enclosures.
Every fitter I’ve worked with has stressed one thing: test everything twice. Once water starts flowing, leaks can appear in sneaky places.
11. Adding the Finishing Touches
This is the polish stage where details matter. Small touches make a bathroom feel luxury, even if it’s budget-friendly.
Tasks include:
- Sealing all edges with silicone.
- Installing mirrors, towel rails, and shelving.
- Fitting lighting fixtures.
- Testing underfloor heating systems.
It’s also the stage where you’ll be tempted to rush, but don’t. Poor silicone jobs or rushed caulking are the first things that peel or mold.
12. Final Checks and Handover
The very last thing a bathroom fitter does first — and last — is a walkthrough with you. They’ll:
- Test every tap, drain, and flush.
- Show you how to maintain seals and grout.
- Give advice on cleaning products (avoid bleach on certain sealants).
- Hand over warranties for fixtures and systems.
My fitter even gave me a “bathroom care guide” booklet. At first, I laughed, but years later I still use his tip of drying the shower glass with a squeegee daily. No water marks, no regrets.
Conclusion
So, what do bathroom fitters do first? They assess, plan, and prepare — long before a single tile hits the wall. The process is like conducting an orchestra: the survey is tuning the instruments, the planning is writing the sheet music, and the demolition is clearing the stage. Only then can the real symphony of plumbing, tiling, and fitting begin.
If you’re about to start a bathroom project, remember: the first steps aren’t glamorous, but they’re the backbone of a bathroom that lasts decades, not months.
FAQs
1. What do bathroom fitters do first?
They start with a survey and assessment of your bathroom — measuring, checking plumbing, and identifying potential issues before any demolition begins.
2. How long does the first stage take?
The survey and planning usually take 1–2 days, depending on bathroom size and whether structural issues are found.
3. Do bathroom fitters handle plumbing and electrics?
Many do, but some hire specialists. Always check if your fitter is certified for electrics (in the UK, they need Part P certification).
4. How messy is the first stage?
Not very. The real mess begins with demolition. The survey and planning phase mostly involves tape measures, clipboards, and discussions.
5. How can I prepare before the fitter arrives?
Clear out personal items, remove anything from walls, and have a clear idea of your budget and must-have features before the first visit.

