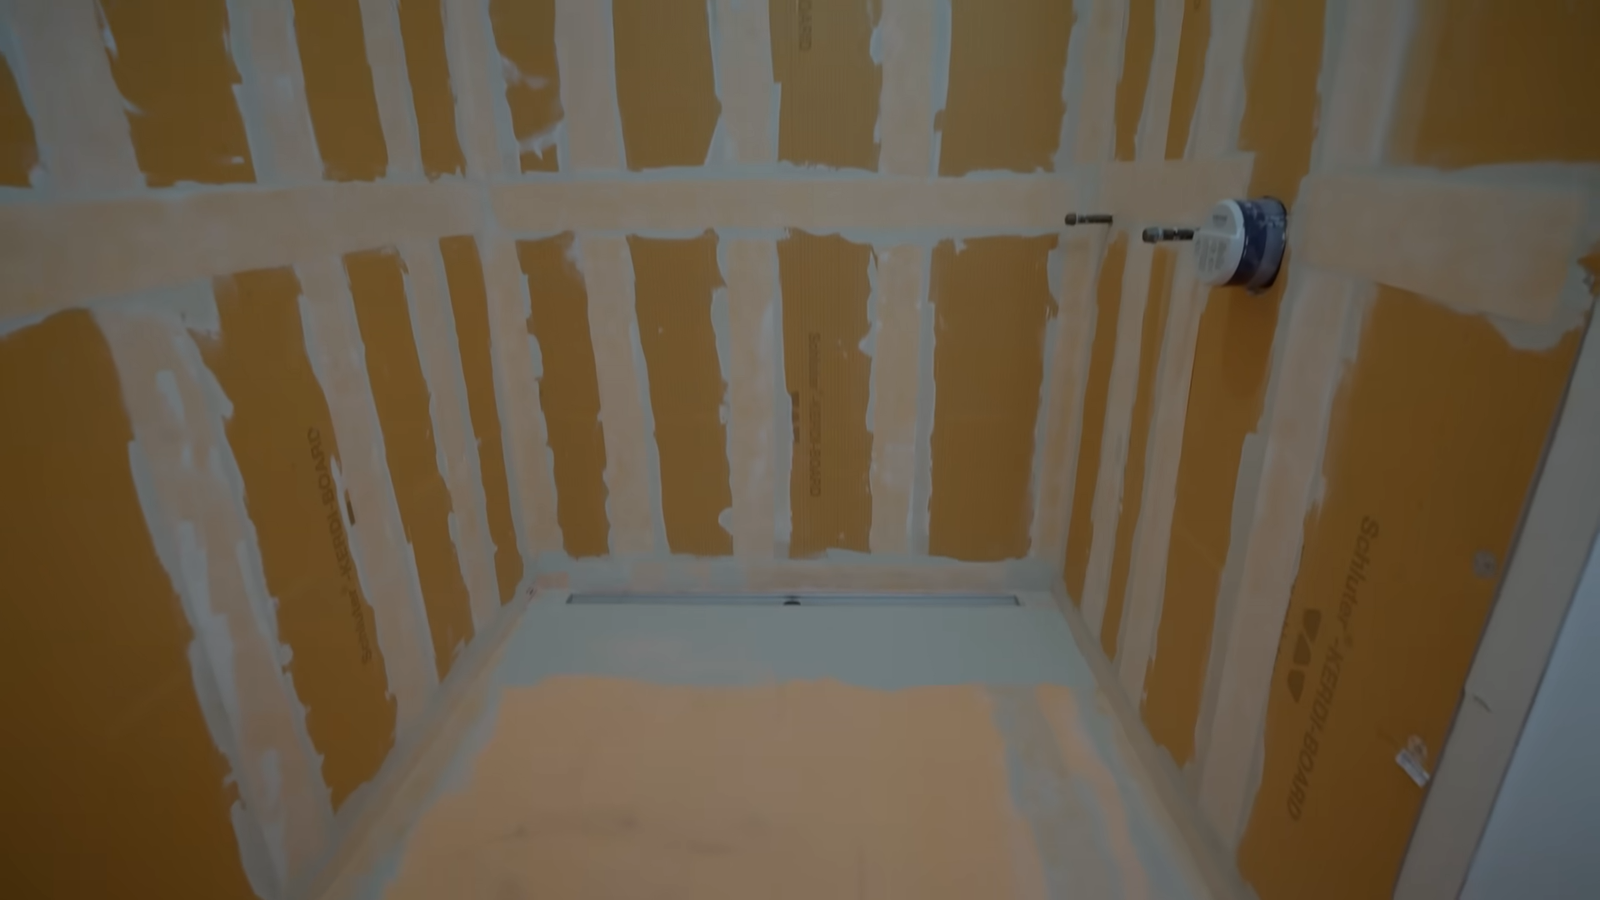
If your bathroom is starting to look like it belongs in a history museum rather than a functional home, chances are it’s leaking, molding, or simply struggling to keep water where it belongs.
Waterproofing an old bathroom isn’t just about aesthetics—it’s about saving yourself from the headache of rotting floors, swollen doors, and repair bills that could rival the cost of a small car.
1. Why Waterproofing an Old Bathroom Matters
An old bathroom isn’t just charming with its vintage tiles and squeaky faucets—it’s often a ticking time bomb of hidden leaks. According to the Insurance Information Institute, water damage claims are one of the most common types of home insurance claims in the U.S., averaging over $11,000 per claim. That’s not just a drip—it’s a financial flood.
When water seeps into cracks and gaps in an older bathroom, it leads to:
- Mold growth (which can start in as little as 24–48 hours).
- Rotting subfloors and walls that can weaken your home’s structure.
- Increased utility bills from wasted water.
- Health issues like allergies, asthma, or persistent musty smells.
Think of waterproofing as giving your bathroom a raincoat. Without it, you’re just asking for trouble every time someone takes a shower.
2. Assessing the Current State of Your Old Bathroom
Before you jump into waterproofing, you need to play detective. Every old bathroom has its quirks, and yours may be hiding issues behind the walls or under the tiles. Here’s what you should look for:
- Tile cracks: Even tiny ones let water slip through.
- Loose grout or missing caulk: Major culprits for leaks.
- Moldy smells or visible black spots: A sure sign moisture has already found its way in.
- Spongy floors: If it feels soft when you step near the toilet or shower, water has likely seeped underneath.
- Discolored ceilings below the bathroom: The classic giveaway of a leak.
When I started with my old bathroom, I thought it just needed fresh grout. Turns out, the subfloor was so waterlogged I could push a screwdriver right through it. That discovery was painful (and expensive), but it showed me why starting with a full assessment saves time and money in the long run.
3. Stripping Back Old Materials
Waterproofing an old bathroom is a bit like renovating a vintage car—you can’t just slap a coat of paint on rust and hope for the best. You need to strip it down.
Steps to follow:
- Remove old caulk and grout using a grout saw or utility knife.
- Take out damaged tiles that are cracked or loose.
- Pull up flooring if it shows signs of rot or water damage.
- Inspect the walls and subfloor beneath—this is where hidden damage loves to lurk.
It feels brutal ripping out parts of your bathroom, but trust me, you’ll thank yourself when you see what was festering underneath. I once found a colony of mold behind my shower wall that looked like it had been there since the Clinton administration.
4. Fixing Structural Damage Before Waterproofing
Waterproofing is only effective if the foundation is solid. If your bathroom already has damage, sealants and membranes won’t magically hold everything together. Here’s what to fix first:
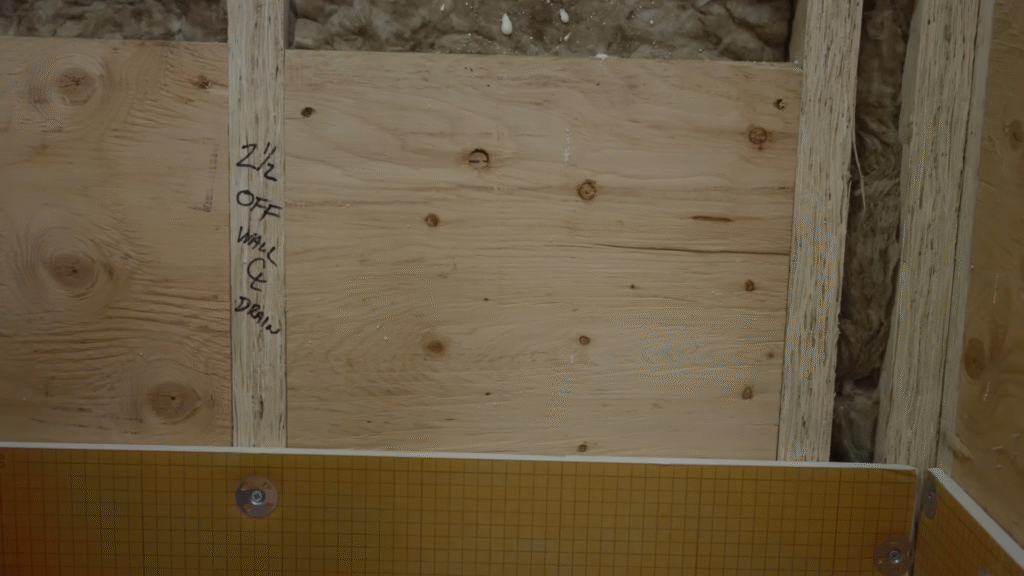
- Rotten wood: Replace subflooring or studs that have softened.
- Mold: Kill it with a mold-killing primer or a bleach solution before proceeding.
- Plumbing leaks: No point waterproofing if pipes are still dripping.
- Uneven surfaces: Patch or level them for proper waterproof application.
Think of this step like preparing a canvas before painting. You wouldn’t paint over a hole in the wall and call it art.
5. Choosing the Right Waterproofing Materials
This is where many people get overwhelmed because there’s no one-size-fits-all solution. Let’s break it down:
- Liquid Waterproof Membranes: Painted or rolled on, they create a flexible, rubbery coating. Great for walls and shower stalls.
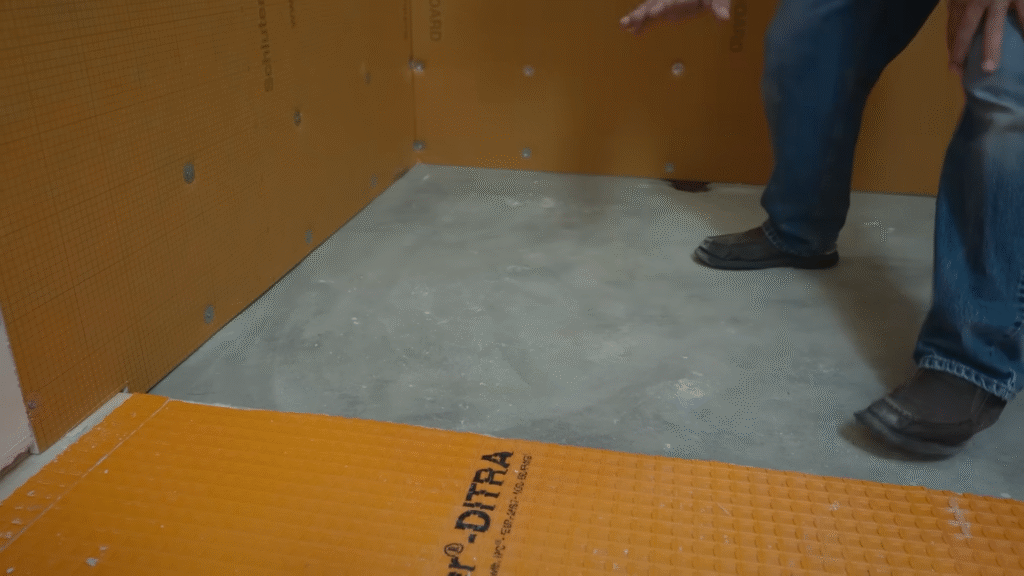
- Sheet Membranes: Large rolls of waterproof material that get applied to surfaces—fantastic for floors and wet zones.
- Cementitious Waterproofing: A powder you mix and apply like cement. Strong, but not flexible. Good for concrete walls and floors.
- Caulks and Sealants: Silicone-based sealants are your best friends around sinks, tubs, and fixtures.
Stat to note: According to industry data, liquid waterproof membranes are the most commonly used in bathroom renovations because they’re cost-effective and durable.
6. Waterproofing the Bathroom Floor
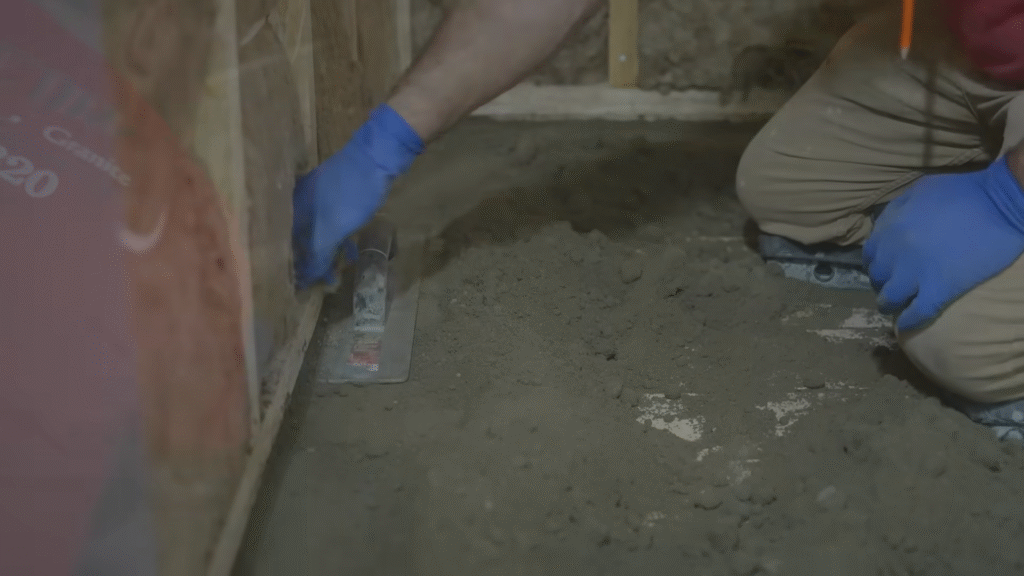
Floors take the brunt of water exposure. Waterproofing here is non-negotiable.
Steps:
- Clean the floor thoroughly—no dust, no debris.
- Apply a primer if required by your waterproofing product.
- Lay down sheet membrane or paint liquid membrane across the entire floor.
- Seal joints and corners extra carefully—these are weak spots.
- Create a waterproof upturn by running membrane a few inches up the wall.
When I did this, I underestimated corners. Water LOVES corners. If you skimp here, you’ll regret it later when your neighbor downstairs tells you their ceiling is dripping.
7. Waterproofing the Shower and Bath Area
Showers are basically mini water parks inside your bathroom, and baths are no better. These need bulletproof waterproofing.
- Apply liquid membrane on walls around the shower or tub, at least up to the height of the showerhead.
- Overlap membranes on the floor and walls to create a continuous barrier.
- Seal around fixtures like faucets and showerheads with silicone.
- Install proper backer boards (cement boards, not drywall!) behind tiles.
A mistake I once made? Using green board drywall behind my tiles. Spoiler: it lasted about two years before crumbling. Cement board is the only real option here.
8. Waterproofing Walls and Ceilings
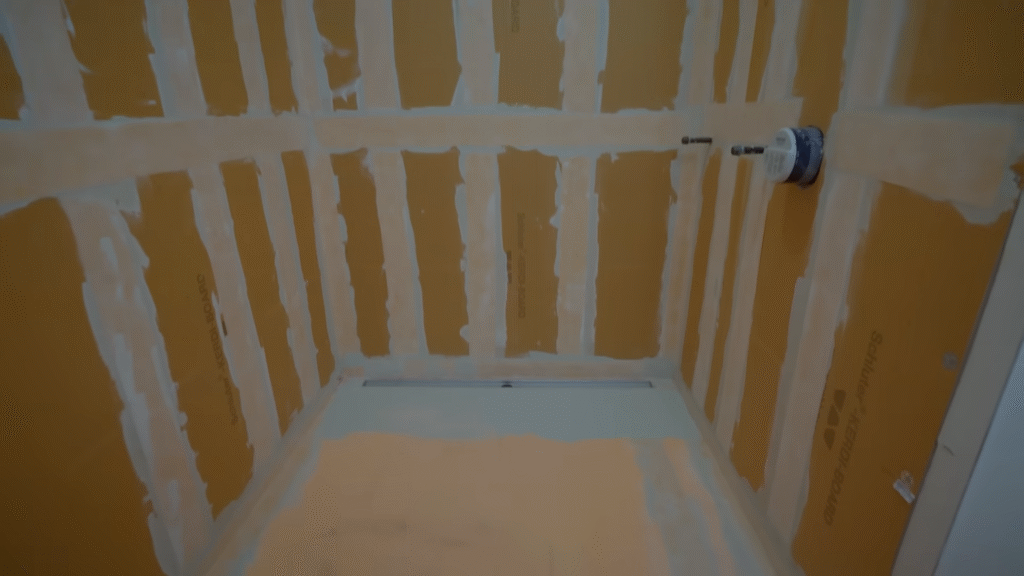
You might think walls and ceilings don’t matter much, but in a bathroom, condensation is sneaky.
- Use mold-resistant drywall or cement board.
- Apply waterproof primer before tiling or painting.
- Ventilation is key—install a good exhaust fan to prevent moisture buildup.
- Seal tile grout lines with a penetrating sealer.
Fun fact: A bathroom without proper ventilation can increase indoor humidity by 20–30%, which accelerates mold growth across the entire house.
9. Sealing the Little Details
Sometimes it’s not the big things that get you—it’s the small ones you overlook.
- Around toilets: Apply a bead of silicone caulk where the base meets the floor.
- Around sinks and vanities: Seal where they touch walls and counters.
- Around windows: Bathrooms with windows are notorious for leaks—seal them well.
When I sealed my toilet base the first time, I accidentally left a tiny gap at the back. Guess what? Water found it. Water always finds it.
10. Testing Your Waterproofing
Don’t just trust that it worked—test it.
- Flood test: Plug the drain, fill the shower floor with water, and let it sit for 24 hours. Check for leaks.
- Visual check: Look for pinholes or missed spots in membranes.
- Monitor over time: Keep an eye on ceilings, walls, and subfloors below.
I did a flood test and discovered I’d missed a small spot near the corner drain. Fixing it before tiling saved me from ripping everything out later.
11. Tiling and Finishing Up
Once you’re confident your waterproofing is solid, you can tile and finish. Remember:
- Use thin-set mortar over waterproof membranes.
- Grout carefully and seal it.
- Don’t rush drying times—patience now saves heartache later.
12. Maintaining Your Waterproof Bathroom
Waterproofing isn’t “set it and forget it.” Even the best systems need a little TLC.
- Re-seal grout every 1–2 years.
- Inspect caulking annually and replace if cracking.
- Clean with mild cleaners—harsh chemicals eat away at sealants.
- Ventilate daily after showers.
Think of it like owning a car—you don’t just drive it forever without oil changes. Your bathroom needs maintenance tune-ups.
Conclusion
Waterproofing an old bathroom isn’t glamorous—it’s dusty, sweaty, and sometimes downright frustrating. But once it’s done, the peace of mind is priceless. No more worrying about hidden leaks, no more mold creeping behind walls, and no more floors that feel like trampolines. With the right steps—assessing, repairing, waterproofing, sealing, and maintaining—your old bathroom can be brought back to life and protected for decades.
I learned the hard way by skipping corners (literally). My hope is that with this guide, you’ll skip the costly mistakes and enjoy the satisfaction of a bathroom that’s watertight, safe, and built to last.
FAQs
1. Can I waterproof over old tiles, or do I need to remove them?
You can waterproof over old tiles with a liquid membrane, but it’s not ideal. Removing tiles and starting fresh ensures a stronger, longer-lasting waterproof seal.
2. How much does it cost to waterproof an old bathroom?
On average, professional bathroom waterproofing costs between $500–$1,200 depending on size and condition. DIY can be cheaper but requires time and precision.
3. Do I need to waterproof the entire bathroom or just the shower?
At minimum, waterproof the shower, bath, and floor. For best protection, extend waterproofing a few feet up the walls and around all fixtures.
4. How long does waterproofing last?
Good waterproofing systems can last 10–15 years if maintained. Regularly checking and resealing grout and caulk extends its lifespan.
5. What’s the most common mistake when waterproofing an old bathroom?
Not sealing corners and joints properly. These areas are the biggest weak spots and where leaks almost always start.

