Dampness in a home is like that one uninvited guest who overstays their welcome—slowly creeping in, ruining walls, and leaving behind unpleasant odors. The good news is, you don’t have to tolerate it. One of the most reliable solutions is Dr. Fixit Damp Proof, a specially formulated waterproofing product trusted by millions of homeowners.
If you’ve ever wondered how exactly to use Dr. Fixit Damp Proof to protect your home from seepage, cracks, and moisture, this guide is for you. I’ll break it down step by step, sprinkle in some practical insights, and share the mistakes I learned the hard way so you don’t repeat them.
Let’s dive in.
1. Why Dampness is More Dangerous Than You Think
Before we get into application steps, let’s talk about why dampness is a silent destroyer. It’s not just about walls looking ugly with patches of moisture. Dampness leads to:
- Weakened structural strength: According to the Central Building Research Institute (CBRI), moisture in walls reduces compressive strength by up to 30%. That means your home literally becomes weaker.
- Health risks: Damp walls encourage mold and fungus growth. The World Health Organization (WHO) states that indoor dampness is linked to a 40% higher risk of asthma and respiratory illnesses.
- Increased maintenance costs: Small patches today turn into massive repairs tomorrow. Damp-proofing early saves thousands in future expenses.
When I ignored a tiny damp spot in my living room wall, within six months the paint bubbled, the plaster crumbled, and the repair bill ballooned. That’s when I turned to Dr. Fixit Damp Proof.
2. What is Dr. Fixit Damp Proof?
Dr. Fixit Damp Proof is a waterproofing coating designed for terraces, walls, and other exposed surfaces. Think of it as a protective raincoat for your home. It comes as a liquid that, once applied, creates a flexible, durable, and water-resistant layer over your walls.
Key features:
- Covers cracks up to 2mm wide
- UV-resistant to handle sunlight exposure
- Elastomeric properties that let it expand and contract with your building’s movements
- Long-lasting protection (up to 8-10 years with proper application)
In short, it’s not just a quick fix but a long-term defense shield against water seepage.
3. Where Should You Use Dr. Fixit Damp Proof?
This is where most people go wrong—they apply it only where dampness is visible. The truth is, prevention is cheaper than cure. Here are the best areas to use Dr. Fixit Damp Proof:
- Terraces and flat roofs: The most common entry points for rainwater.
- External walls: Constantly exposed to rain and weathering.
- Parapet walls: They often develop hairline cracks.
- Bathroom walls (exteriors): Where seepage from inside bathrooms often shows up.
- Sunshades and balconies: These are rain-prone zones often overlooked.
Personal tip: I once skipped waterproofing the parapet wall during renovation. Within two monsoons, it developed ugly cracks, and water seeped inside. Lesson learned—cover every exposed area, not just the obvious ones.
4. Tools and Materials You’ll Need
Before starting, gather your toolkit. Having everything ready makes the process smoother.
- Dr. Fixit Damp Proof liquid (calculate based on area; 1 liter typically covers 25–30 sq. ft. for 2 coats)
- Clean brush or roller (4-inch wide works best)
- Wire brush for surface cleaning
- Putty knife or trowel for filling cracks
- Dr. Fixit Crack-X or cement-based filler (for repairing cracks)
- Bucket of clean water
- Protective gloves (because it gets messy)
Think of it like preparing for cooking—you don’t start chopping until all ingredients are on the counter.
5. Step-by-Step Guide to Using Dr. Fixit Damp Proof
Here’s the meat of the process. Follow these steps carefully for maximum effectiveness.
Step 1: Surface Preparation
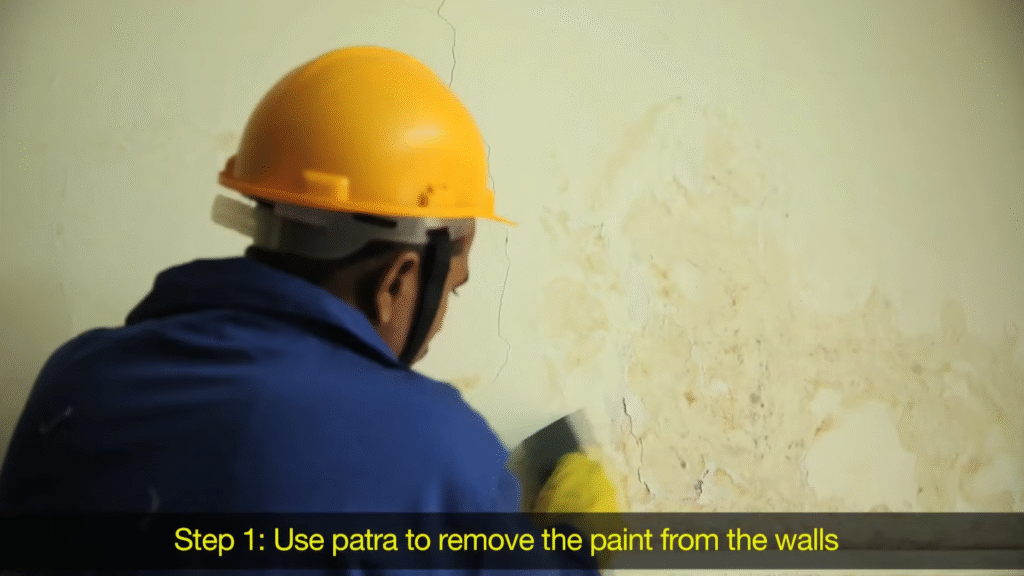
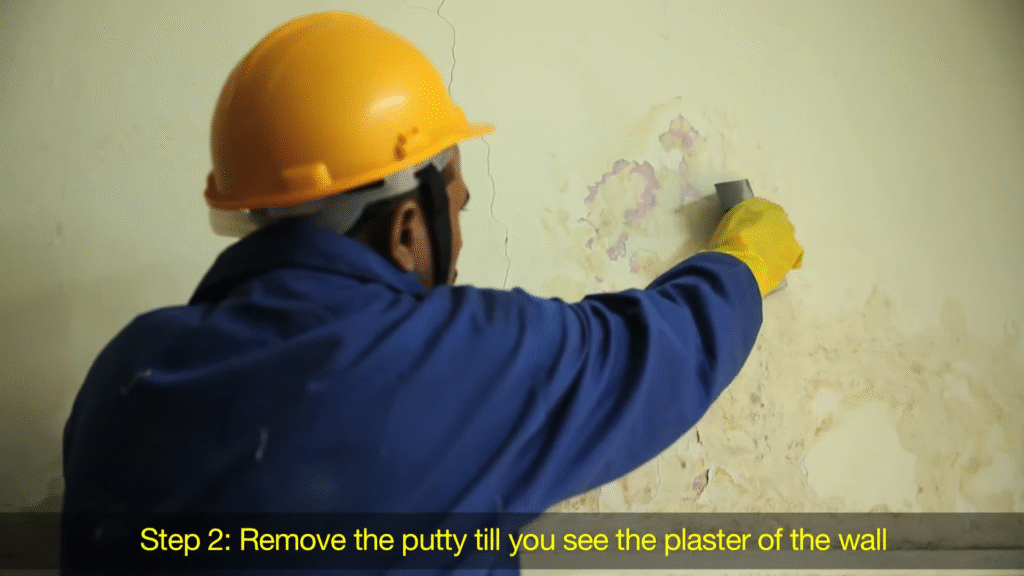
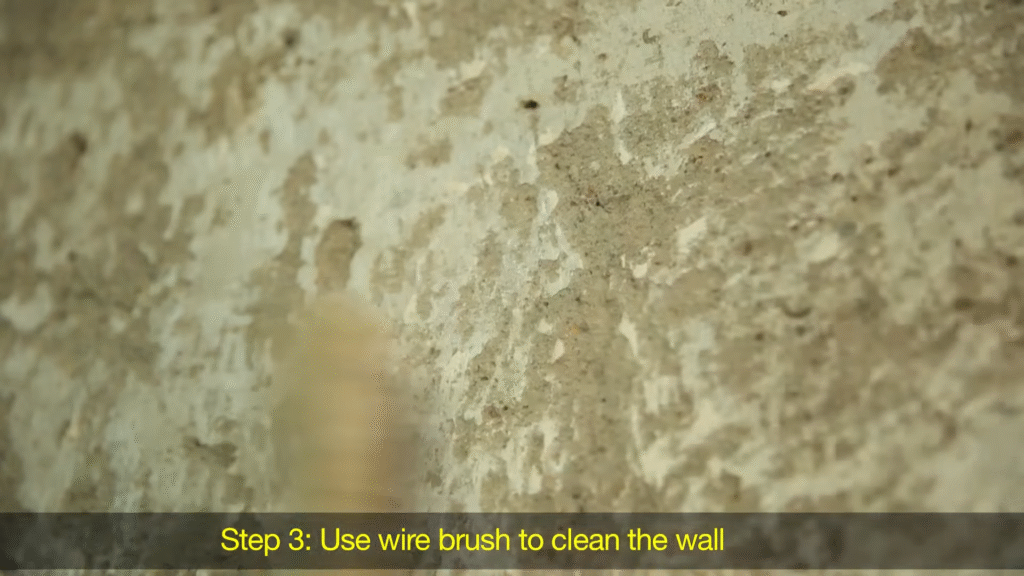
- Clean the surface thoroughly with a wire brush. Remove dust, algae, loose plaster, or paint.
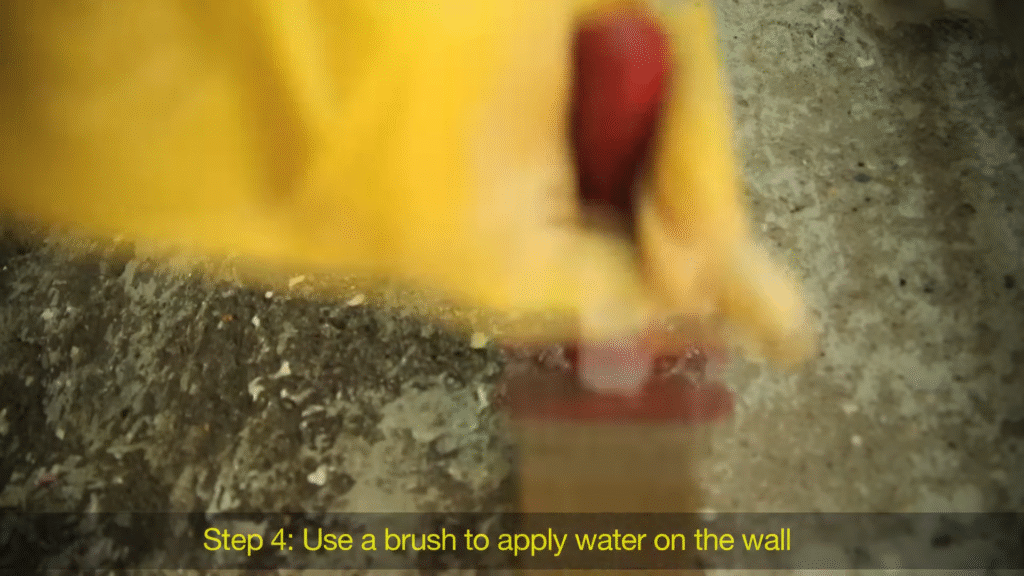
- Wash the surface with clean water to ensure no debris remains.
- Repair cracks using Dr. Fixit Crack-X or a cement-sand mixture.
Why this matters: Applying directly over dirt or cracks is like painting over rust—it hides the problem, but doesn’t solve it.
Step 2: Primer Coat (Optional but Recommended)
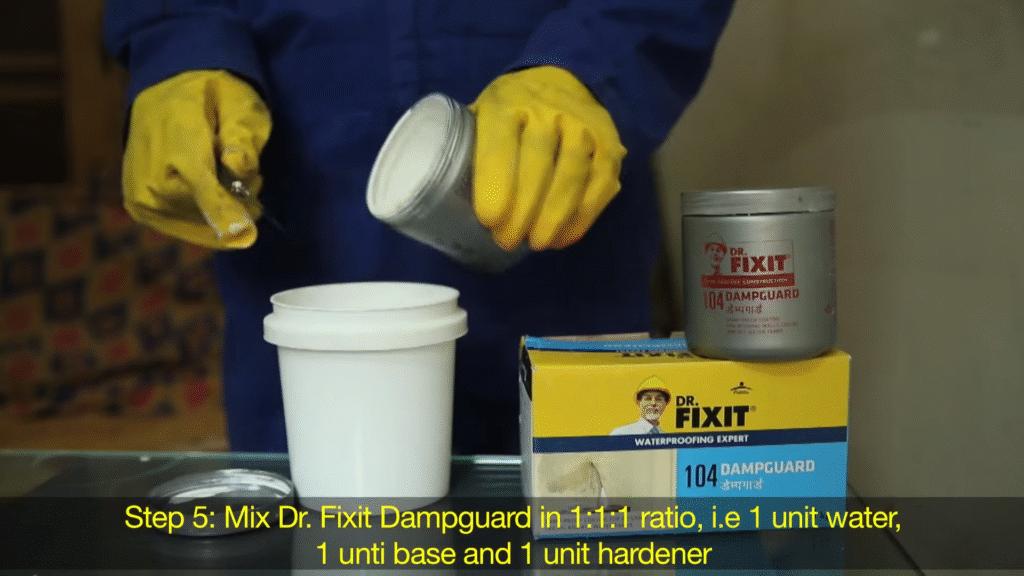
- Mix Dr. Fixit Damp Proof with water in a 1:1 ratio.
- Apply one coat using a brush and allow it to dry for 4–5 hours.
This primer ensures better adhesion and longer-lasting waterproofing.
Step 3: First Coat of Damp Proof
- Stir the Dr. Fixit liquid well.
- Apply the first coat evenly using a brush or roller.
- Allow it to dry for 6–8 hours.
Avoid walking on the surface while it’s drying.
Step 4: Second Coat
- Apply the second coat perpendicular to the first (if first was vertical strokes, second should be horizontal).
- This criss-cross method ensures uniform coverage.
- Let it cure for at least 24 hours before any further work.
Step 5: Inspection
- After drying, check for missed spots or thin patches.
- Touch up as needed.
That’s it—you’ve just armored your home against dampness.
6. How Much Dr. Fixit Damp Proof Will You Need?
This depends on the area of application. On average:
- 1 liter covers 25–30 sq. ft. (for 2 coats).
- For a standard 100 sq. ft. terrace, you’ll need around 4 liters.
- For a 500 sq. ft. roof, about 16–18 liters.
Tip: Always buy a little extra. Running short midway is like running out of paint with one wall half-done—it ruins the finish.
7. Common Mistakes to Avoid
Even the best product fails if misused. I’ve seen homeowners waste time and money by skipping basics. Avoid these blunders:
- Applying on wet surfaces → Damp proof won’t stick properly.
- Skipping crack filling → Water finds its way through even the tiniest gaps.
- Not allowing drying time → Rushing coats leads to peeling later.
- Ignoring parapets and edges → These are hotspots for seepage.
- Using too thin a coat → Thinner layers don’t last long.
Remember: It’s not just about applying, it’s about applying right.
8. How Long Does Dr. Fixit Damp Proof Last?
With proper application and maintenance, Dr. Fixit Damp Proof lasts 8–10 years. Of course, factors like climate and surface condition matter.
For example:
- In heavy rainfall regions like Kerala, you may need reapplication every 6–7 years.
- In drier climates, it can last the full decade.
Think of it like sunscreen for your house—one application doesn’t protect forever, but with reapplication, you’re covered long term.
9. Cost of Using Dr. Fixit Damp Proof
Many homeowners hesitate thinking waterproofing is expensive. But here’s the reality:
- Material cost: About ₹280–₹350 per liter in India (as of 2025).
- Application cost (if hiring professionals): ₹30–₹50 per sq. ft.
- DIY cost: Only material cost + your time.
To put it into perspective: repairing seepage damage later can cost 5–6 times more than preventive waterproofing.
When I waterproofed my 400 sq. ft. terrace, the material cost was around ₹6,000. If I hadn’t done it, repairing structural dampness later would’ve easily crossed ₹30,000.
10. Maintenance Tips After Applying Dr. Fixit
- Inspect your terrace or walls once every monsoon.
- Clean moss or algae promptly; they weaken the coating.
- Re-coat vulnerable areas (like parapet joints) every 3–4 years.
- Don’t drill holes into waterproofed surfaces unless necessary.
A little care extends the product’s life significantly.
Conclusion
Using Dr. Fixit Damp Proof is one of the smartest investments you can make for your home. Dampness is sneaky—it starts small but grows into a big headache. By following the right steps—cleaning, priming, double coating, and maintaining—you create a long-lasting shield for your house.
Think of it as giving your home an invisible raincoat that keeps it strong, beautiful, and healthy for years.
FAQs
1. How many coats of Dr. Fixit Damp Proof are required?
At least two coats are recommended for effective waterproofing. Apply the second coat perpendicular to the first for uniform coverage.
2. Can Dr. Fixit Damp Proof be applied on wet walls?
No. The surface must be clean, dry, and free of loose material for proper adhesion.
3. Is it suitable for internal walls?
Yes, but it’s most effective on external surfaces like terraces and parapet walls. For interiors, use products like Dr. Fixit Dampguard.
4. How long should I wait between coats?
Allow 6–8 hours of drying time between the first and second coat.
5. How much area does 1 liter cover?
On average, 1 liter covers 25–30 sq. ft. for 2 coats, depending on surface porosity.

