When bathroom tiles start falling off, it’s not just an eyesore—it’s a red flag. Those little square soldiers are supposed to stay glued in formation, not dive headfirst into your tub. If your wall tiles are popping off, cracking, or wobbling, the issue usually runs deeper than bad luck.
It could be improper installation, water damage, or even a mistake in adhesive choice. Let’s break this problem down step by step, so your bathroom walls stay safe, beautiful, and intact.
1. Understanding Why Bathroom Wall Tiles Fall Off
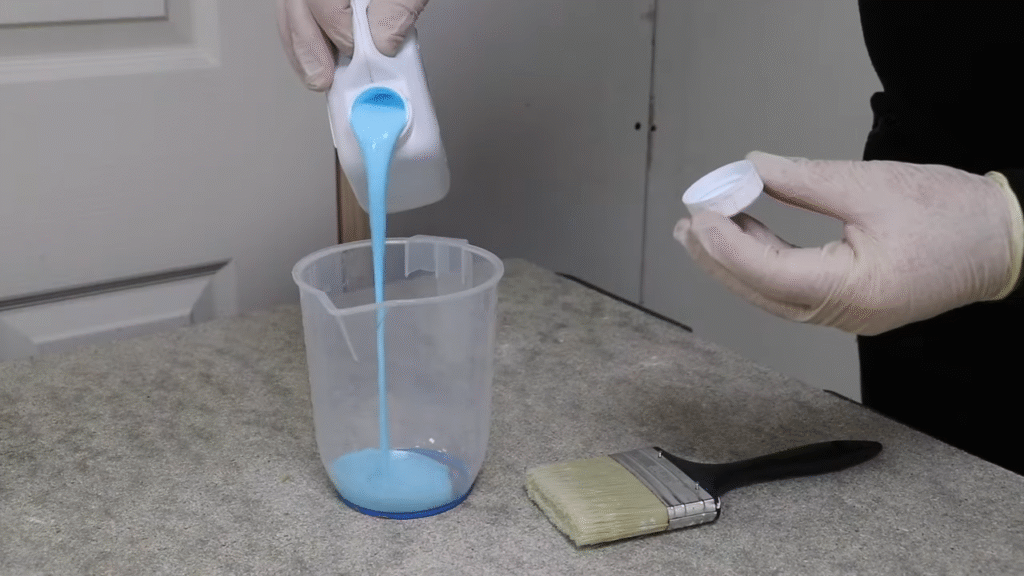
Before we fix the issue, we need to diagnose it like a detective solving a mystery. Bathroom tiles usually fall off for one of these common reasons:
- Poor Adhesive Bonding: If the wrong adhesive was used (say, general-purpose glue instead of tile adhesive), the tiles eventually give up and detach.
- Water Damage: Bathrooms are moisture-heavy environments. When water seeps into the wall through cracks or unsealed grout, it weakens the adhesive.
- Improper Surface Prep: If the wall wasn’t cleaned, leveled, or primed before tiling, the adhesive won’t stick properly.
- Movement in Walls: Tiny shifts in the wall due to temperature changes or settling can loosen tiles.
- Grout Problems: Missing or cracked grout lets water sneak behind tiles, slowly prying them off.
Think of it this way: tiles are like wallpaper with armor. If the surface underneath is damp, dusty, or moving, no amount of glue will keep them in place.
2. Inspect the Wall Before Fixing
Here’s the mistake most people make: they see a tile fall off and just glue it back on. That’s like putting a bandage on a wound without cleaning it—you’re ignoring the infection underneath.
Here’s what you should check before re-tiling:
- Tap Test: Gently tap nearby tiles with a coin. Hollow sounds mean the adhesive is failing.
- Moisture Check: Look for signs of dampness—dark patches, mold, or a musty smell. If water has seeped in, you must fix the source first.
- Wall Condition: If the plaster, cement board, or drywall behind the tile is crumbling, replacing adhesive alone won’t solve anything.
Personal note: I once ignored the damp behind a bathroom wall and kept gluing tiles back. Within three months, I was practically hosting a domino show. Learn from my mistake—always address the root problem.
3. Fixing Loose or Falling Tiles
Once you know why tiles are falling, here’s how to fix them properly:
Step 1: Remove Loose Tiles
Don’t just push them back. Use a putty knife or chisel to carefully pry off all loose or hollow-sounding tiles.
Step 2: Clean the Surface
Scrape away the old adhesive from the wall and the back of the tile. If mold or dampness is visible, dry and disinfect the area.
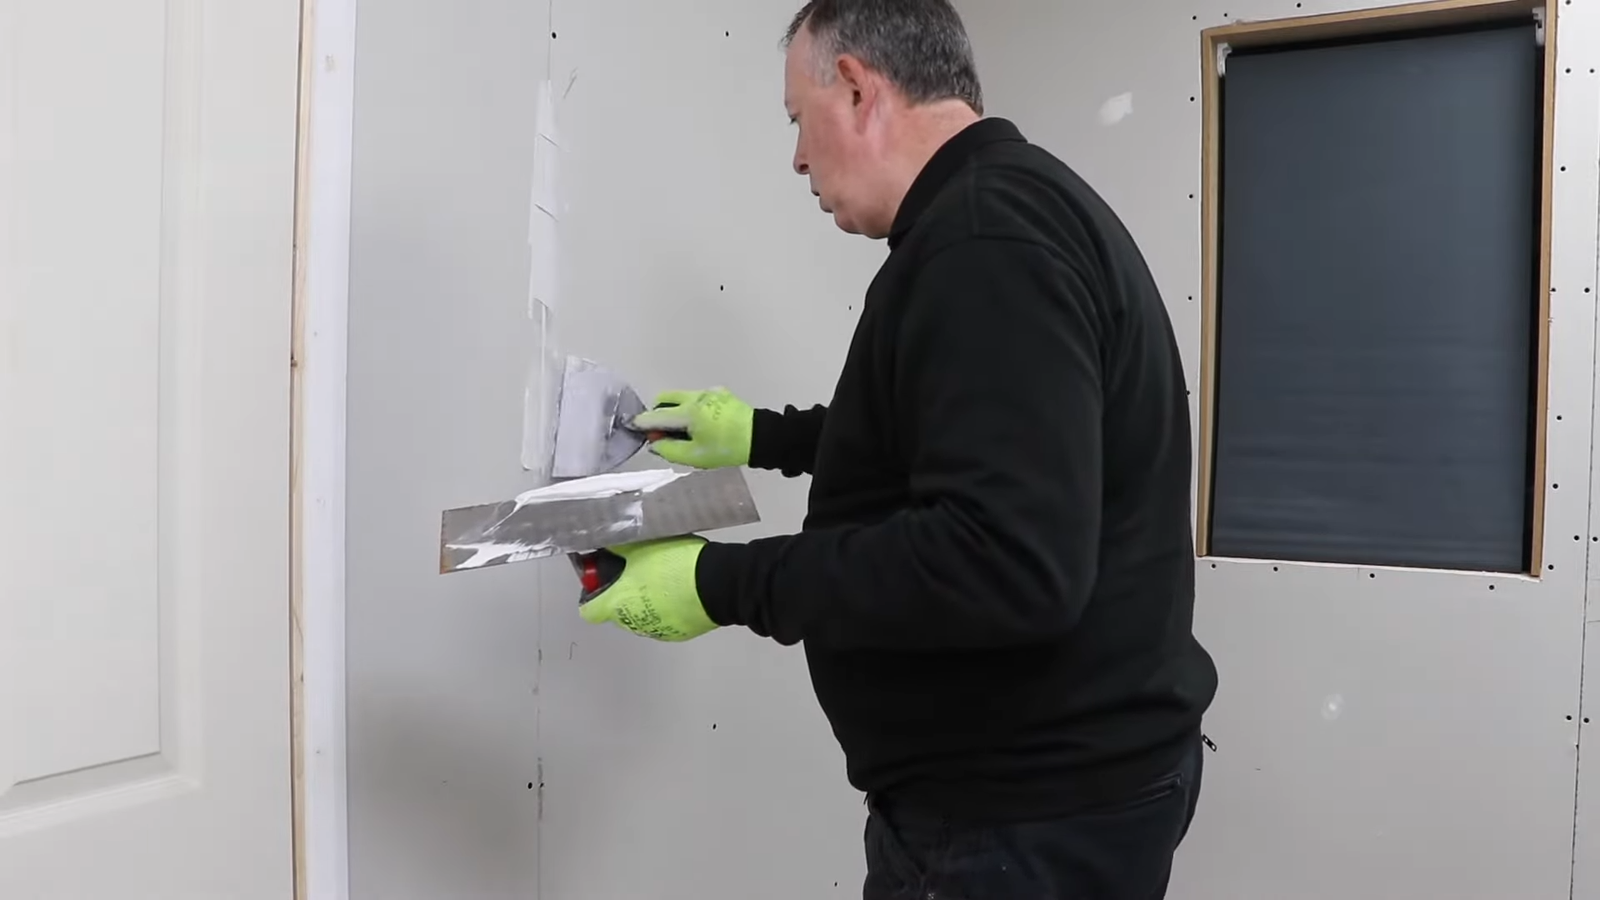
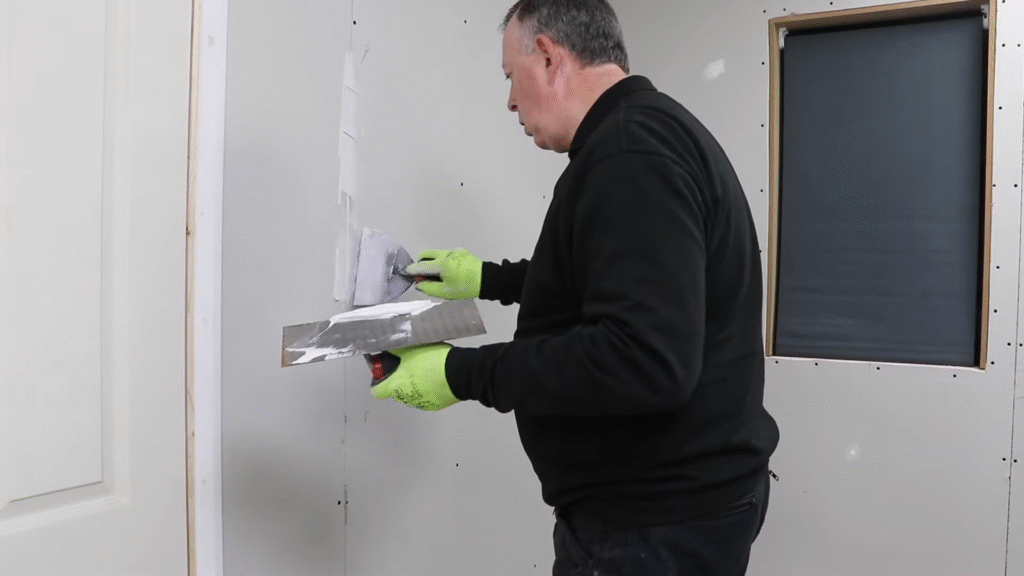
Step 3: Repair the Wall
- If the wall behind is damaged, patch it with cement or waterproof filler.
- If it’s drywall that got wet, replace the affected section with cement board (it’s moisture-resistant).
Step 4: Reapply Adhesive
Use a high-quality cement-based tile adhesive designed for bathrooms. Spread it evenly with a notched trowel.
Step 5: Reinstall the Tile
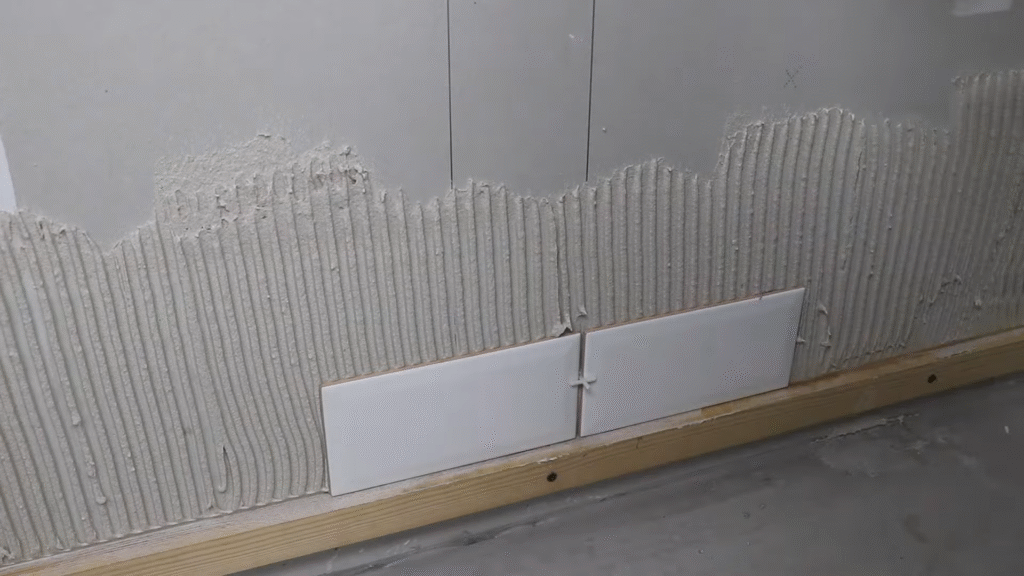
Press the tile firmly into place with a little wiggle. Use spacers if necessary to keep grout lines uniform.
Step 6: Re-Grout and Seal
Once adhesive sets (usually 24 hours), apply waterproof grout. Seal it afterward to block future water entry.
Done correctly, your tiles won’t just stay put—they’ll survive steamy showers, hot baths, and even kids turning the bathroom into a waterpark.
4. Choosing the Right Adhesive for Bathroom Tiles
Adhesive is like the secret handshake between the wall and the tile—if it’s weak, the whole partnership collapses.
There are two main types:
- Cement-Based Adhesives: Strong, durable, and water-resistant. Best for bathrooms.
- Ready-Mix Adhesives (Acrylic): Easier for beginners but not as water-resistant—avoid using them in wet zones like showers.
Pro tip: Always pick an adhesive that specifically says “for wet areas” or “bathrooms.” According to market data, cement-based adhesives account for over 65% of tile installations in wet zones because of their reliability.
5. Preventing Water Damage Behind Tiles
Moisture is the silent villain here. Even the strongest adhesive won’t win against water that sneaks behind your tiles. Prevention is everything.
- Use Cement Board, Not Drywall: Regular drywall turns into mush when wet. Cement board is like armor.
- Seal Grout Joints: Grout is porous. Apply a sealer every 1–2 years to make it water-resistant.
- Good Ventilation: Run an exhaust fan or open a window during showers to reduce humidity.
- Proper Silicone Sealing: Use waterproof silicone around edges, bathtubs, and sinks.
Think of sealing as giving your tiles an umbrella. They’ll thank you by not bailing off the wall.
6. When to Call a Professional
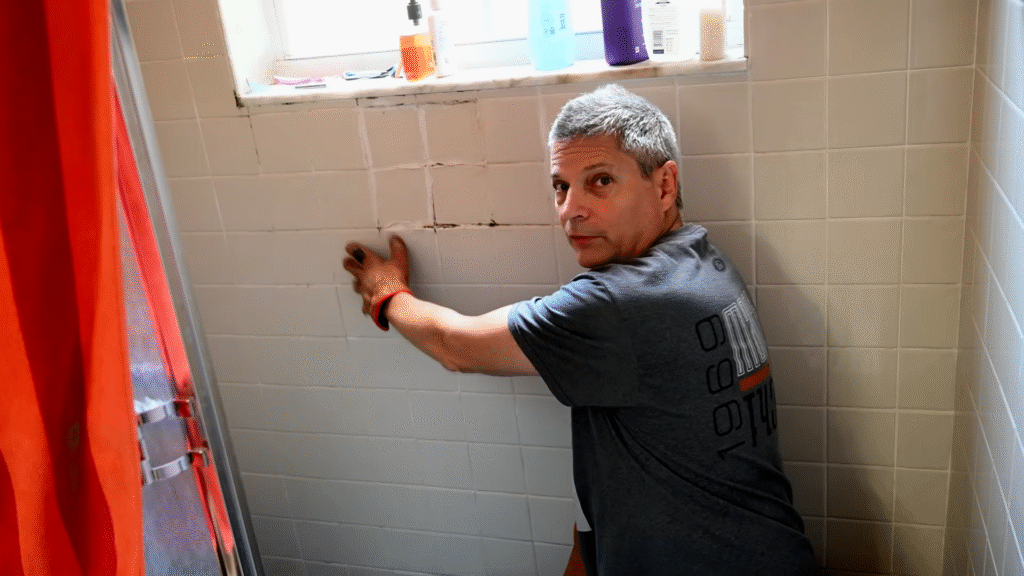
Sometimes DIY fixes won’t cut it. Here are red flags when you should bring in a pro:
- Large sections of tiles are loose.
- The wall behind is soft, moldy, or crumbling.
- There’s constant water leakage or visible mold growth.
- You’ve tried fixing before, but tiles keep falling.
Hiring a professional might feel expensive upfront, but compare it with the cost of redoing your entire bathroom later. According to home improvement surveys, bathroom retiling costs between $7–$25 per sq. ft., but water-damage repairs can run into thousands.
7. Long-Term Maintenance Tips
Once your tiles are secured, the real trick is making sure they stay that way. Here are habits that keep tiles from falling again:
- Regularly inspect grout lines—repair cracks immediately.
- Wipe down walls after showers to reduce water buildup.
- Check ventilation fans—they should exchange air at least 8 times per hour for bathrooms.
- Clean tiles with mild cleaners—harsh chemicals can weaken grout and adhesive.
Personal tip: I keep a cheap squeegee hanging in my bathroom. After showers, a quick 30-second swipe down the walls cuts moisture dramatically. Small habits save big repairs.
8. My Personal Experience with Bathroom Tiles Falling Off
A few years ago, my bathroom tiles started dropping like teeth from a bad nightmare. At first, I thought it was just one or two. But soon, five tiles were missing, and I could see damp patches spreading like ink on paper. I learned the hard way that my builder had used the wrong adhesive—some quick-drying mix not meant for wet zones.
I had to strip the entire wall, fix the plasterboard, and re-tile using a cement-based adhesive. It was messy, time-consuming, and yes—expensive. But that experience taught me this: shortcuts in bathrooms never last. If you’re going to fix falling tiles, do it once and do it right.
9. Cost Breakdown of Fixing Falling Bathroom Tiles
Here’s an idea of what you might spend (average U.S. prices):
- Tile adhesive: $20–$40 per bag (covers ~50 sq. ft.)
- Grout and sealer: $15–$30
- Replacement tiles (if needed): $3–$10 per sq. ft.
- Tools (trowel, spacers, putty knife): $30–$50 one-time cost
- Professional labor: $50–$100 per hour
In short: DIY might cost you under $200, while professional repairs could range from $500 to $2,000, depending on damage size.
Conclusion
Tiles falling off bathroom walls are more than just a nuisance—they’re a warning sign. Whether it’s poor adhesive, water damage, or improper installation, ignoring the issue will only make it worse. By understanding the root causes, choosing the right adhesive, preventing water seepage, and maintaining your tiles, you can keep your bathroom looking polished and problem-free.
Remember: bathroom tiles aren’t supposed to be temporary guests. Fix them properly once, and they’ll stay loyal for decades.
FAQs
1. Why do my bathroom wall tiles keep falling off?
Usually because of poor adhesive, water damage, or unsealed grout. If moisture gets behind tiles, even the strongest glue won’t hold.
2. Can I just glue a tile back on?
Yes, but only if the wall behind is sound and dry. Otherwise, it’ll fall off again. Always clean the surface and use proper tile adhesive.
3. What’s the best adhesive for bathroom tiles?
A cement-based adhesive designed for wet areas is the most reliable option. Avoid ready-mix adhesive inside showers or wet walls.
4. How can I stop water from damaging my bathroom tiles?
Use cement board instead of drywall, seal grout regularly, apply silicone around edges, and ensure good ventilation.
5. Should I hire a professional or do it myself?
If only a few tiles are loose and the wall is sound, DIY works. But if large sections are falling or there’s water damage, call a professional.

