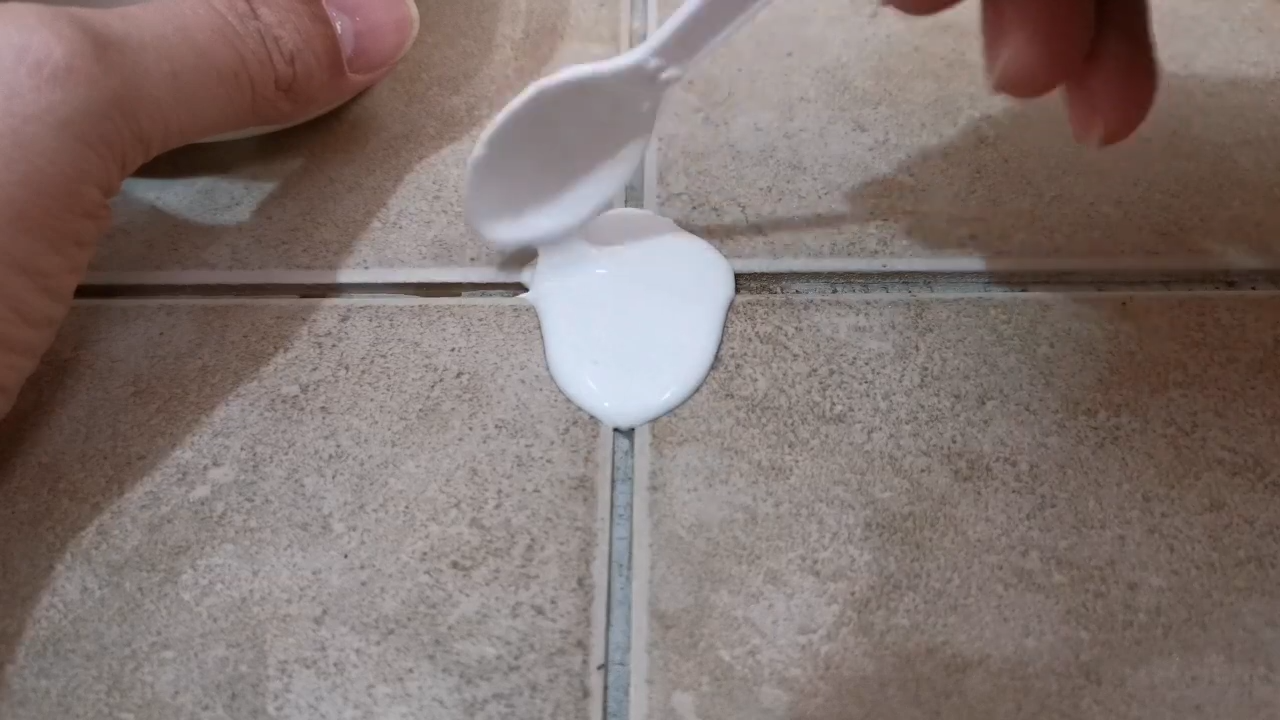
When water starts seeping through your bathroom floor, it feels like your home is whispering, “Pay attention, I’ve got a problem.” The real headache? Fixing it without tearing out those shiny, expensive tiles you just installed.
I’ve been through this myself, and believe me—it’s not fun mopping up puddles at midnight. But here’s the good news: you don’t need to rip your floor apart to solve it.
With the right tricks, tools, and products, you can stop bathroom leakage without removing a single tile. Let me walk you through everything you need to know.
1. Understanding Why Bathroom Leakages Happen
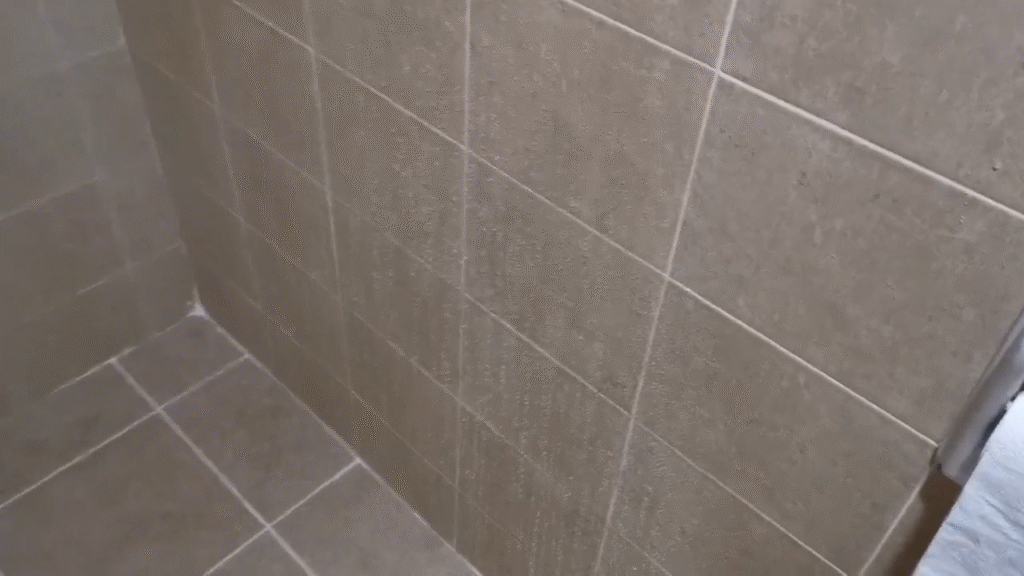
Leaks don’t just appear out of thin air. Bathrooms are constantly exposed to water, and if sealing isn’t done properly, you’ll notice moisture sneaking through joints, corners, or grout lines.
Here are the common culprits behind leaks without visible damage to tiles:
- Cracked or porous grout – Over time, grout becomes brittle, allowing water to seep underneath.
- Damaged tile joints – Even tiny gaps between tiles can invite water infiltration.
- Weak waterproofing layer – If the original waterproofing wasn’t done well, water will find its way down.
- Expansion and contraction – Bathrooms heat up and cool down daily, causing tiny shifts in materials.
- Improper slope – If the floor doesn’t slope toward the drain, water stagnates and penetrates joints.
According to a 2023 survey by the National Association of Home Builders (NAHB), nearly 36% of bathroom water damage cases occur due to failed waterproofing, not broken pipes. That’s a big chunk you can prevent with proper sealing.
2. Identifying the Source of Leakage
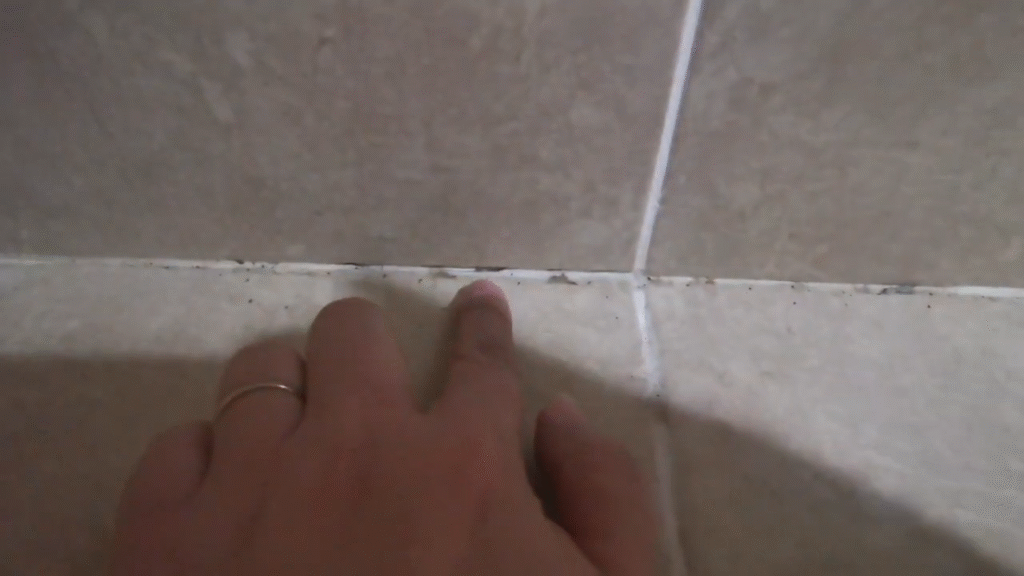
Stopping leaks without pulling up tiles requires Sherlock Holmes–level detective work. You can’t just guess—you need to pinpoint where the water is escaping.
Here’s how you can track it down:
- Look for damp patches – Walls or ceilings under the bathroom often reveal leakage spots.
- Check grout lines – If grout looks powdery, cracked, or hollow, it’s likely the weak link.
- Observe after a shower – Run water in the bathroom and watch closely near corners, drain edges, and tile joints.
- Test with tissue – Place tissue near suspected leakage zones. If it absorbs water, you’ve found the culprit.
Personal Tip: In my case, the “mystery leak” was hiding around the base of the commode. A little water escaped every time it was flushed. It took me weeks to realize that the seal ring underneath had dried out!
3. Using Waterproof Grout and Sealants
If grout has turned into a sponge instead of a shield, you don’t need to rip it out completely. You can repair and reseal it.
Steps you can follow:
- Clean the tiles and grout lines – Scrub away soap scum, dirt, and old sealant with a grout cleaner.
- Apply new grout where needed – For deep cracks, use a grout repair tube.
- Seal the grout – Use a liquid grout sealer or epoxy grout. Epoxy grout is more expensive but highly resistant to water.
- Edge sealing – Don’t forget silicone sealant around the toilet base, sink edges, and shower corners.
A study by Home Innovation Research Labs found that epoxy grout lasts 10–15 years, compared to just 3–5 years for traditional cement grout in wet areas. That’s a worthy upgrade if you want long-term peace of mind.
4. Applying a Transparent Waterproofing Layer
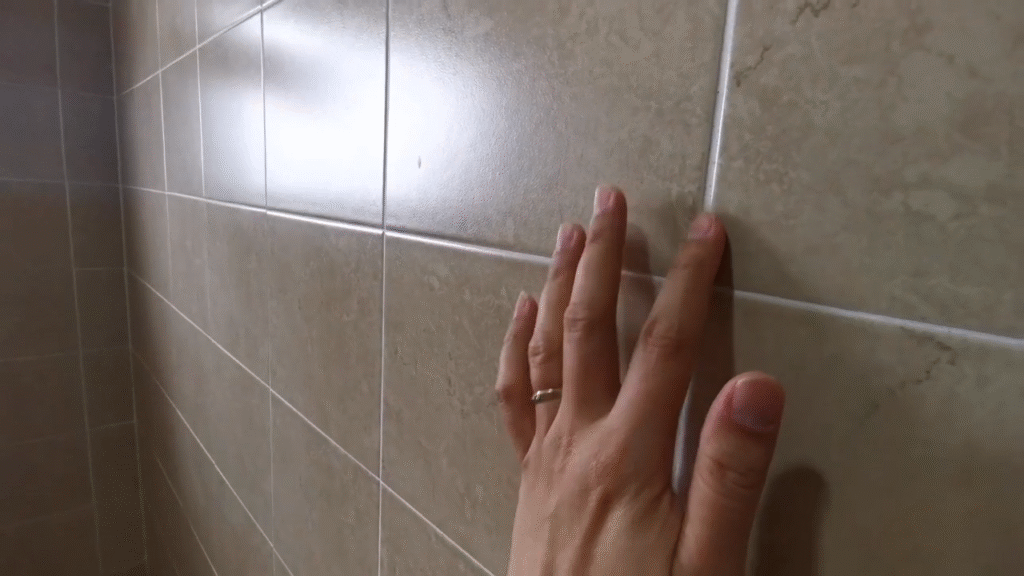
Think of this as giving your tiles a raincoat. You don’t need to replace them—just coat them with a liquid waterproofing solution.
Here’s how it works:
- Buy a clear waterproofing chemical (like Dr. Fixit Tile Guard, Mapei AquaDefense, or SikaTop Seal).
- Clean and dry your bathroom floor thoroughly.
- Apply the liquid with a brush or roller, especially focusing on grout lines and corners.
- Let it cure for at least 24 hours before exposing it to water.
This creates an invisible shield on your tiles that prevents seepage.
Fun Fact: Transparent waterproof coatings can reduce water absorption by over 90%, based on product tests from leading brands like Sika.
5. Fixing Leakage Around Drainage Points
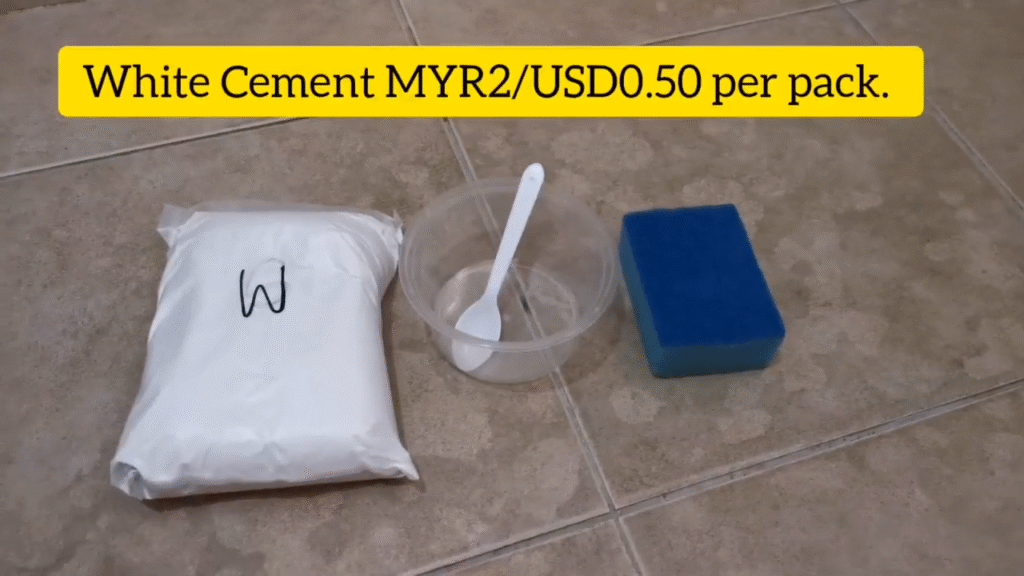
Drains are sneaky spots where water leakage starts. If the drain area isn’t sealed properly, water slips underneath tiles and spreads.
Here’s a quick fix:
- Remove the drain cover.
- Clean the edges thoroughly.
- Apply a strong polyurethane sealant around the drain edges.
- Reinstall the cover.
Polyurethane works better than silicone here because it’s more flexible and water-resistant.
I once had a tenant complain about water dripping into their kitchen every time the upstairs bathroom was used. Turns out, the leak was from a tiny gap around the drain. A 15-minute sealing job saved me from an angry call every day.
6. Using Injection Grouting Method
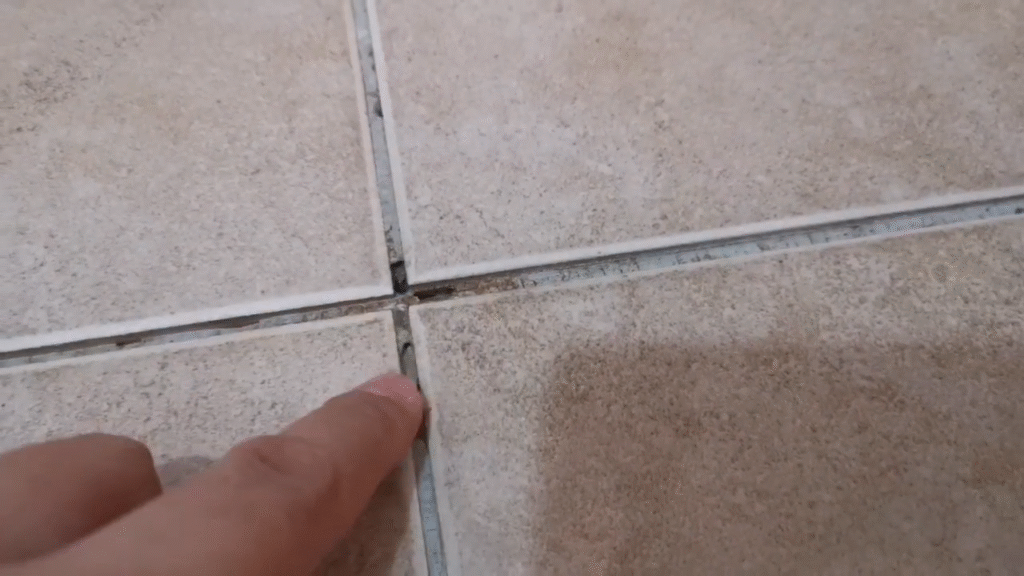
This is a professional solution but very effective if the leakage is severe. Instead of ripping tiles, experts inject polyurethane or epoxy resins into the floor joints and cracks.
- The chemical expands inside and blocks water paths.
- It hardens into a waterproof barrier without disturbing the tiles.
- This method can last for 10+ years if done correctly.
While it may cost more upfront, it’s still cheaper than full tile replacement. According to Building and Construction Authority (BCA) reports, injection grouting reduces repair costs by up to 40% compared to re-tiling.
7. Waterproofing Bathroom Walls
Sometimes, it’s not the floor that’s betraying you—it’s the walls. Cracked wall tiles or joints between the wall and floor let water sneak down.
Here’s what you can do:
- Scrape out cracked wall grout.
- Re-grout with waterproof epoxy grout.
- Apply a wall sealer over the surface.
- Seal the joint between floor and wall with flexible silicone or polyurethane.
Don’t ignore wall leaks—they often lead to peeling paint, damp smells, and even mold in adjacent rooms.
8. Using Waterproof Membrane Over Tiles
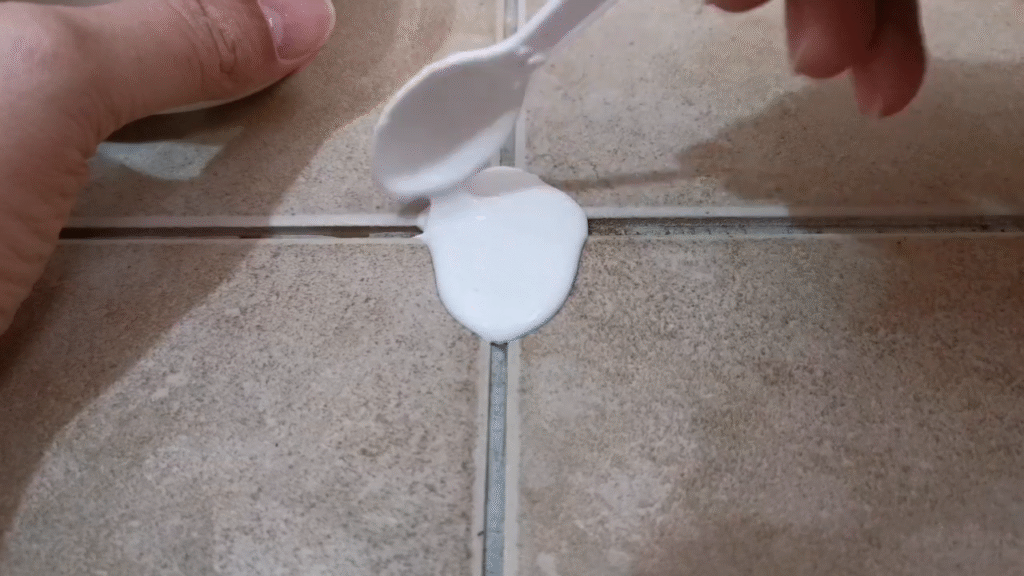
If you want a long-term solution without removing tiles, you can install a waterproof membrane layer over the existing floor.
How it works:
- A thin liquid-applied membrane (like RedGard or SikaLastic) is spread across the tiles.
- It creates a rubber-like film that water cannot penetrate.
- You can even lay vinyl flooring or a thin protective layer over it for aesthetics.
This is especially helpful for old bathrooms where tiles have aged and multiple leaks keep appearing.
9. Importance of Regular Maintenance
You’ve heard the saying, “Prevention is better than cure”. Bathroom leakage is the perfect example. Spending 15 minutes every month checking seals and grout can save you thousands in repairs.
Here’s a simple maintenance checklist:
- Inspect grout and reseal every 2 years.
- Check drain edges for gaps.
- Reapply transparent waterproof coating every 2–3 years.
- Make sure water slopes toward the drain, not the corners.
Statistics show that 80% of bathroom leakages can be prevented with regular maintenance, according to Plumbing Manufacturers International (PMI).
10. When to Call a Professional
Sometimes DIY just won’t cut it. If:
- The leakage has spread to multiple rooms.
- Mold or damp smell persists despite sealing.
- Water keeps reappearing even after DIY fixes.
…it’s time to call in a waterproofing professional. They’ll use thermal imaging and moisture meters to track leaks you can’t see.
I made the mistake of delaying professional help once. By the time I called, my wooden wardrobe in the adjacent room was swollen beyond repair. Don’t wait that long.
Conclusion
Stopping bathroom leakage without removing floor tiles isn’t magic—it’s about smart sealing and regular maintenance. From grout repair to transparent waterproof layers, there are multiple ways to protect your bathroom without a hammer and chisel.
The key is to identify the source, seal it properly, and maintain it regularly. Water may be powerful, but with the right tricks, you’ll always stay one step ahead.
FAQs
1. Can I use normal silicone to stop bathroom leakage?
Yes, silicone works well for sealing joints and corners, but for drains and heavy leakage, polyurethane or epoxy sealants last longer.
2. How long does transparent waterproof coating last?
Most coatings last 2–3 years, depending on bathroom usage. After that, you should reapply for maximum protection.
3. Is injection grouting safe for old bathrooms?
Yes, it’s one of the safest methods for old structures because it doesn’t require breaking tiles or adding extra weight.
4. Can bathroom leakage cause health issues?
Definitely. Leaks lead to mold growth, which can trigger allergies, asthma, and respiratory problems.
5. What is the cheapest way to stop bathroom leakage without tile removal?
The most cost-effective method is grout repair and transparent waterproof coating. These two combined can stop most minor leakages without heavy expenses.

