When your toilet starts leaking, it feels less like a small inconvenience and more like a ticking time bomb in your bathroom. Every drop means wasted water, higher bills, and possibly damage to your floors. Sealing a leaking toilet isn’t just about patching up a problem—it’s about protecting your home, saving money, and avoiding bigger headaches down the line. Let’s dive straight into how to seal a leaking toilet the right way.
1. Identify Where the Leak Is Coming From
Before you grab a wrench or caulk gun, you need to figure out where the leak is happening. A toilet can leak from several spots:
- The base – usually means a failed wax ring seal.
- The tank-to-bowl connection – often caused by worn-out tank bolts or gaskets.
- The water supply line – faulty hose or loose connection.
- The flush valve or flapper – water constantly trickling into the bowl.
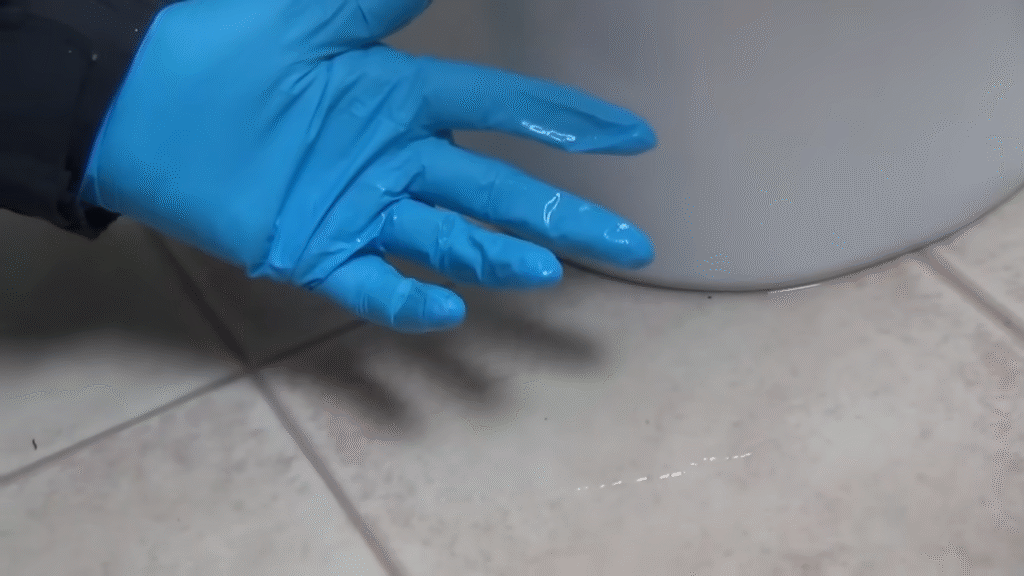
Here’s a simple trick: place a few sheets of toilet paper around the suspected areas. Water will show up quickly, telling you the exact spot of the leak.
Stat check: According to the Environmental Protection Agency (EPA), a leaky toilet can waste up to 200 gallons of water per day. That’s enough to fill a small pool in less than a month!
2. Shut Off the Water Supply
Once you know where the problem is, the next step is shutting off the water supply. Look for the shut-off valve behind or beside the toilet. Turn it clockwise until it stops. Flush the toilet to drain as much water as possible from the tank and bowl.
If you’ve ever forgotten to do this and ended up with water everywhere (been there, done that), you know why it’s such a crucial step.
Tip: Use a sponge or towel to soak up any remaining water in the tank and bowl before starting repairs.
3. Fixing a Leak at the Base
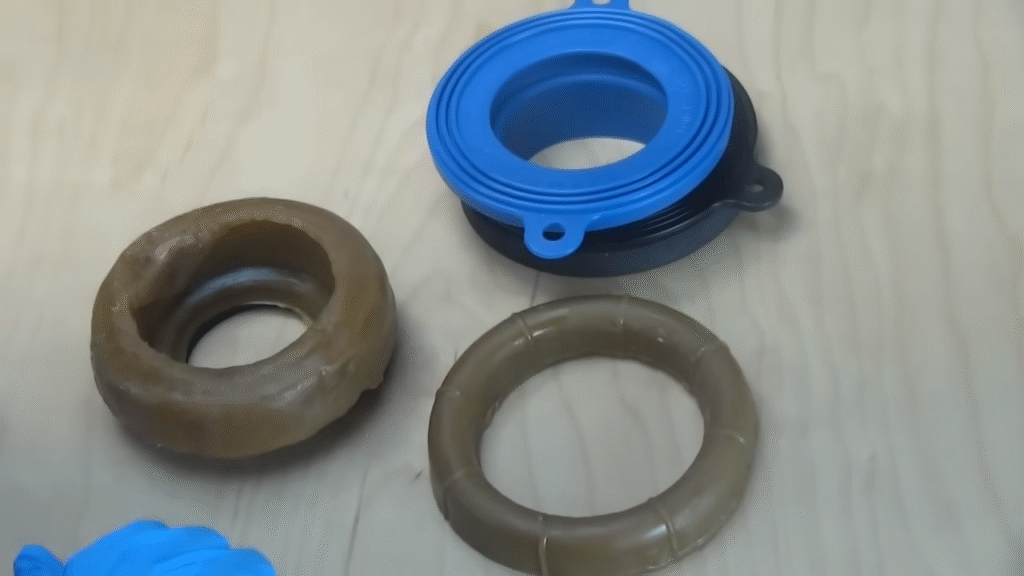
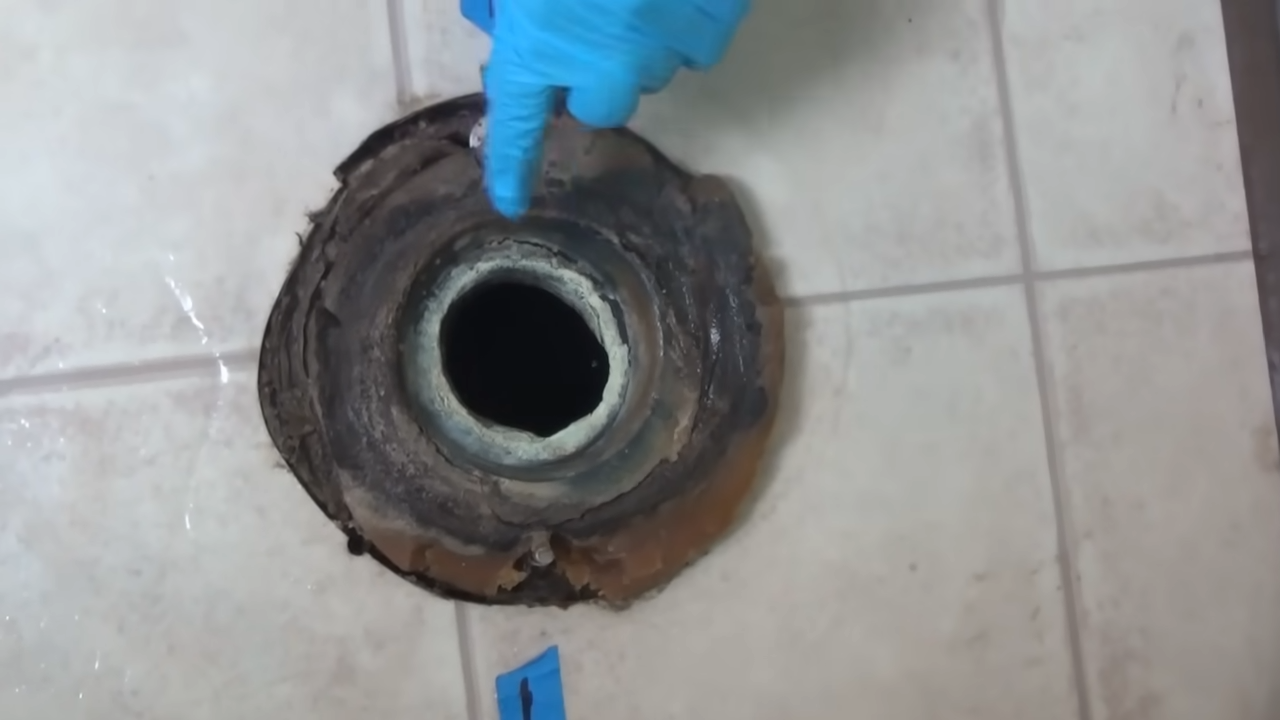
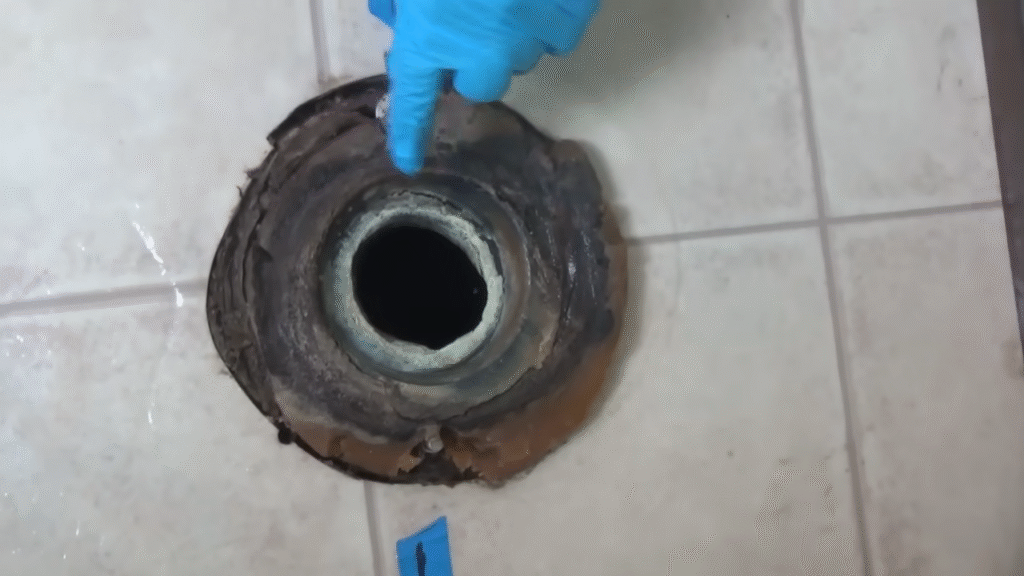
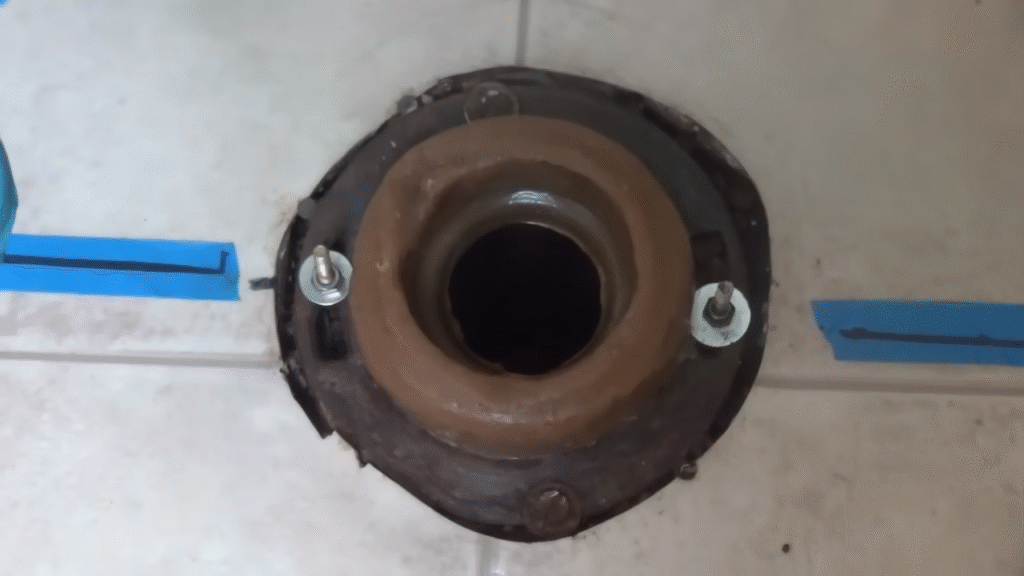
If water pools around the base of the toilet, the wax ring seal has likely failed. This seal sits between the toilet and the drainpipe and prevents leaks.
Steps to Fix It:
- Disconnect the water supply line.
- Remove the caps from the toilet bolts at the base.
- Unscrew and carefully lift the toilet straight up (get help if needed—it’s heavier than it looks).
- Scrape away the old wax ring using a putty knife.
- Place a new wax ring or a wax-free seal on the flange.
- Re-seat the toilet carefully, pressing it down evenly.
- Tighten the bolts but don’t overtighten (that can crack the porcelain).
- Reconnect the water supply, turn it on, and test flush.
Personal note: The first time I replaced a wax ring, I didn’t seat the toilet evenly, and it rocked slightly. A week later, water was back on the floor. Lesson learned—press firmly and evenly.
4. Fixing a Leak Between the Tank and Bowl
If water drips down the outside of the bowl after each flush, the tank-to-bowl gasket or the tank bolts are the culprits.
Steps to Fix It:
- Turn off the water and drain the tank.
- Remove the tank lid carefully and set it aside.
- Use a wrench to loosen the nuts holding the tank to the bowl.
- Lift the tank straight up and set it on a towel.
- Replace the large spongy gasket (it sits around the flush valve opening).
- Replace the rubber washers on the bolts too.
- Reinstall the tank, making sure it sits evenly.
- Tighten the bolts gently—over-tightening can crack the porcelain.
Stat check: According to plumbing repair data, nearly 60% of tank leaks are caused by worn-out gaskets and washers, not cracks in the porcelain.
5. Fixing a Leaking Supply Line
Sometimes, the issue isn’t with the toilet itself but the flexible hose that supplies water.
Steps to Fix It:
- Check if the connection is loose—use a wrench to snug it up slightly.
- If the hose is cracked or corroded, replace it entirely.
- Apply plumber’s tape (Teflon tape) to the threads before reconnecting.
- Turn the water back on and check for drips.
Tip: Supply hoses are cheap (often under $10) and easy to replace. Don’t gamble with an old one—swap it out.
6. Fixing a Flapper or Flush Valve Leak
If your toilet runs constantly or you hear water trickling, the flapper or flush valve might be leaking.
Steps to Fix It:
- Turn off the water supply and drain the tank.
- Remove the old flapper (it’s the rubber piece that seals the flush valve).
- Clean any buildup from the valve seat with a sponge.
- Install a new flapper, making sure the chain has a little slack.
- Turn the water back on and test the flush.
Fun fact: A worn flapper is the most common cause of toilet leaks, responsible for over 30% of household leaks, according to WaterSense.
7. When to Use Caulk Around the Toilet
Caulking around the toilet base isn’t for sealing the wax ring—it’s for cosmetic finish and stability. However, if the toilet wobbles, caulk won’t fix the real issue. Always replace the wax ring first.
If you do caulk:
- Use a bathroom-grade silicone caulk.
- Apply a thin bead around the base.
- Leave a small gap at the back so water can escape if a future leak happens.
8. Preventing Future Leaks
Sealing the toilet is one thing, but keeping it from leaking again is another. Here are preventive measures:
- Inspect your toilet every 6–12 months for leaks.
- Replace the flapper every 3–5 years.
- Use high-quality supply hoses instead of cheap ones.
- Avoid overtightening bolts.
- Check your water pressure—above 80 psi can stress toilet parts.
Personal anecdote: I once ignored a small base leak thinking it was just mop water. Months later, the floor had rotted beneath the toilet, leading to a costly repair. Never ignore even the smallest leaks—they’re sneaky villains in disguise.
9. Common Mistakes to Avoid
- Overtightening bolts – cracks porcelain.
- Reusing an old wax ring – always replace it.
- Not leveling the toilet – leads to rocking and future leaks.
- Skipping plumber’s tape on supply line threads.
- Ignoring water pressure issues.
10. When to Call a Professional
Sometimes DIY isn’t enough. If you notice:
- Cracks in the toilet bowl or tank.
- Persistent leaks after replacing seals.
- Floor damage from long-term leaks.
- Complex plumbing setups.
Then it’s time to call in a plumber. A professional repair might cost between $150–$300, but that’s much cheaper than repairing water damage.
Conclusion
Sealing a leaking toilet isn’t rocket science—it’s a mix of detective work, patience, and knowing which parts to replace. By identifying the leak source, shutting off the water, and tackling the issue step by step, you can save hundreds of gallons of water, keep your bills in check, and avoid expensive floor repairs. Think of it as giving your bathroom a fresh lease on life—because nothing ruins a cozy home faster than a soggy floor.
FAQs
1. How do I know if my toilet wax ring is bad?
If water pools at the base after flushing or if the toilet rocks, the wax ring is likely failing.
2. Can I use caulk alone to stop a toilet leak?
No, caulk only seals the outside edges. You must replace the wax ring or gasket for a real fix.
3. How often should I replace the toilet flapper?
Every 3–5 years, or sooner if you notice running water or trickling sounds.
4. Why does my toilet still leak after tightening the bolts?
Overtightening can crack porcelain, or the issue may be with the gasket, not the bolts. Always replace worn parts instead of just tightening.
5. Is it worth calling a plumber for a small leak?
If the repair involves cracks in porcelain or persistent leaks despite DIY fixes, call a plumber to avoid long-term damage.

