If you’ve ever had water sneak its way under your bathroom tray, you know how quickly a small problem can turn into a moldy mess.
Sealing a bathroom tray isn’t glamorous work, but it’s one of those little home projects that makes a huge difference in keeping your bathroom fresh, safe, and easy to clean.
Think of it like putting a raincoat on your bathroom—it keeps all the unwanted drips and leaks from causing chaos underneath.
1. Why Sealing a Bathroom Tray Matters

A bathroom tray (like a shower base or bath panel tray) constantly battles water. Every splash, every steamy shower, every drip from the faucet has the potential to slip into tiny gaps. If you don’t seal it properly, water can:
- Cause mold and mildew growth (a serious health hazard—according to the EPA, indoor mold can trigger allergies and respiratory issues for 1 in 5 people).
- Damage the subflooring—water damage repairs can cost anywhere from $500 to $2,000, depending on how far the rot spreads.
- Weaken the structure—over time, constant moisture can warp wood and loosen tiles.
When I first moved into my apartment, the bathroom smelled musty. I thought it was just poor ventilation. Nope—it was an unsealed shower tray letting water seep into the floorboards. I had to rip out half the flooring. Lesson learned: sealing is cheap insurance against expensive disasters.
2. Choosing the Right Sealant
Not all sealants are created equal. This is where a lot of beginners mess up—they grab whatever tube of caulk is on sale. Here’s the breakdown:
- Silicone Sealant: Best for bathrooms. It’s waterproof, flexible, and mold-resistant. Look for labels that say “kitchen and bath”.
- Acrylic Caulk: Easier to apply, but not as durable around constant water. I wouldn’t recommend it for shower trays.
- Hybrid Sealants: A newer type that mixes silicone and acrylic features. They’re strong and paintable, but more expensive.
Pro tip: Choose a sealant in clear or white. White blends with tiles, while clear works well if your bathroom tray is colorful or patterned. I once used a cream-colored sealant thinking it would “match” my tiles—spoiler: it just looked like I smeared butter around the edges.
3. Tools and Materials You’ll Need

Before you start, gather everything so you don’t end up with half-applied caulk drying while you run to the store. You’ll need:
- A caulking gun (trust me, squeezing from the tube by hand is a nightmare).
- Your chosen silicone sealant.
- Masking tape (for clean, straight edges).
- Utility knife or scraper (to remove old sealant).
- Rubbing alcohol or a cleaning solution.
- Paper towels or rags.
- Soapy water in a spray bottle (helps smooth the seal).
- Optional: A sealant finishing tool—but honestly, your finger works just as well if you wet it.
I once forgot to buy masking tape and tried to “freehand” the seal. Let’s just say it looked like a toddler decorated the bathroom. Tape is your friend.
4. Prepping the Bathroom Tray
Preparation is 70% of the job. If you skip this part, your new seal won’t stick properly.
- Remove old sealant: Use a utility knife or scraper to cut and peel away the old caulk. Don’t be tempted to just put new caulk over old—it won’t last.
- Clean the surface: Scrub the tray edges with rubbing alcohol or bathroom cleaner to remove soap scum and dirt. Let it dry completely.
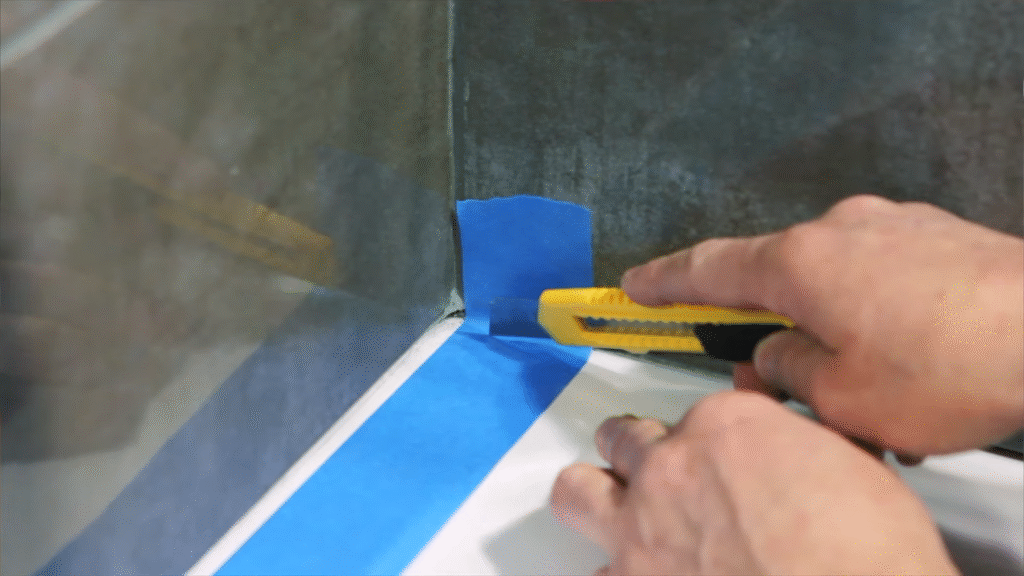
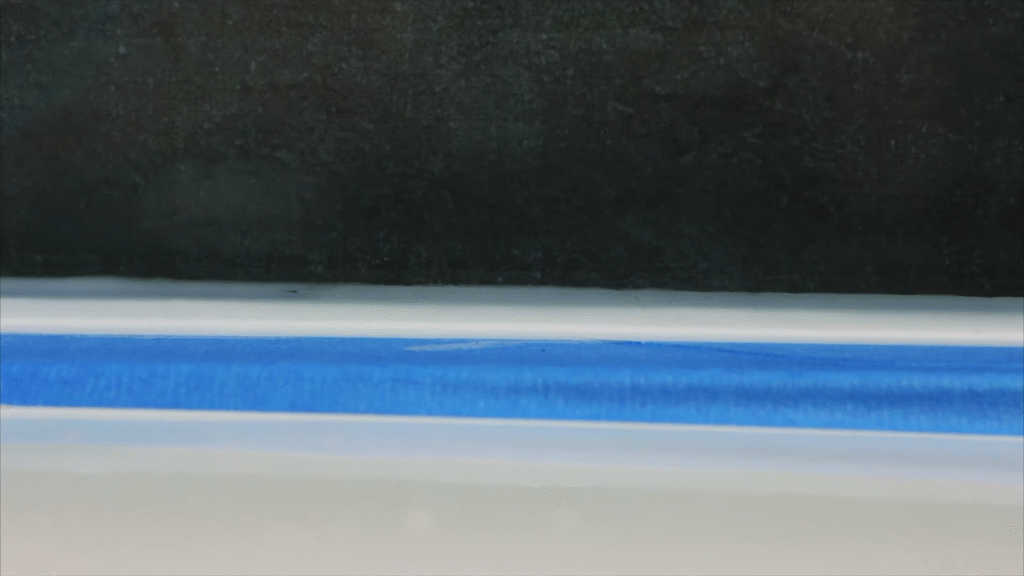
- Apply masking tape: Place strips along both sides of the joint you’ll be sealing. Leave a small gap (2-3mm) where the new sealant will go.
Think of this step like painting a wall—if you don’t prep, the finish will look sloppy and peel too soon.
5. Applying the Sealant

This is the fun part—it’s like frosting a cake, but a little less tasty.
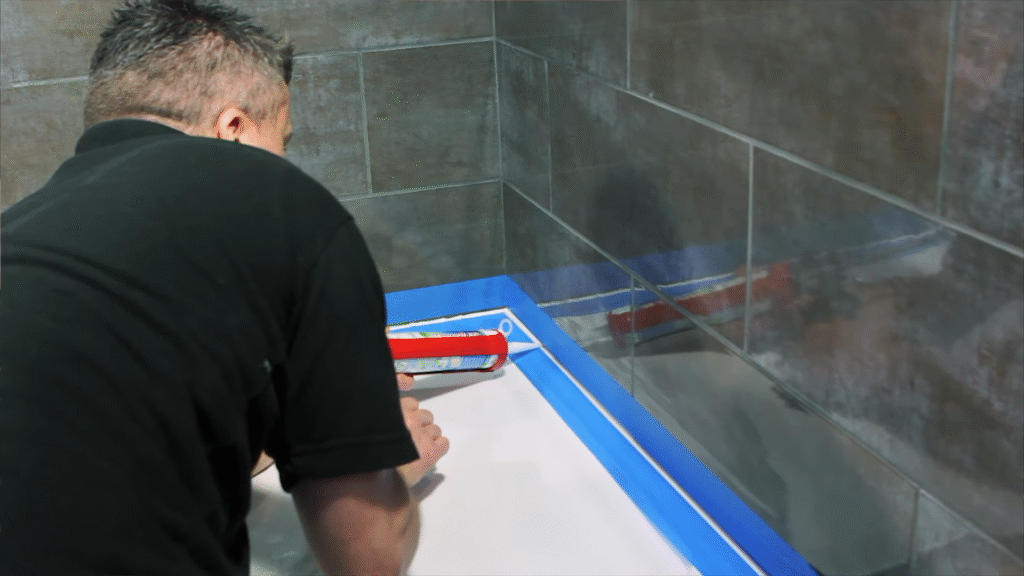
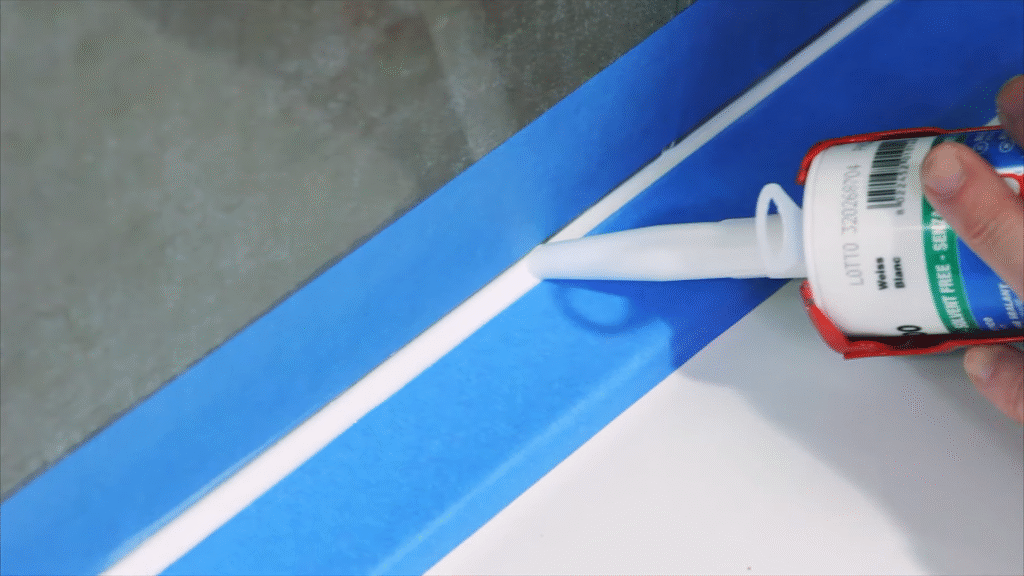
- Cut the nozzle of the sealant tube at a 45° angle. Start with a small opening; you can always cut more if needed.
- Load the tube into the caulking gun.
- Start in a corner and squeeze out a smooth, even bead along the joint. Keep the gun moving steadily to avoid blobs.
- Smooth the bead immediately using your finger dipped in soapy water or a sealant tool. This presses the sealant into the gap and gives it a neat finish.
- Remove the masking tape while the sealant is still wet. Peel carefully at an angle for crisp lines.
I remember the first time I sealed a bathroom tray—I pressed way too hard on the gun trigger and ended up with a giant blob of silicone that looked like a toothpaste accident. Go slow, steady, and don’t panic if it’s not perfect. The smoothing step is very forgiving.
6. Common Mistakes to Avoid
Even pros mess this up sometimes. Here are the big no-nos:
- Not cleaning properly—sealant won’t stick to soap scum or old caulk.
- Rushing the job—if you don’t smooth it fast enough, silicone sets and turns into a lumpy mess.
- Overfilling gaps—too much sealant actually makes it weaker. A thin, even bead is better.
- Skipping curing time—silicone usually needs 24 hours to cure before you expose it to water. Some fast-dry formulas cure in 6 hours, but check the label.
One of my biggest mistakes was showering too soon after sealing. The water left streaks, and I had to redo the whole thing. Trust me—plan to shower elsewhere for a day.
7. How Long Does Bathroom Tray Sealing Last?

A good silicone seal can last 5 to 10 years if applied correctly. But bathrooms are humid, and mold is sneaky. On average, most homeowners need to reapply every 2–5 years.
Signs you need to reseal:
- Discoloration (yellow or black spots).
- Cracking or peeling.
- Gaps appearing where the tray meets the wall.
According to a 2023 survey by HomeAdvisor, resealing bathroom joints is one of the top five most common DIY home maintenance projects, with 62% of homeowners tackling it themselves rather than hiring a pro.
8. How Much Does It Cost to Seal a Bathroom Tray?
Here’s the good news: sealing is one of the cheapest bathroom fixes you can do.
- Sealant tube: $5–$12 (one tube is usually enough for a tray).
- Caulking gun: $10–$20 (one-time investment).
- Masking tape & supplies: $5–$10.
So in total, you’re looking at $20–$40 for a DIY job. Hiring a professional, on the other hand, can cost $100–$200, depending on the size of the tray.
If you’re comfortable using a butter knife, you can handle this. And you’ll save enough money to splurge on some fancy bath products as a reward.
9. Tips for a Professional Finish
If you want your tray to look like a contractor did it, not like a DIY experiment, follow these extra tips:
- Work in small sections—don’t try to seal the entire tray in one go.
- Keep your finger or tool wet so the sealant doesn’t stick.
- Don’t over-smooth—one or two passes is enough. Too much fiddling makes it messy.
- Ventilate the bathroom while sealing and curing. Silicone fumes are strong.
A neighbor once asked me who I “hired” to seal my shower when I had just done it myself with these tricks. That’s when I knew I’d cracked the code to neat caulking.
10. Long-Term Maintenance
Even the best seal needs care. A few habits can extend its life:
- Wipe down the tray after showers to reduce standing water.
- Clean regularly with a mild bathroom cleaner—harsh chemicals can break down sealant.
- Inspect every 6 months for early signs of cracking.
- Use a dehumidifier or fan if your bathroom doesn’t ventilate well.
By doing this, you’ll avoid resealing every year. A little upkeep keeps your bathroom looking sharp and smelling fresh.
Conclusion
Sealing a bathroom tray isn’t complicated—it just requires patience, the right tools, and a steady hand. Think of it as a mini home improvement project that pays off big by preventing leaks, mold, and expensive repairs.
I’ve learned (sometimes the hard way) that skipping this step leads to headaches down the line. But once you master the technique, it’s strangely satisfying—like drawing a perfect line with a marker, but one that protects your home for years.
So, next time your bathroom tray looks a little tired, grab that caulking gun. You’ll thank yourself every time you step into a dry, fresh bathroom.
FAQs
1. How long should I wait before using my shower after sealing the tray?
Most silicone sealants need 24 hours to fully cure. Some fast-drying types cure in 6–8 hours, but always check the label.
2. Can I seal over old caulk?
It’s not recommended. Old caulk prevents new sealant from bonding properly. Always remove the old layer first.
3. What’s the best sealant for bathrooms?
100% silicone labeled for “kitchen and bath” use is the best option. It’s waterproof, flexible, and mold-resistant.
4. How often should I reseal a bathroom tray?
On average, every 2–5 years. Check yearly for cracks, discoloration, or gaps.
5. How do I remove old bathroom sealant?
Use a utility knife, scraper, or a specialized caulk remover tool. Clean the area with rubbing alcohol before applying new sealant.
