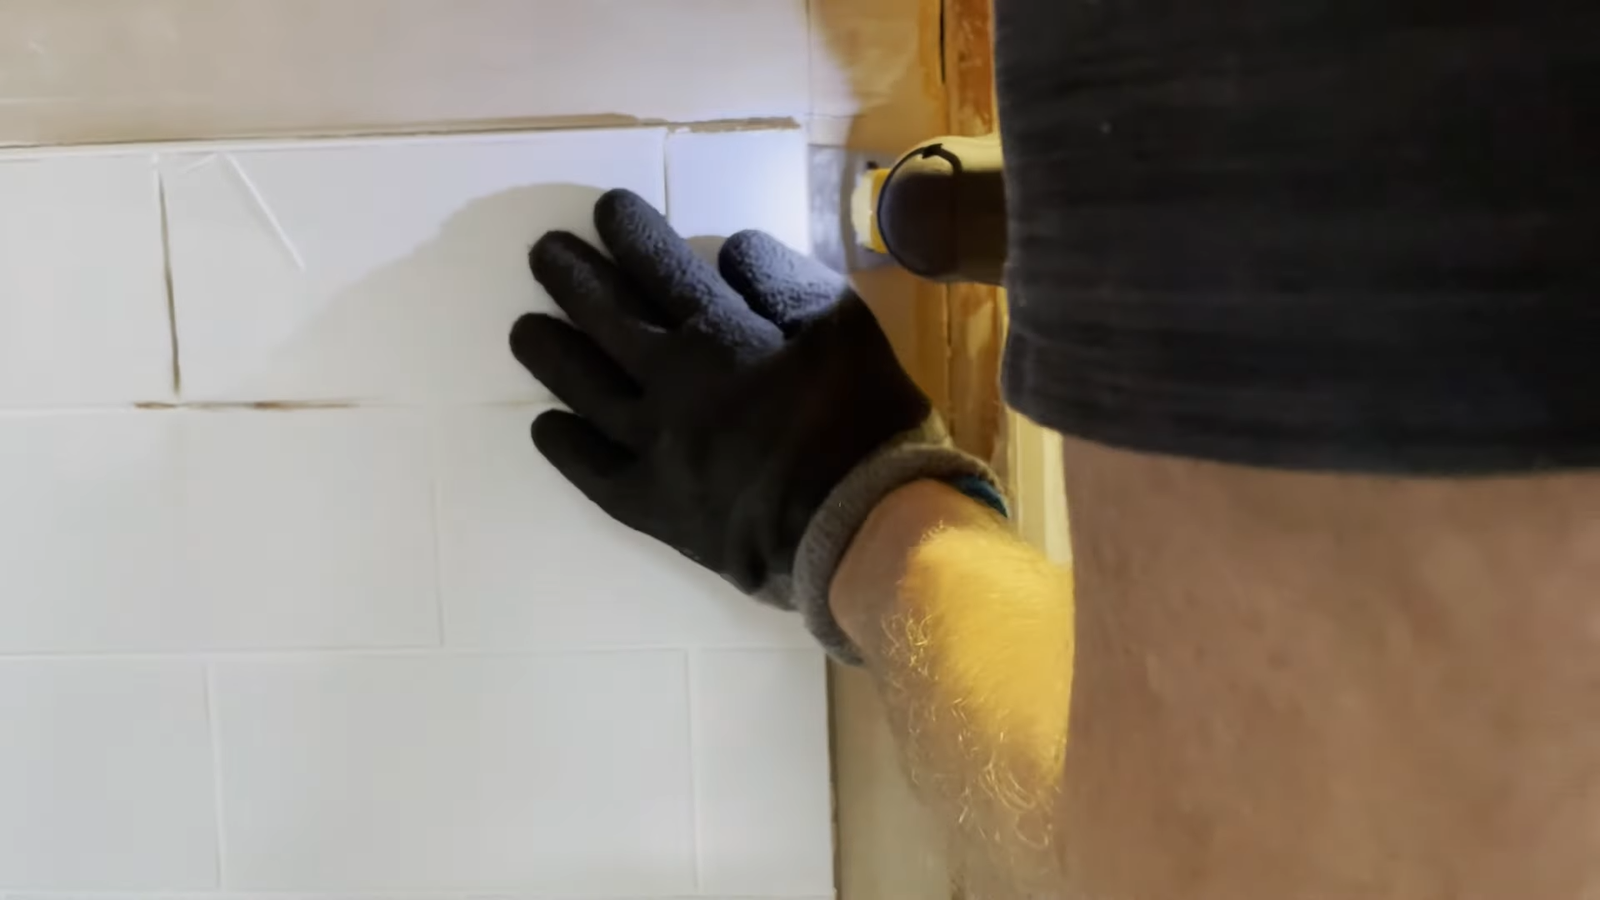
Bathroom tiles are durable, stylish, and practical—but when they’ve outlived their charm or cracked beyond repair, removing them becomes inevitable.
If you’ve ever looked at your bathroom and thought, “These tiles need to go,” you’re not alone.
Tile replacement projects are one of the most common DIY home improvement undertakings, but they can be tricky if you don’t know where to start.
1. Why Removing Bathroom Tiles Matters
Bathrooms see more action than any other room in your home. Between showers, steam, splashes, and scrubbing, the tiles eventually lose their shine—or worse, start to crack.
According to HomeAdvisor, the average homeowner replaces bathroom tiles every 15–20 years, not always out of necessity, but often because of style changes. That beige tile from the 2000s? Out. Matte hexagon tiles? In.
But beyond looks, there are practical reasons:
- Damaged tiles can lead to water leakage, which in turn causes mold and structural damage.
- Loose tiles are safety hazards, especially on bathroom floors.
- Updating tiles can increase home value by up to $5,000–$7,000 depending on the size and finish of your bathroom (based on Zillow remodeling stats).
So, yes, pulling out old tiles isn’t just about aesthetics—it’s also about maintaining a healthy, functional, and safe bathroom.
2. Tools You’ll Need to Remove Bathroom Tiles
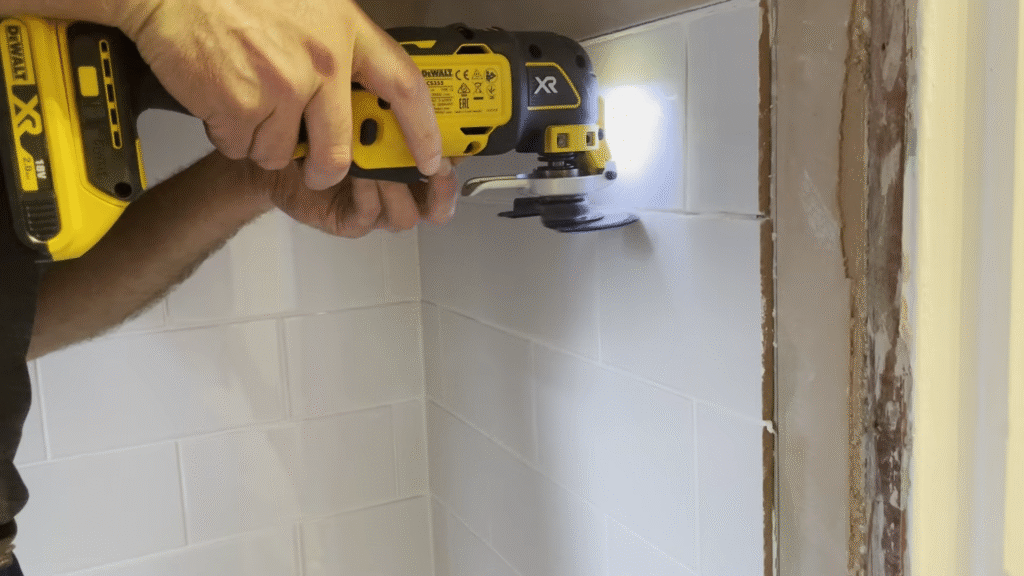
Think of this as packing your backpack before a mountain hike. You wouldn’t climb without water and boots; you shouldn’t remove tiles without the right gear. Here’s the toolkit:
- Safety gear: Gloves, safety goggles, dust mask, knee pads
- Pry bar (flat bar works best)
- Hammer or mallet
- Chisel (a masonry chisel is perfect)
- Utility knife
- Scraper or putty knife
- Bucket and tarp (for debris collection)
- Power drill with a tile bit (optional, for stubborn tiles)
- Shop vacuum (trust me, the dust will be everywhere otherwise)
When I first removed tiles, I skipped knee pads. Big mistake. After two hours, I felt like I’d just finished a marathon on concrete. Don’t underestimate the power of basic comfort gear.
3. Preparing the Bathroom for Tile Removal
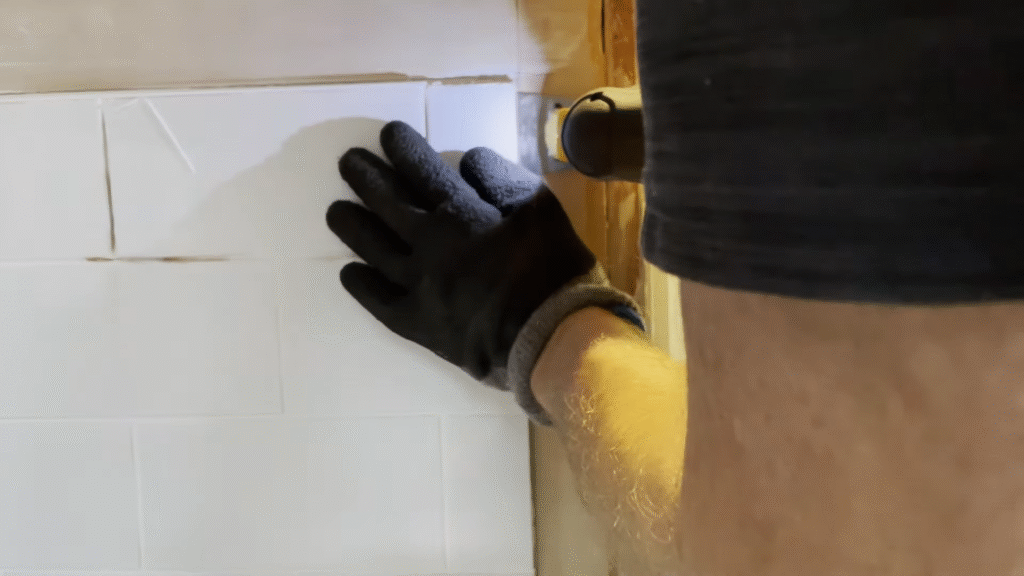
Preparation is 70% of the job. If you rush this part, you’ll spend double the time cleaning later.
Here’s how to prep like a pro:
- Turn off water supply if you’ll be working near fixtures.
- Remove bathroom accessories: towel bars, mirrors, shelves, etc.
- Cover drains and vents: Tiles shards are sneaky—they’ll find their way into your pipes if you’re not careful.
- Protect floors and fixtures: Lay down a tarp or heavy-duty drop cloth.
- Ventilate the space: Dust will get thick, so keep a window or fan running.
I once skipped covering the drain. Guess what? A tiny shard of tile blocked it, leading to a plumber bill that cost more than the project itself. Lesson learned: cover every hole.
4. Removing Grout Before Removing Tiles
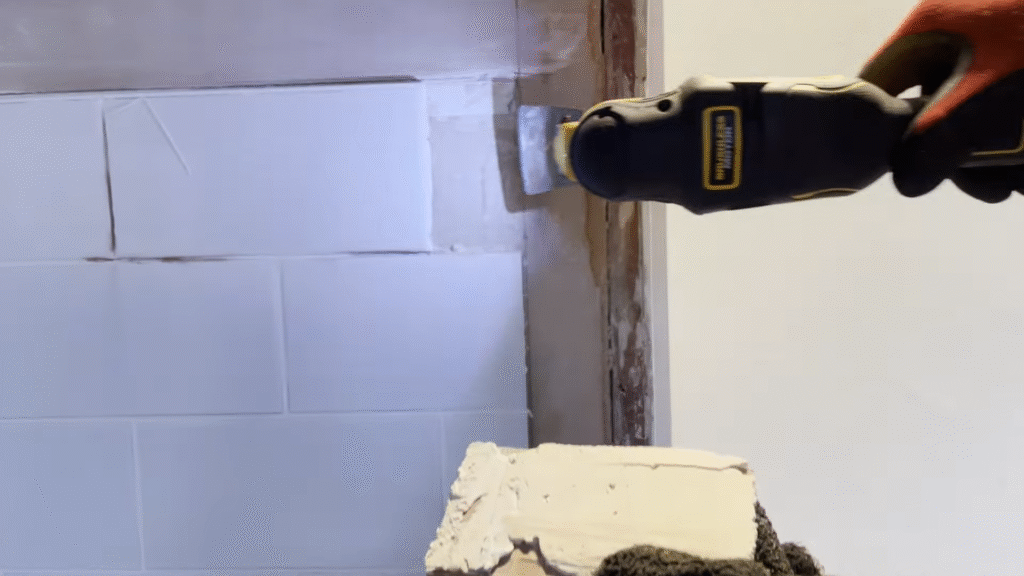
Tiles are held together not just by adhesive but by grout. If you try to pop out tiles without tackling grout first, you’ll end up cracking more tiles than intended.
Steps to remove grout:
- Use a utility knife or oscillating tool with a grout blade.
- Run it along the grout lines, cutting and scraping until you see separation.
- Focus on one tile at a time.
Statistics show that removing grout first reduces the risk of damaging the wallboard by 40%, according to a study by the Tile Council of North America.
This step may feel tedious, but think of it like untying a knot instead of yanking the rope apart—you’ll save the surrounding materials.
5. Removing Wall Tiles Step by Step
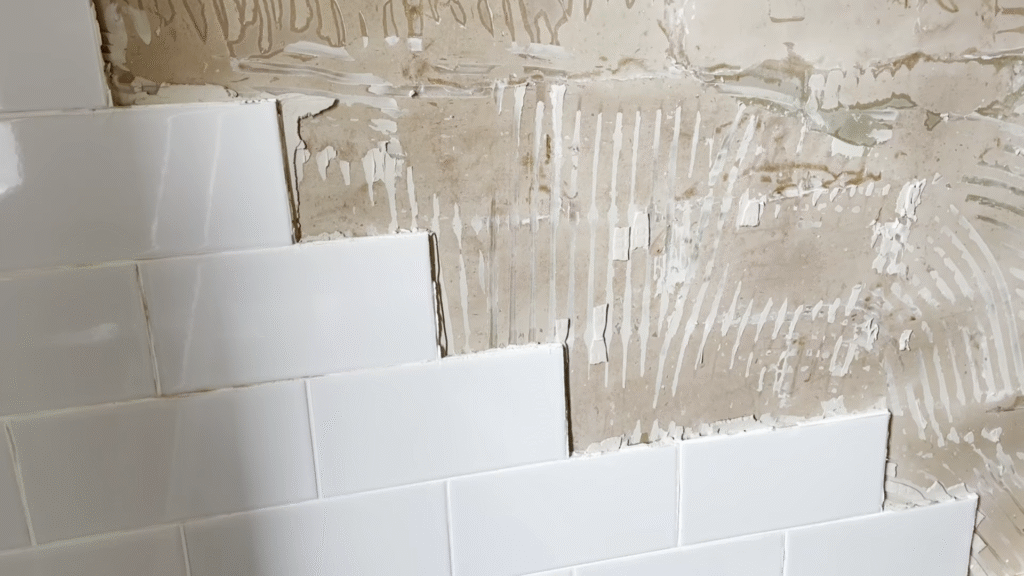
Wall tiles are slightly trickier than floor tiles because you’re working vertically, often at awkward angles.
Here’s the breakdown:
- Start at a loose or broken tile if possible. If none exist, pick a corner.
- Insert the chisel behind the edge of the tile.
- Tap gently with the hammer until the tile loosens.
- Pry it off and move to the next one.
- Continue row by row.
Pro tip: If a tile won’t budge, drill a hole in the middle with a tile bit, then chisel outward. This relieves tension.
When I worked on my first bathroom wall, I went in randomly—like pulling Jenga pieces. Bad move. Start from one corner and work systematically. Otherwise, you’ll create a patchwork of destruction.
6. Removing Floor Tiles Step by Step
Floor tiles are usually tougher because they’re set in stronger mortar. Prepare for a workout.
Steps:
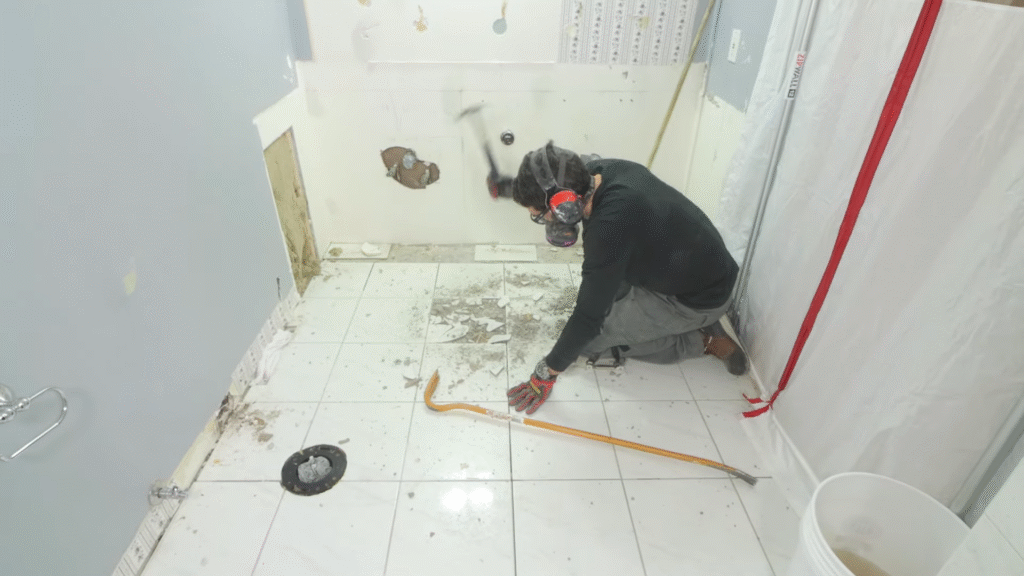
- Break the first tile with a hammer and chisel.
- Once one is out, slide the pry bar under adjacent tiles.
- Use steady leverage, not brute force—you don’t want to damage the subfloor.
- Continue until the floor is clear.
If you have a large bathroom, consider renting a power scraper from Home Depot or Lowe’s. On average, this reduces project time by 50–60%.
My mistake? Thinking I could do a 100-square-foot floor by hand in one day. Three days later, my arms felt like overcooked spaghetti. Don’t overestimate yourself—rent the tool if the space is big.
7. How to Handle Adhesive and Mortar
Once the tiles are gone, you’ll notice thinset mortar or adhesive clinging stubbornly to the wall or floor. Removing it is essential for installing new tiles smoothly.
Methods:
- Manual scraping with a putty knife or floor scraper.
- Heat gun to soften adhesive.
- Angle grinder with a masonry wheel for stubborn spots (be cautious).
Statistics show that poor mortar removal causes 70% of uneven re-tiling issues. Don’t rush this step. Your new tiles deserve a smooth foundation.
8. Cleaning Up After Tile Removal
Tile removal is messy—shards, dust, and debris everywhere. Here’s the cleanup strategy:
- Collect large shards into a bucket as you go.
- Sweep thoroughly before vacuuming.
- Use a shop vacuum with a HEPA filter to catch fine dust.
- Wipe down walls and floors with a damp cloth.
Disposal tip: Many cities allow you to dispose of tiles in bulk trash collection, but check your local rules. Tiles are considered construction debris and may need to go to a specific site.
9. Common Mistakes to Avoid When Removing Tiles
I’ve seen homeowners make the same mistakes over and over again. Here are the big ones:
- Skipping safety gear (one shard to the eye can mean an ER trip).
- Forcing tiles too aggressively (risking drywall or subfloor damage).
- Not covering fixtures or drains (hello, plumbing problems).
- Leaving adhesive behind (causes uneven reinstallation).
- Working randomly instead of systematically.
Avoiding these pitfalls saves time, money, and frustration.
10. How Long Does Tile Removal Take?
Time depends on the size of your bathroom and your tools. On average:
- Small bathroom (40 sq. ft.): 4–6 hours
- Medium bathroom (80 sq. ft.): 6–10 hours
- Large bathroom (120+ sq. ft.): 12–16 hours
Hiring a professional speeds things up but costs between $4–$7 per square foot. For a 100-square-foot bathroom, expect around $500–$700 in labor costs.
Doing it yourself saves money but requires patience and stamina.
11. Safety Tips During Tile Removal
Tile removal is not just about brute force—it’s about protecting yourself. Here are critical safety measures:
- Wear eye protection at all times.
- Use gloves to avoid cuts from sharp shards.
- Take breaks every 30–45 minutes to avoid fatigue.
- Stay hydrated (dust and sweat make for quick exhaustion).
I once skipped gloves and ended up with four small cuts in one hand. Those tiles are sharper than they look.
12. Preparing for New Tiles After Removal
After the tiles and adhesive are gone, your bathroom surface needs some love before you can retile:
- Check for water damage or mold behind tiles.
- Repair drywall or subfloor if necessary.
- Apply a primer or leveling compound to create a smooth base.
Think of it like repainting a wall—you wouldn’t paint over holes or cracks, right? Same principle here.
Conclusion
Removing bathroom tiles is one of those projects that feels daunting at first, but once you break it down into steps, it becomes completely manageable. The key is preparation, patience, and the right tools. Remember: start small, work systematically, and don’t rush the cleanup or mortar removal.
The reward? A fresh canvas to redesign your bathroom exactly the way you want it. And trust me, there’s something deeply satisfying about swinging a hammer and watching outdated tiles crumble away.
If you’ve been staring at your bathroom walls or floor wondering whether to take the plunge—consider this your sign.
FAQs on How to Remove Bathroom Tiles
1. Can I remove bathroom tiles without damaging the wall?
Yes, but it requires patience. Remove grout first, work slowly with a chisel, and avoid using too much force. Some damage to drywall is common, but it can be patched before re-tiling.
2. Do I need to remove all adhesive before re-tiling?
Absolutely. Leaving adhesive or mortar behind causes uneven tiles and weak bonding. A scraper or grinder works best for this.
3. Is it cheaper to DIY tile removal or hire a professional?
DIY saves money but costs time and effort. Professionals charge $4–$7 per square foot, but they finish faster and handle disposal.
4. What’s the hardest part of tile removal?
Most people struggle with removing mortar and adhesive after the tiles are gone. It’s time-consuming but necessary for a smooth surface.
5. Can I reuse old bathroom tiles after removal?
Usually no. Tiles often break during removal. However, if you remove them carefully, some can be salvaged for small DIY projects or mosaics.

