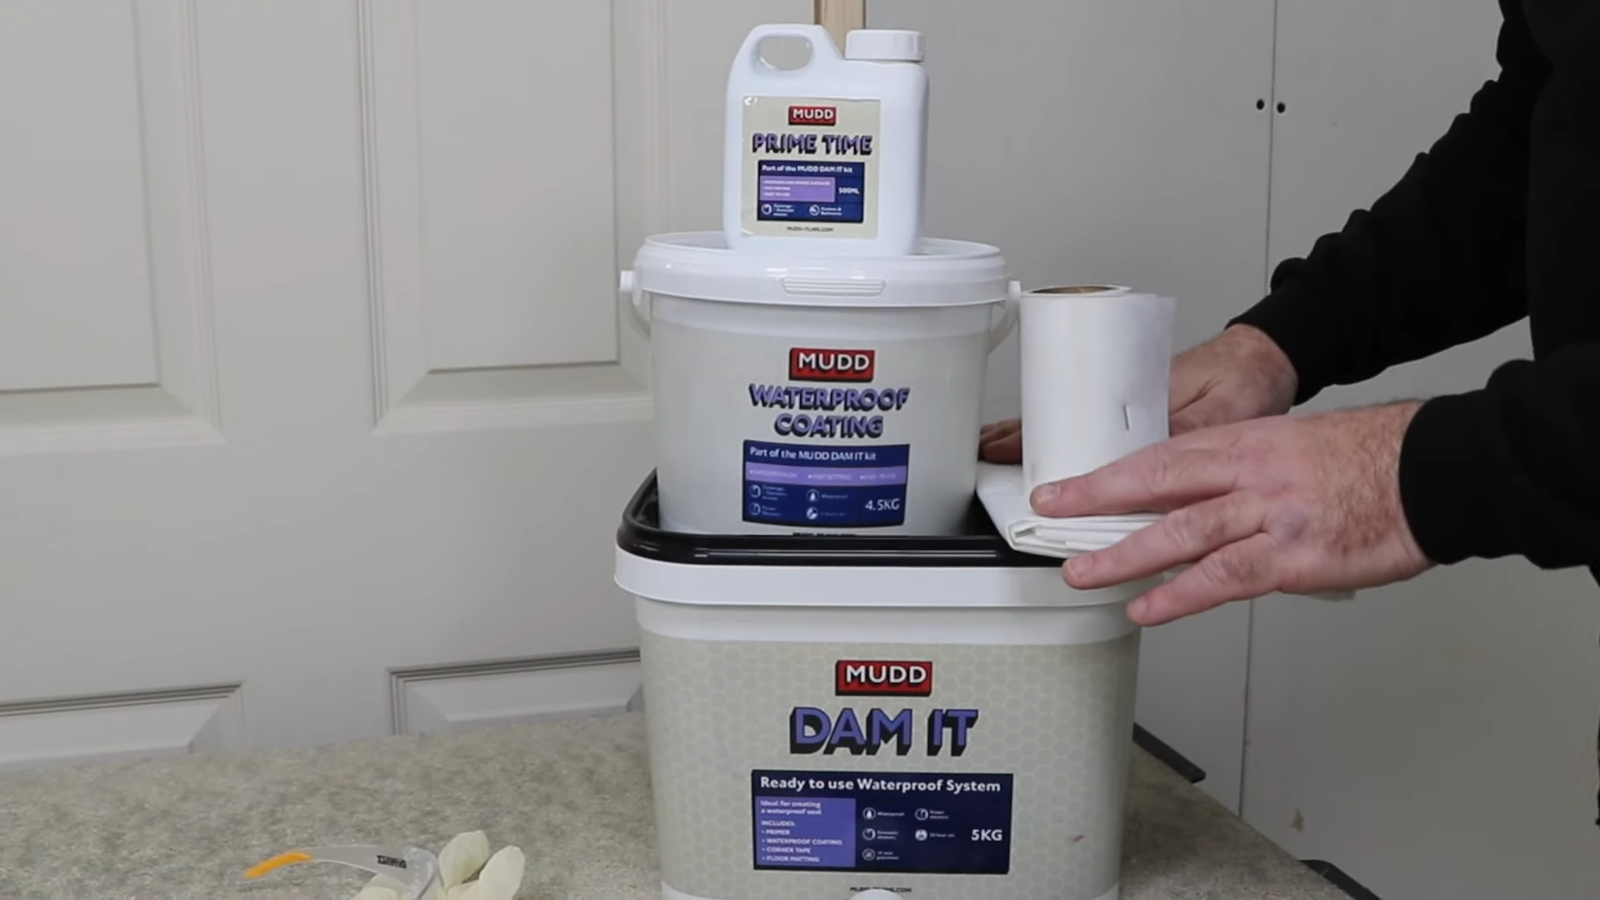
Bathrooms are one of the most moisture-heavy spaces in any home. If left untreated, bathroom walls can turn into a breeding ground for mold, mildew, cracks, and structural damage. Waterproofing isn’t just about keeping things dry—it’s about protecting your home’s long-term health and avoiding repairs that can cost a small fortune.
I’ve learned this the hard way after battling peeling paint and damp patches in my own bathroom. The good news? Making your bathroom walls waterproof is easier than it sounds when you know the right techniques. Let’s walk through the entire process step by step, with no sugarcoating, just practical advice.
1. Why Bathroom Wall Waterproofing Matters
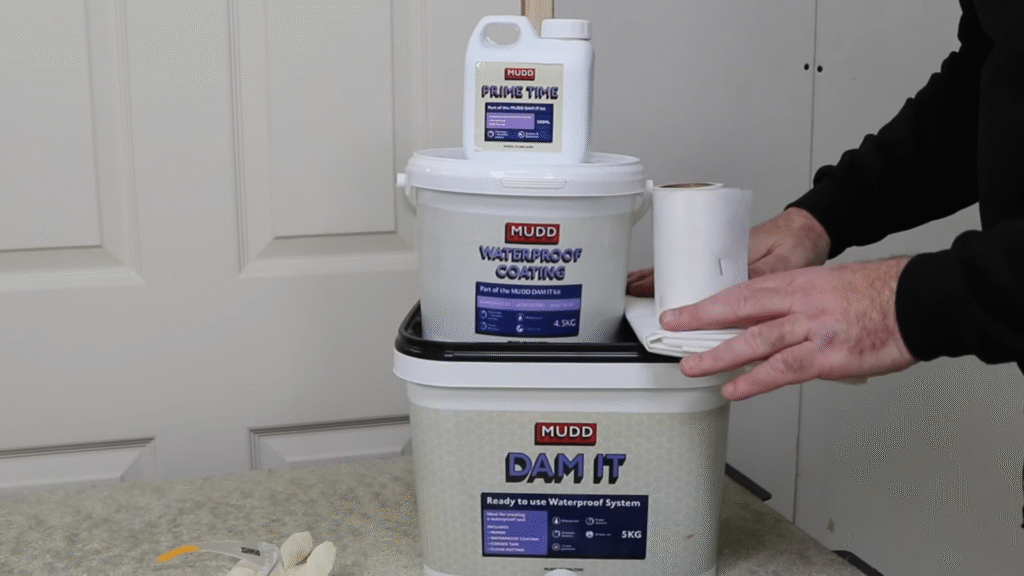
Bathrooms generate more humidity than any other room in your house. A hot shower alone can raise indoor humidity to 80–90%, according to EPA data. Without waterproofing, that excess moisture seeps into the walls and causes damage you might not notice until it’s too late.
Here’s what happens when walls aren’t waterproofed:
- Mold growth: Mold thrives in damp, unsealed surfaces. About 47% of U.S. homes have reported mold problems, often starting in the bathroom.
- Structural issues: Water weakens plaster, drywall, and even concrete over time.
- Paint peeling and bubbling: That “flaky snowstorm” on your bathroom wall isn’t just ugly—it’s a warning sign of trapped moisture.
- Health risks: Long-term mold exposure can cause allergies, asthma, and respiratory problems.
When you waterproof your walls, you’re not just keeping them pretty—you’re shielding your home from costly disasters.
2. Assess the Current Condition of Your Bathroom Walls
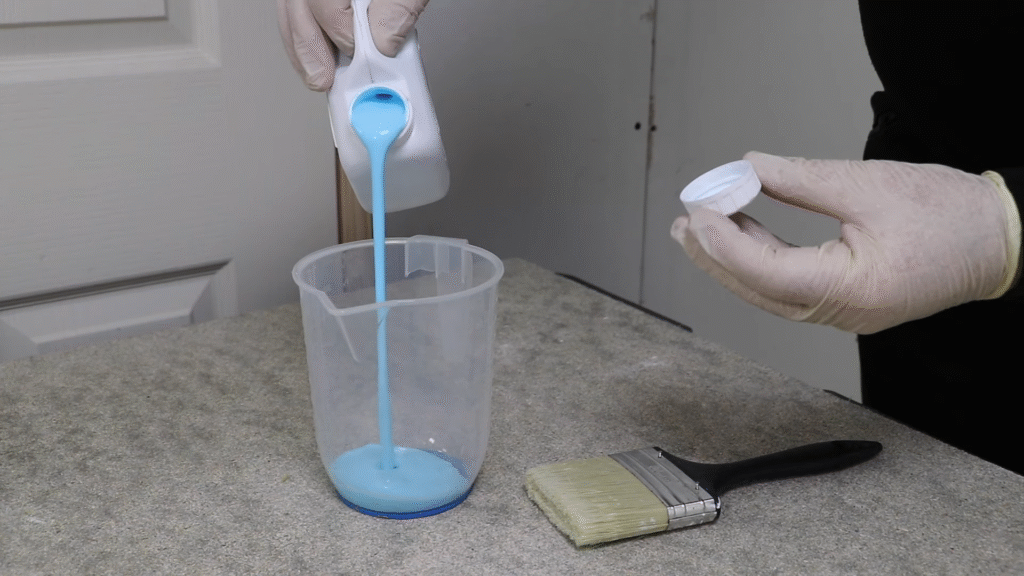
Before you jump into waterproofing, pause and inspect your walls like a detective on a case. You’ll need to identify:
- Cracks and gaps: Even tiny cracks can let water in like an open invitation.
- Damp spots or discoloration: Yellow stains, dark patches, or soft plaster signal moisture issues.
- Mold or mildew presence: Black or green spots? Time to act fast.
- Type of wall material: Tile, cement, drywall, or plaster all require slightly different waterproofing approaches.
When I checked my bathroom, I noticed faint peeling near the shower area. It looked minor, but after scraping, I realized the plaster underneath had softened. That’s when I knew skipping waterproofing wasn’t an option.
3. Choose the Right Waterproofing Method
Not all bathrooms need the same treatment. Your walls’ material and exposure level determine the right approach. Here are the main options:
a) Waterproof Paint
- Works well for drywall and plaster.
- Contains moisture-resistant additives.
- Easy to apply, just like regular paint.
- Ideal for areas with light moisture exposure.
b) Liquid Waterproofing Membrane
- A paint-like coating that dries into a flexible, water-resistant barrier.
- Perfect for cement or concrete walls.
- Often used under tiles in wet zones like showers.
c) Cementitious Waterproofing
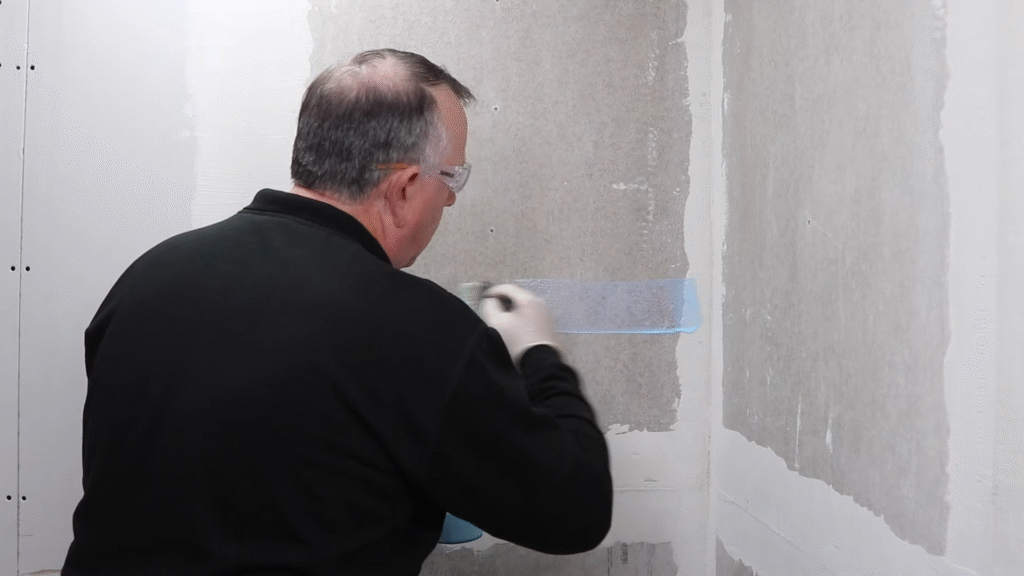
- Made of cement-based powder mixed with water.
- Extremely durable and perfect for masonry or concrete surfaces.
- Commonly used by professionals in heavy-duty applications.
d) Waterproof Wall Panels
- PVC or acrylic panels that lock together.
- Completely waterproof and low-maintenance.
- Great for quick remodels and stylish finishes.
Choosing the right method is like picking the right armor for battle—you need the protection that suits your wall’s weaknesses.
4. Repair and Prepare the Walls First
Here’s a golden rule: Never waterproof a damaged wall. Sealants can only do their job if the surface is strong and smooth.
Steps to prep:
- Clean the surface: Scrub away dirt, grease, or soap scum. A mix of warm water and mild detergent works well.
- Remove loose paint: Scrape off any peeling or bubbling paint.
- Fill cracks and holes: Use waterproof filler or cement patch.
- Treat mold: Kill mold with a vinegar-water solution or a store-bought mold remover. Don’t just paint over it—it’ll come back.
- Sand the surface: Smooth it out so the waterproofing material adheres properly.
When I prepped my walls, I discovered tiny hairline cracks that looked harmless. Filling them made a world of difference—otherwise, they would have turned into leak highways.
5. Apply Waterproof Paint
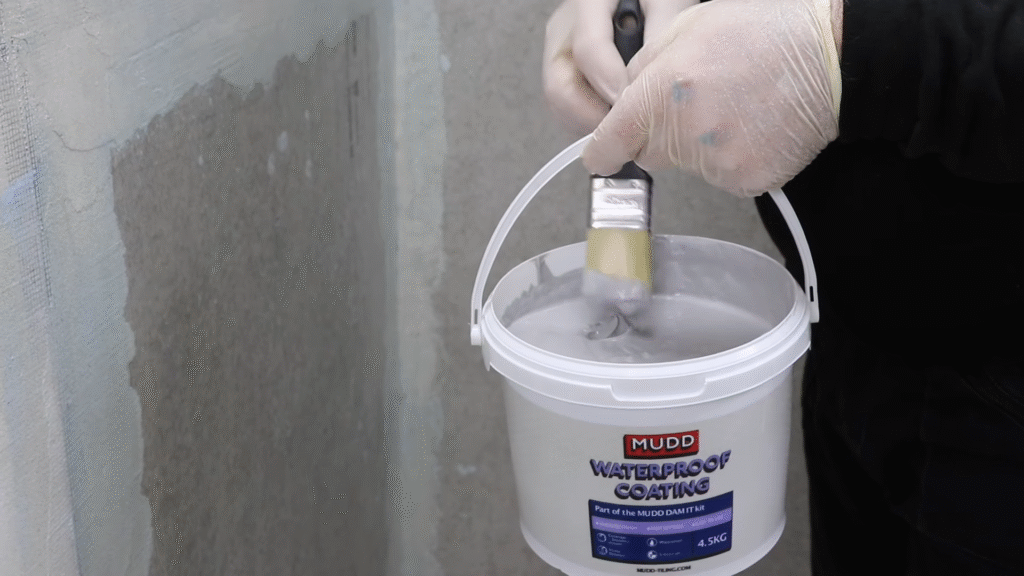
If you’re working with drywall or plaster walls, waterproof paint is your best friend.
Here’s how to apply it:
- Prime first: Use a high-quality primer designed for damp areas.
- Apply the first coat: Use a roller for large areas and a brush for corners.
- Wait and dry: Let it cure completely (usually 4–6 hours).
- Add a second coat: Always apply at least two coats for proper protection.
Pro tip: Don’t skimp on coats. Think of it like applying sunscreen—you wouldn’t cover only half your arm and call it done, right?
6. Use a Liquid Waterproofing Membrane
For high-moisture zones like the shower area, liquid waterproofing membranes work wonders.
Steps:
- Stir the liquid thoroughly.
- Apply with a roller or brush, focusing on corners and joints.
- Let it dry (it usually changes color when cured).
- Apply a second coat at a right angle to the first for even coverage.
These membranes create a seamless rubber-like barrier that prevents water from sneaking into your walls. It’s like giving your bathroom walls a raincoat that never wears out.
7. Consider Cementitious Waterproofing
If your bathroom walls are concrete or masonry, cementitious coatings are nearly indestructible.
Application process:
- Mix the powder with water to form a slurry.
- Dampen the wall slightly before applying.
- Use a stiff brush to apply in upward strokes.
- Add at least two coats for durability.
This method feels old-school, but it’s trusted by builders worldwide for basements, water tanks, and—yes—bathrooms.
8. Install Waterproof Wall Panels for Long-Term Protection
If you want zero-maintenance walls that look stylish, waterproof wall panels might be your dream solution.
- They come in designs that mimic tiles, marble, or plain finishes.
- Easy to install with adhesive or click-lock systems.
- No grout lines, which means no mold traps.
- Completely waterproof and easy to clean.
In my cousin’s bathroom, he went with PVC panels, and honestly, it looked so polished I had to double-check they weren’t real tiles.
9. Seal Joints and Corners Properly
No matter which waterproofing method you choose, joints and corners are your weak spots.
- Use silicone sealant around edges, corners, and gaps.
- Pay special attention to areas where the wall meets the floor.
- Replace old, cracked sealant regularly.
Think of it like locking your doors before leaving home—you wouldn’t protect just three sides and leave one wide open.
10. Improve Ventilation to Support Waterproofing
Even the best waterproofing won’t last if your bathroom feels like a tropical rainforest.
- Install an exhaust fan: A bathroom fan should exchange air 8 times per hour for proper ventilation.
- Keep windows open after showers to release humidity.
- Use a dehumidifier in smaller, enclosed bathrooms.
Good airflow is the secret partner of waterproofing. Without it, you’re just trapping moisture inside.
11. Maintain Your Waterproof Walls
Waterproofing isn’t a one-and-done affair. To keep your walls in great shape:
- Inspect walls every few months for cracks or peeling.
- Reapply waterproof paint every 3–5 years.
- Check silicone seals annually and replace when worn.
- Wipe down walls after hot showers to reduce condensation buildup.
Trust me, a little regular maintenance saves you from a renovation nightmare down the line.
12. Cost of Waterproofing Bathroom Walls
Budget is always a factor, so here’s what you can expect:
- Waterproof paint: $25–$50 per gallon (covers ~350 sq ft).
- Liquid membrane: $1.50–$3 per sq ft.
- Cementitious coatings: $2–$4 per sq ft.
- Waterproof panels: $5–$15 per sq ft.
For a standard 80 sq ft bathroom, professional waterproofing can cost anywhere from $500 to $2,000, depending on the method. DIY options are cheaper but require patience and precision.
13. Common Mistakes to Avoid
Waterproofing fails when people cut corners. Avoid these errors:
- Applying on dirty or damp walls.
- Skipping primer before waterproof paint.
- Using cheap sealants that crack quickly.
- Ignoring ventilation.
- Assuming one coat is enough.
I once thought a single coat of waterproof paint would do the trick. Within a year, I was back to peeling patches. Lesson learned—always double up.
Conclusion
Making your bathroom walls waterproof is like giving them lifelong armor. It protects against mold, peeling, and structural damage while keeping your bathroom fresh and healthy. Whether you use waterproof paint, liquid membranes, cementitious coatings, or waterproof panels, the key is proper preparation, thorough application, and ongoing maintenance.
It’s an investment that pays back in peace of mind, lower repair costs, and a bathroom that feels clean and safe every single day.
FAQs
1. How do I waterproof existing bathroom walls without removing tiles?
You can apply a clear liquid waterproofing membrane over the tile grout and seal the joints with silicone. This adds an invisible barrier without tearing anything out.
2. How long does bathroom wall waterproofing last?
With proper application and maintenance, waterproof paint lasts 3–5 years, while liquid membranes and panels can last 10+ years.
3. Can I waterproof drywall in the bathroom?
Yes, but only if you use moisture-resistant drywall (green board) combined with waterproof paint or a liquid membrane. Standard drywall won’t hold up.
4. What is the cheapest way to waterproof bathroom walls?
Waterproof paint is the most budget-friendly option, costing around $25–$50 per gallon. Just remember it’s best for low-moisture areas, not inside showers.
5. Do I need a professional to waterproof my bathroom walls?
Not necessarily. Many methods like waterproof paint or wall panels are DIY-friendly. But for cementitious coatings or large-scale waterproofing, hiring a pro ensures lasting results.

