If you’ve ever been in the middle of a shower only for someone to barge into your bathroom, you already know the importance of a good bathroom latch.
Installing one might seem intimidating, but it’s actually one of those small home projects that can save you from daily annoyances while also boosting privacy and safety.
By the end of this guide, you’ll know exactly how to install a bathroom latch like a pro without calling in an expensive handyman.
1. Why a Bathroom Latch Is Essential
Bathrooms are one of the most used spaces in any home, yet they’re also one of the most private. Without a latch, you’re left vulnerable to interruptions that can be both awkward and frustrating.
Think of a bathroom latch as the lock that keeps your peace intact. A study by Statista in 2023 showed that over 68% of homeowners prioritize bathroom privacy improvements when renovating. That means it’s not just about security; it’s about comfort and dignity too.
From kids bursting in at the wrong moment to guests not realizing the bathroom is occupied, a latch can prevent a whole lot of unnecessary drama. It’s a small hardware piece with a big impact.
2. Tools and Materials You’ll Need
Before you jump into the project, gather everything in one place. Trust me, nothing slows you down like realizing halfway through you need to hunt for a screwdriver.
Here’s your bathroom latch starter kit:
- Bathroom latch set (includes latch, strike plate, and screws)
- Screwdriver (Phillips or flathead depending on your screws)
- Power drill with drill bits
- Chisel and hammer (for making recesses in the door or frame)
- Measuring tape
- Pencil (for marking placements)
- Utility knife
- Level (to keep everything aligned)
I once tried installing a latch without a chisel and ended up using a butter knife. Don’t be me—use the right tools.
3. Choosing the Right Bathroom Latch
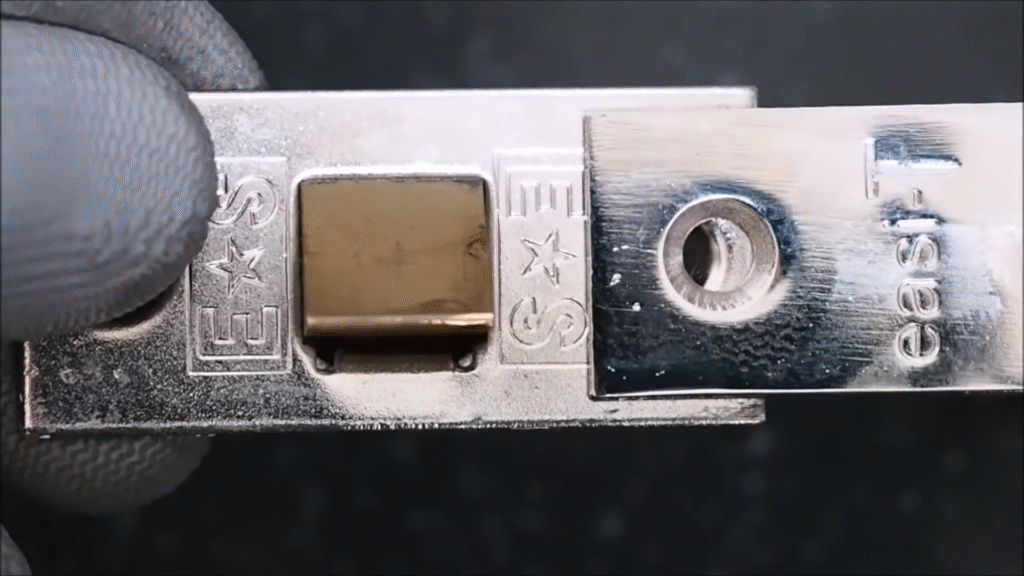
Not all bathroom latches are created equal. Picking the right one depends on your door type and your household’s needs.
Types of Latches:
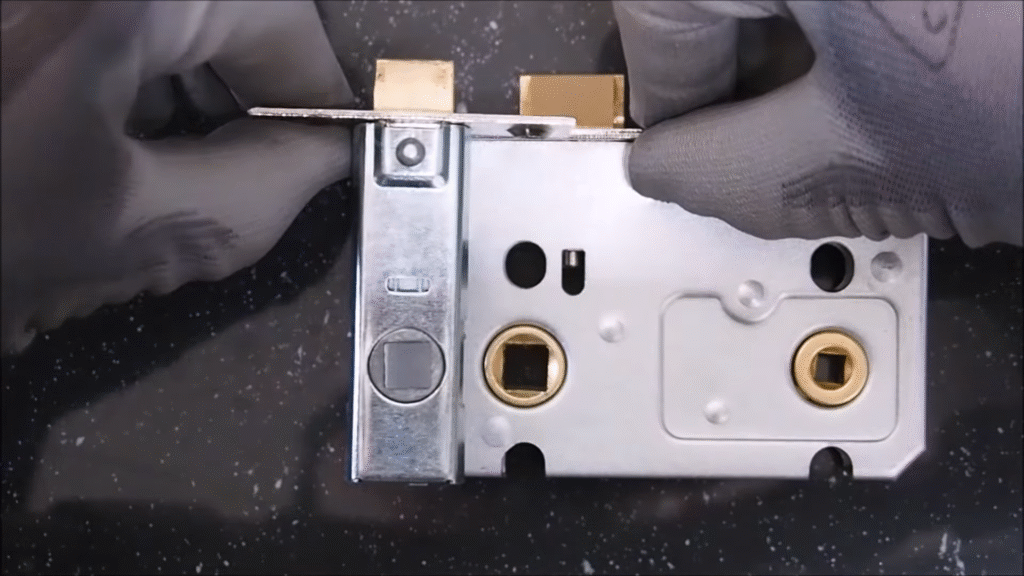
- Turn Button Latch – The most common, with a simple knob inside. Easy to install and use.
- Lever Handle with Lock – Great if you prefer handles instead of knobs.
- Privacy Bolt Latch – Offers more sturdiness, ideal for heavy doors.
- Magnetic Latch – Modern, silent, and sleek, but slightly pricier.
If you live in a house with kids, avoid complex or key-based locks—you don’t want anyone getting stuck inside. Stick with a privacy latch that can be opened from the outside with a flathead screwdriver in case of emergencies.
4. Measuring and Marking the Placement
This step is where precision matters most. A crooked latch not only looks sloppy but also won’t function properly.
- Height placement: Standard latch height is 36 inches from the floor, but feel free to adjust based on door design or comfort.
- Use your measuring tape and mark where the latch will sit on the door edge.
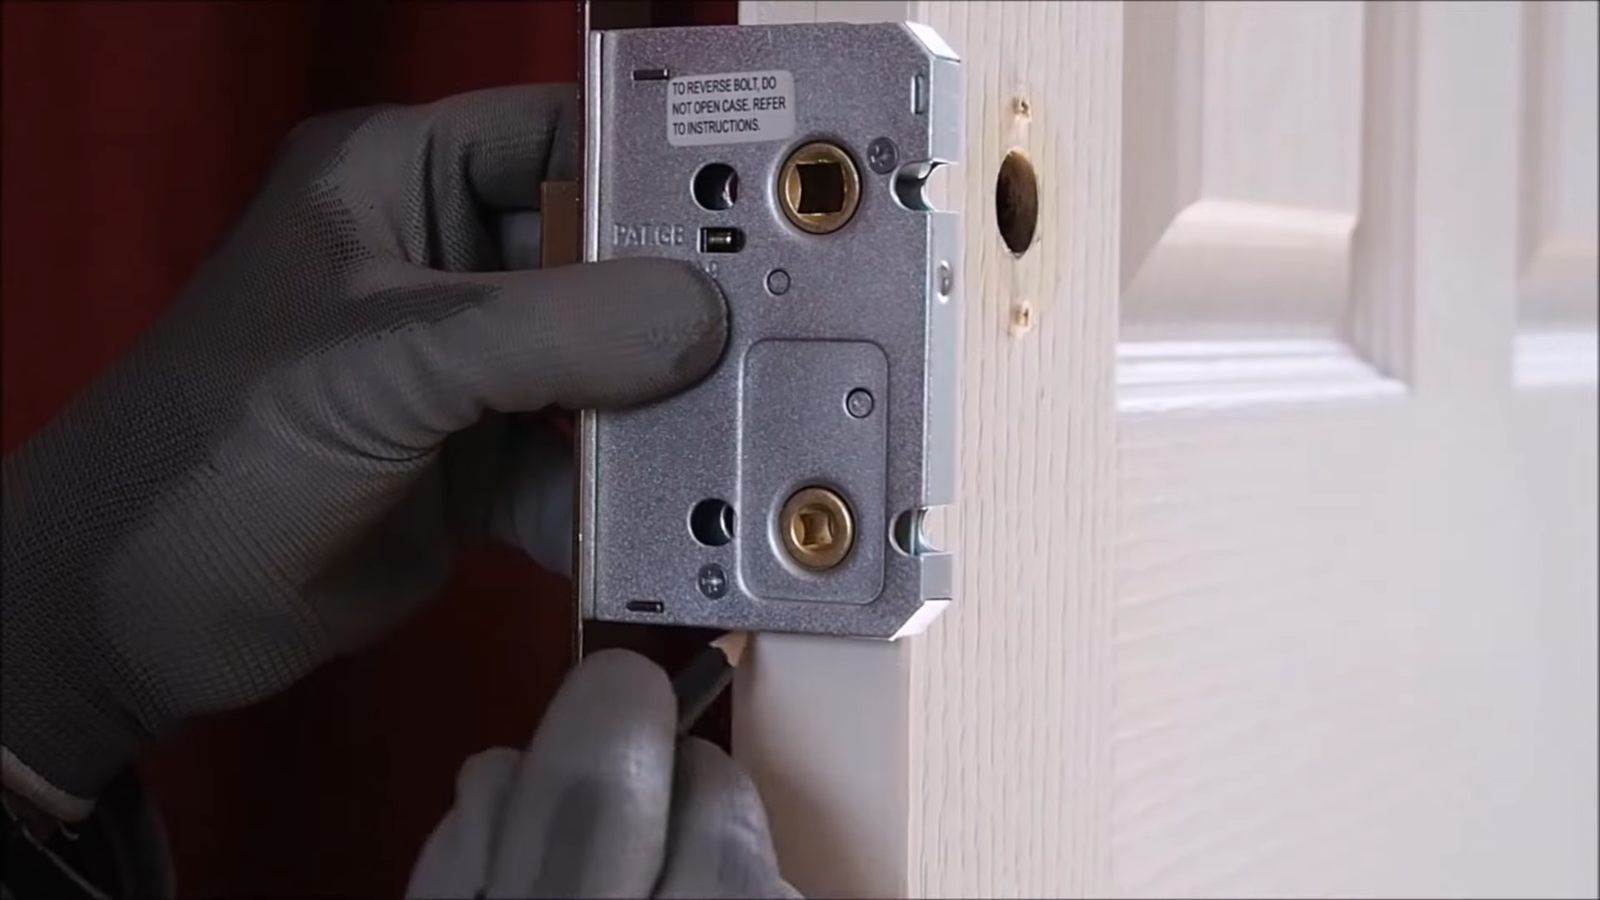
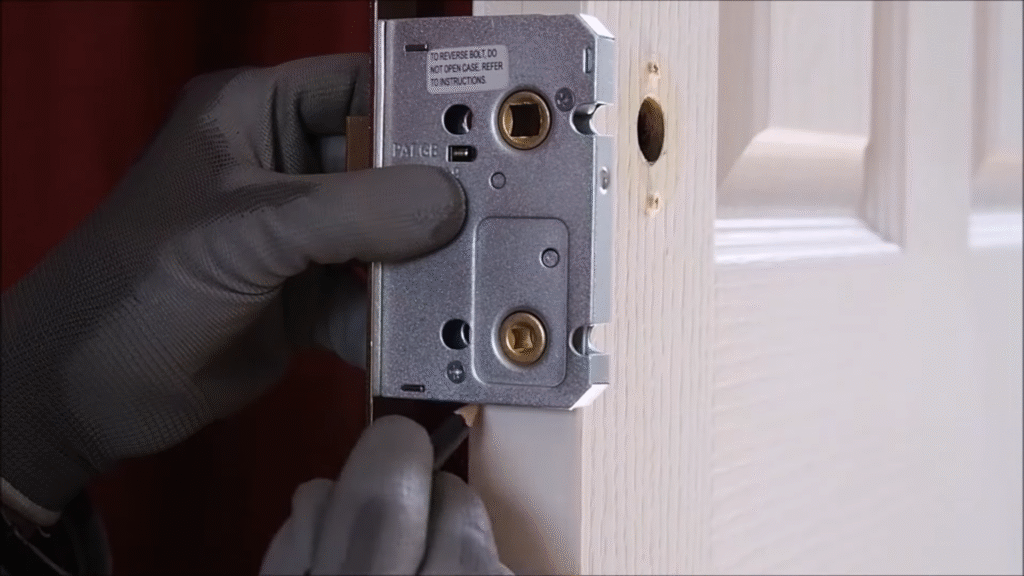
- With a pencil, trace the outline of the latch plate and mark the drilling points for screws.
Pro tip: Close the door and mark both the door and the frame at the same level to ensure perfect alignment later.
5. Drilling the Holes
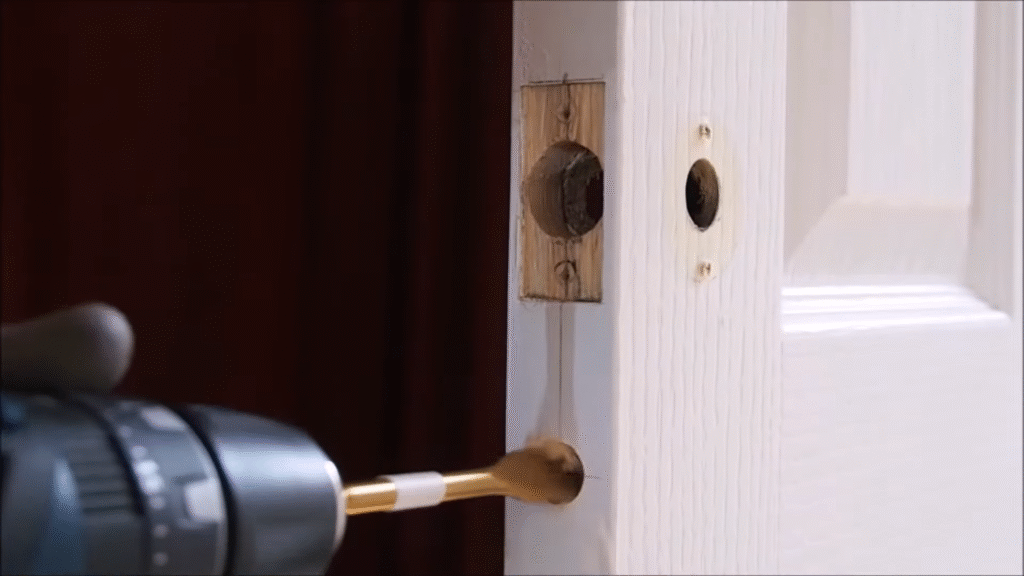
Now comes the part where power tools join the party.
- Start by drilling a hole in the edge of the door where the latch will go. Make sure the hole matches the size of the latch barrel.
- Drill another hole on the face of the door for the handle or turn knob.
- Check if the latch fits snugly into the drilled space.
I remember the first time I installed one—I drilled too wide, and the latch kept wiggling. Learn from my mistake: always measure twice, drill once.
6. Fitting the Latch and Plate
Here’s where your latch starts to take shape.
- Insert the latch into the hole you drilled on the door edge.
- Place the latch plate over the latch and use a chisel to carve out a shallow recess so the plate sits flush with the door surface.
- Screw the latch plate into place.
This step is what makes the installation look professional instead of DIY-gone-wrong. If the plate sticks out, your door might not close smoothly.
7. Installing the Strike Plate on the Door Frame
The strike plate is the unsung hero—it’s where the latch bolt clicks into to keep the door shut.
- Close the door gently to see where the latch bolt hits the frame. Mark this spot with a pencil.
- Drill a small hole for the bolt to slide into.
- Position the strike plate over the hole and trace around it.
- Chisel out a recess so the strike plate sits flush.
- Screw the plate into place.
Nothing is more frustrating than a latch that doesn’t line up with its strike plate. Double-check alignment before tightening the screws.
8. Testing the Latch
Moment of truth time.
- Close the door and turn the knob or button to engage the latch.
- Try opening the door to make sure it locks properly.
- Test from the outside to ensure the emergency release works.
If it feels stiff, loosen the screws slightly and realign the latch or strike plate. If it’s too loose, tighten everything up. A properly installed bathroom latch should work smoothly without forcing it.
9. Common Mistakes to Avoid
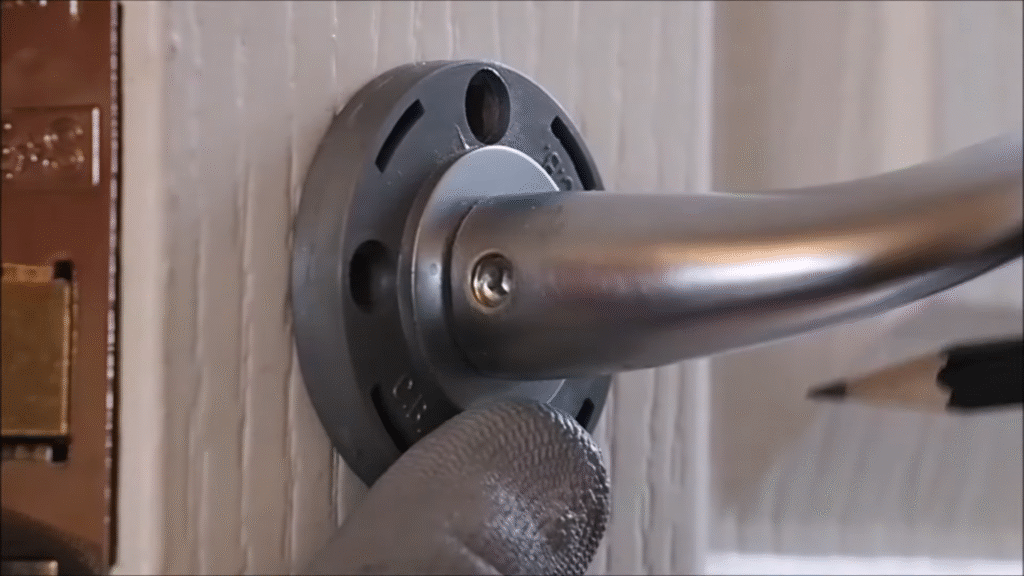
Even though installing a bathroom latch is beginner-friendly, there are common slip-ups that can make life harder:
- Misaligned strike plate – Leads to a door that won’t close properly.
- Over-drilling – Causes the latch to fit loosely.
- Skipping the chisel step – Leaves plates sticking out awkwardly.
- Using cheap screws – They strip easily and weaken the installation.
Take your time—this project shouldn’t take more than 30–45 minutes, even for a first-timer.
10. Maintenance Tips for Longevity
A latch doesn’t require much upkeep, but a little attention can extend its lifespan.
- Lubricate the latch mechanism with graphite powder or silicone spray every few months. Avoid oil—it attracts dust.
- Check screws periodically and tighten if they loosen.
- Clean the latch with a damp cloth to prevent dirt buildup.
According to home maintenance experts, properly installed latches last 5–10 years before replacement is needed. That’s a solid return on a 30-minute DIY investment.
Conclusion
Installing a bathroom latch might seem like a tiny detail, but it makes a massive difference in your home’s privacy and comfort. With just a handful of tools, a bit of patience, and careful alignment, you can finish this project in under an hour. Think of it as one of those home improvements where the payoff is peace of mind every single day.
Once you’ve done it once, you’ll realize how simple it is—and maybe even start fixing latches around the rest of the house.
FAQs
1. How long does it take to install a bathroom latch?
Usually about 30 to 45 minutes, depending on your skill level and tools.
2. Can I install a latch without a drill?
Technically yes, but it’s much harder. A drill ensures clean, precise holes. Without it, you’d be stuck chiseling manually, which can be messy.
3. What if my door already has a hole from an old latch?
You can usually reuse it if it matches your new latch size. If it’s too big, use a latch repair plate to cover the excess gap.
4. Should I choose a keyed lock for my bathroom?
Not recommended. Bathrooms need privacy locks that open easily from the outside in emergencies.
5. How do I fix a bathroom latch that doesn’t line up?
Loosen the strike plate screws, reposition it slightly, and retighten. If it’s way off, you may need to chisel a new recess for the plate.

