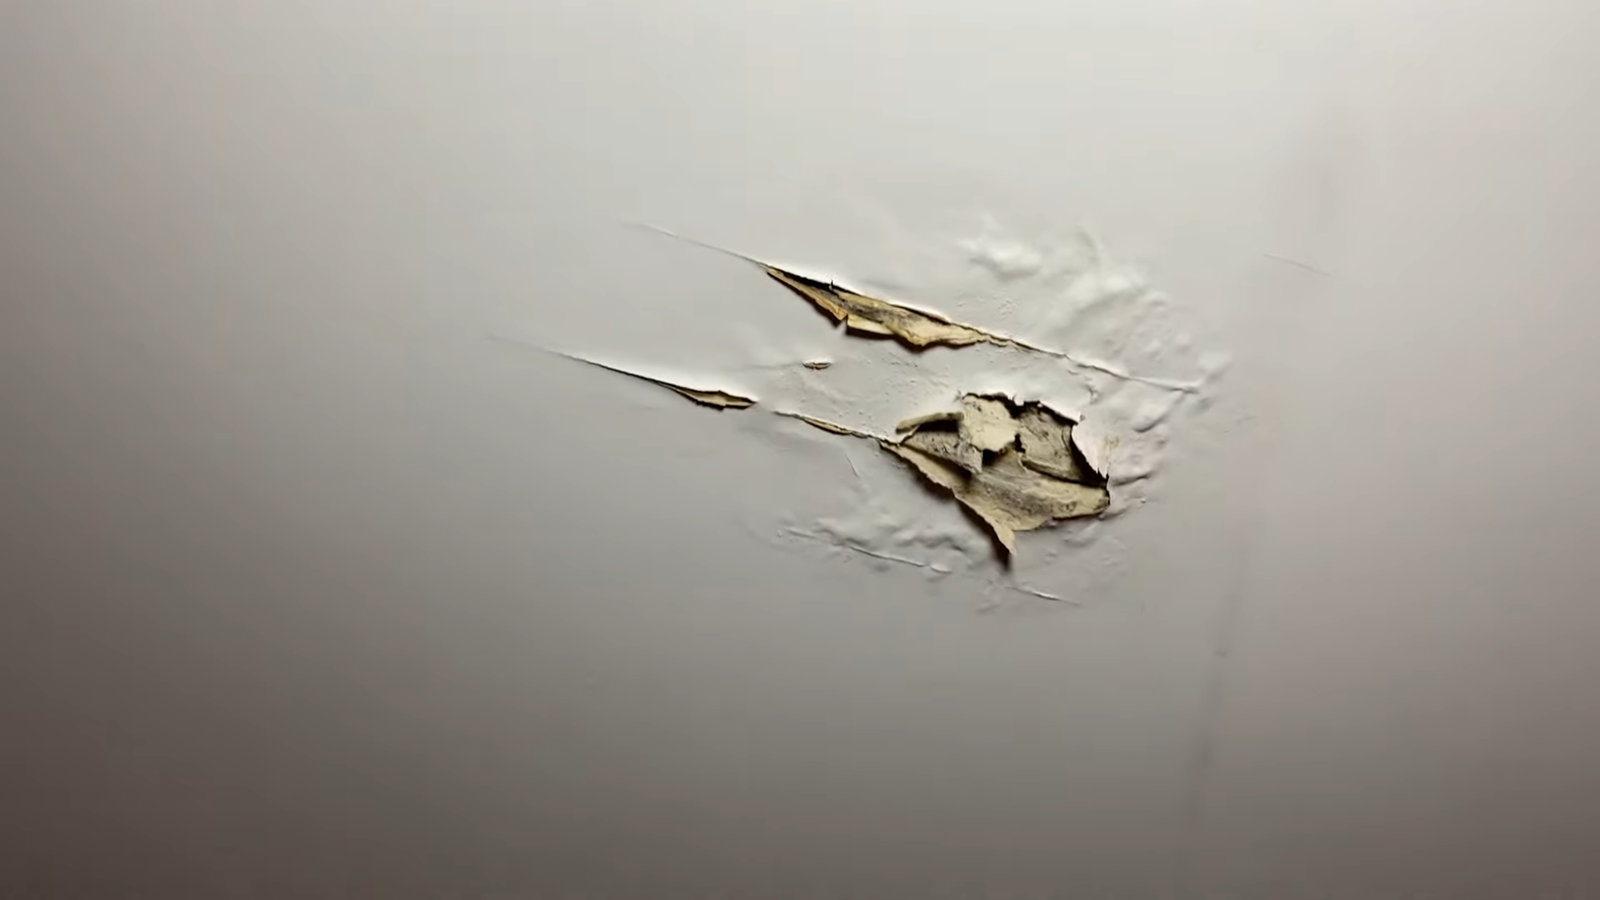
Water leakage in your bathroom wall isn’t just a minor annoyance—it’s like a ticking time bomb. Left unchecked, it can lead to mold, damaged tiles, structural issues, and even higher water bills.
I’ve personally battled with this problem in my own home, and I can tell you, it’s not something you want to ignore. The good news? Fixing bathroom wall leaks is absolutely doable once you know what you’re dealing with.
1. Spotting the Early Signs of Water Leakage
Catching a leak early is like catching a cold before it becomes pneumonia. The earlier you detect the problem, the less damage it causes. But how do you know your bathroom wall is leaking?
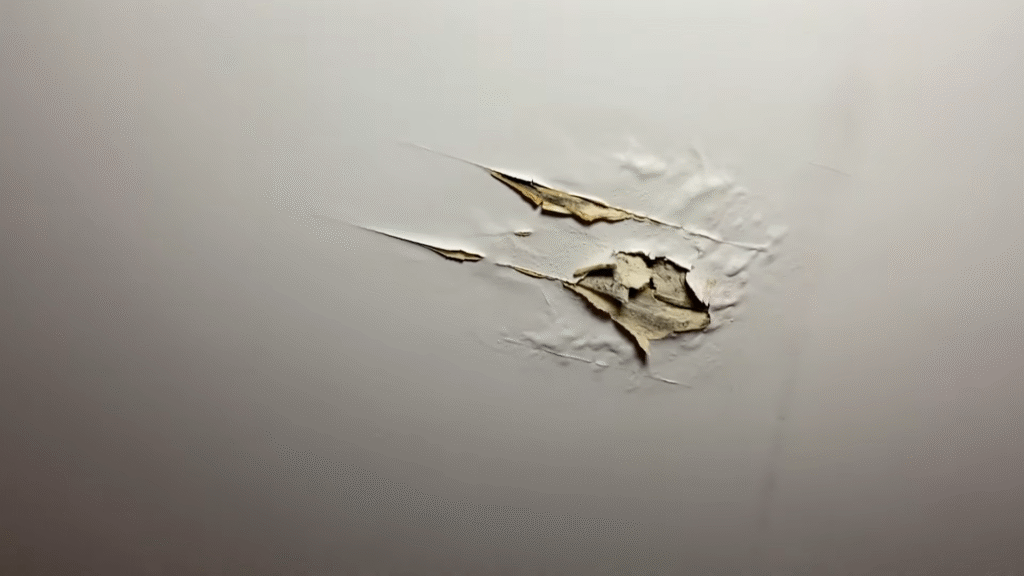
- Peeling or bubbling paint – If your bathroom walls look like they’ve developed a rash, that’s often trapped moisture underneath.
- Musty smell – Trust your nose. A damp, earthy odor means mold is probably setting up camp.
- Discolored patches – Brown, yellow, or grayish stains are telltale signs that water is sneaking through.
- Loose tiles – If tiles start falling off like dominoes, water is weakening the adhesive.
- Soft drywall or plaster – Poke the wall gently. If it feels spongy, water damage is already advanced.
I remember once walking into my bathroom after a vacation and seeing a wall patch that looked like a giant coffee stain. That was my first clue water had been leaking silently for weeks. Trust me, don’t wait for the stain to grow—you’ll regret it.
2. Understanding the Root Causes
Before jumping to repairs, you need to play detective. Bathroom wall leaks aren’t random; they usually fall into one of these causes:
- Leaky plumbing pipes – Pipes running inside walls can develop pinhole leaks or corroded joints.
- Faulty waterproofing – If the builder skimped on waterproofing, water seeps through tiles and grout.
- Cracks in tiles or grout – Even a hairline crack acts like a straw, sucking water in.
- Condensation – High humidity without proper ventilation creates moisture buildup.
- Leaky fixtures – Showers, faucets, or toilets with small drips can silently cause wall damage.
According to the EPA, 10% of homes have leaks that waste 90 gallons of water per day. That’s not just bad for your bathroom wall—it’s bad for your wallet too.
3. Tools and Materials You’ll Need
Repairing a leak doesn’t require a magic wand, but you do need the right tools. Here’s a practical list:
- Utility knife or scraper
- Pipe wrench and pliers
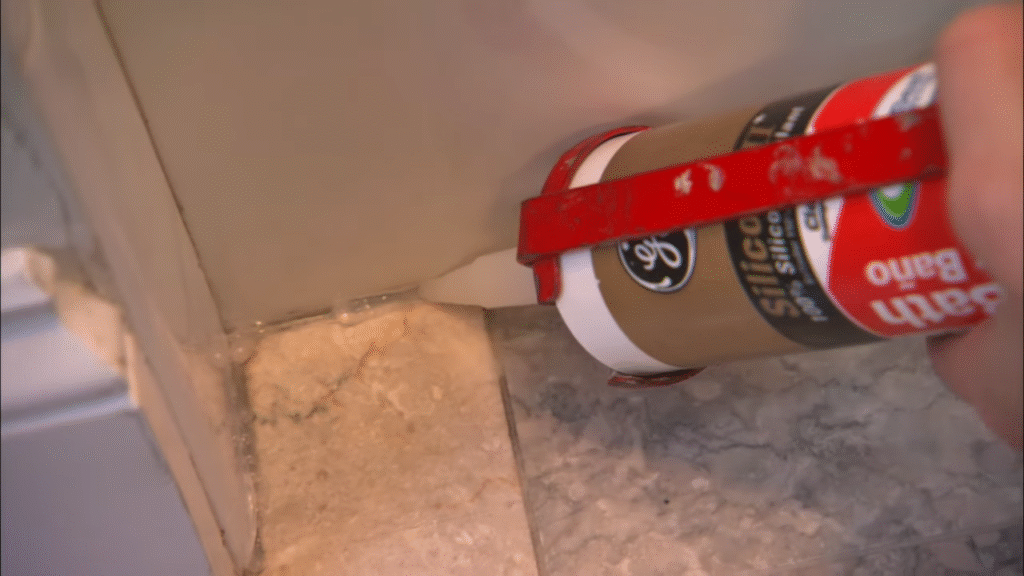
- Waterproof sealant or caulk
- Grout repair kit
- Epoxy putty (for small pipe fixes)
- Plumber’s tape
- Moisture meter (optional, but handy)
- Safety gloves and mask (because mold is no joke)
When I first started fixing my bathroom wall, I thought duct tape would be my savior. Spoiler alert: it wasn’t. Don’t cut corners—get the right supplies.
4. Diagnosing the Leak Location
Finding the exact source of a leak can be tricky. Water has this sneaky habit of traveling before it shows itself. Here’s how to zero in:
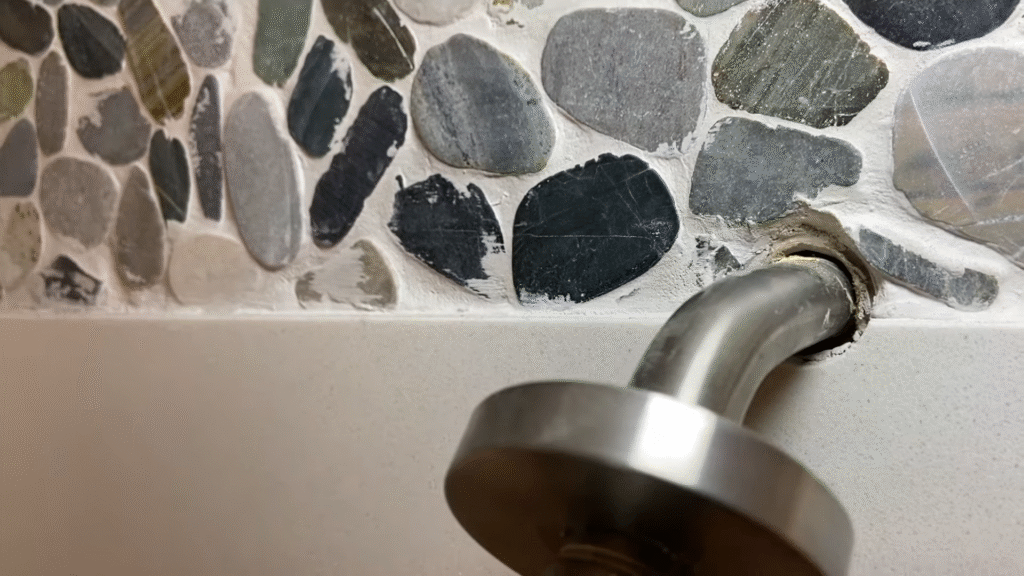
- Check fixtures first – Inspect faucets, showerheads, and toilet connections.
- Look above the stain – The leak is often higher than where the damage appears.
- Use a moisture meter – This device detects moisture levels behind walls.
- Turn off water supply sections – Shut off water lines one by one. If the leak stops, you’ve found the culprit.
A trick I learned from a plumber: add food coloring to your toilet tank and wait. If colored water seeps into the wall or floor, you’ve found your leak source. It feels a bit like bathroom detective work—but it works.
5. Fixing Leaky Pipes Inside the Wall
If pipes are the problem, this is where most homeowners panic. But here’s the truth: not every pipe leak means replacing your entire system.
- Small leaks (pinholes): Use epoxy putty as a temporary fix. Clean the pipe, knead the putty, and apply it over the leak.
- Loose joints: Tighten with a wrench and seal threads with plumber’s tape.
- Major leaks: You’ll likely need to cut open the wall, replace the damaged pipe, and patch the wall afterward.
This is the part where I realized my limits. I tried fixing a copper pipe joint myself, only to have it burst two days later. My advice? If it looks bigger than a pinhole, call a licensed plumber. It’s cheaper than dealing with flooding.
6. Repairing Tile and Grout Problems
If the leak is from cracked grout or tiles, the fix is more cosmetic but still essential.
- Scrape out old grout with a grout removal tool.
- Clean the gap with a vinegar-water solution to remove mold.
- Apply new grout evenly, wiping away excess.
- Seal the grout with waterproof sealant after it dries.
For cracked tiles, replace them entirely. It’s a bit of a puzzle game, but once you get the hang of it, it’s satisfying to snap a new tile in place.
7. Waterproofing the Bathroom Wall
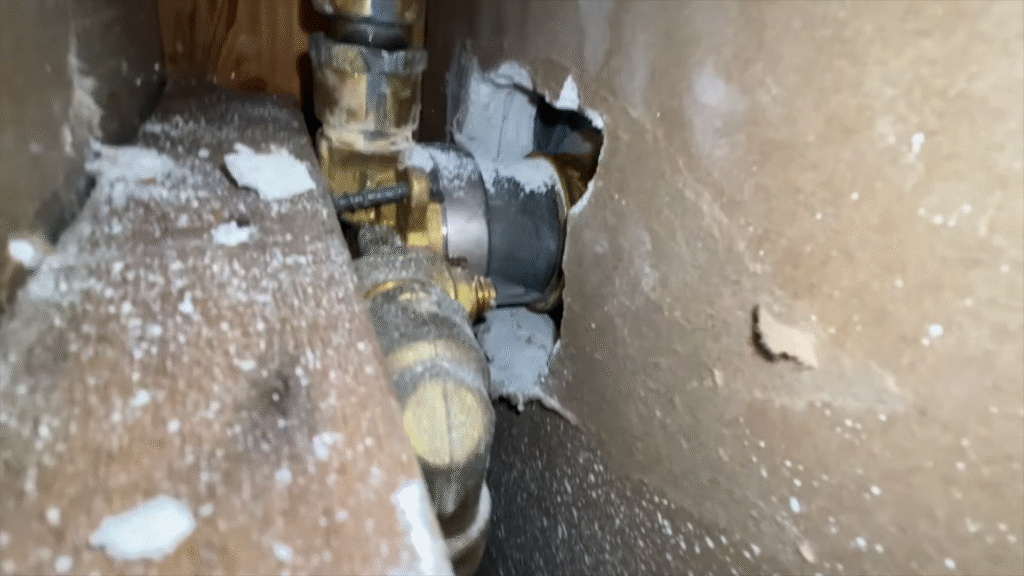
Prevention is always better than cure. Once you’ve fixed the source, strengthen your defenses:
- Apply a waterproof membrane behind tiles.
- Use high-quality waterproof paint on bathroom walls.
- Seal all joints, edges, and corners with silicone caulk.
When I renovated my bathroom, I didn’t waterproof the wall behind the shower. Guess what? Six months later, the paint was bubbling again. Lesson learned: never skip waterproofing.
8. Ventilation and Moisture Control
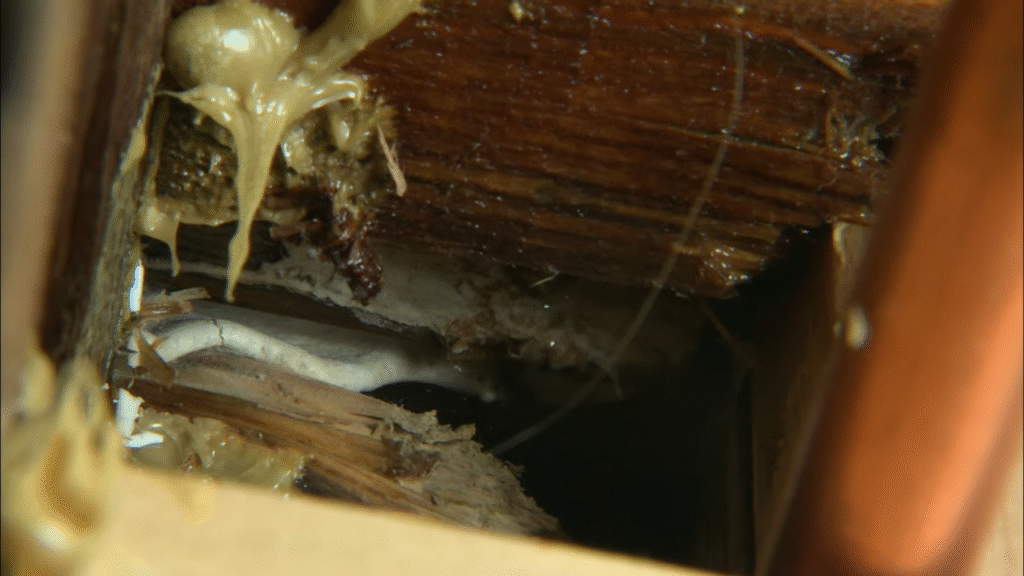
Even if pipes and tiles are fine, bathrooms are naturally humid. Poor ventilation means moisture collects, leading to mold and damp walls.
- Install a good exhaust fan—and actually use it.
- Keep the bathroom door slightly open after showers.
- Wipe down wet walls with a squeegee.
According to the World Health Organization, mold exposure increases the risk of respiratory issues by 30–50%. That’s a big deal if you or your family have allergies.
9. Mold Removal and Safety Precautions
If water leakage has already invited mold into your bathroom, act fast. Mold spreads like wildfire.
- Wear gloves, mask, and goggles—safety first.
- Scrub moldy areas with a mix of bleach and water (1 cup bleach per gallon of water).
- Let it dry completely before repainting or sealing.
- For extensive mold growth, hire a professional remediation service.
I once tried tackling mold without gloves, and my hands itched for days. Don’t repeat my mistake—gear up properly.
10. Long-Term Maintenance Habits
Think of bathroom maintenance like brushing your teeth—it prevents bigger problems later. Here are habits that keep your walls safe:
- Inspect grout and sealant every 6 months.
- Check for pipe leaks under sinks and behind toilets.
- Watch your water bill. A sudden spike may mean hidden leaks.
- Clean exhaust fans regularly.
Following these steps is like giving your bathroom a health check-up. Small efforts save you from costly repairs later.
11. When to Call a Professional
I’m all for DIY, but sometimes it’s smarter (and cheaper in the long run) to get help. Call a professional if:
- The leak involves main supply lines.
- You see extensive wall damage.
- Mold keeps coming back despite cleaning.
- You’re unsure where the leak originates.
Think of it this way: you wouldn’t perform surgery on yourself, right? Treat big leaks with the same respect—let the pros handle it.
12. Cost of Fixing Bathroom Wall Leaks
Let’s talk money because leaks don’t just drain water—they drain your wallet too.
- Minor grout repair: $50–$150
- Pipe patch with epoxy: $20–$100
- Professional plumber repair: $300–$800 (depending on severity)
- Mold remediation: $500–$3000 (if severe)
According to HomeAdvisor, the average water damage repair costs $1,200–$5,000. That’s why early fixes are worth it.
Conclusion
Fixing water leakage in a bathroom wall may feel intimidating, but once you break it down, it’s completely manageable. Start by spotting the signs, diagnosing the root cause, and applying the right fix—whether it’s patching a pipe, regrouting tiles, or improving ventilation. And remember, prevention is just as important as the repair itself.
I’ve made mistakes, like trying to duct-tape a pipe (spoiler: it didn’t work), but each mistake taught me one thing—don’t ignore bathroom leaks. They only grow worse and more expensive with time. So roll up your sleeves, gather your tools, and tackle it head-on. Your bathroom (and your wallet) will thank you.
FAQs
1. How do I know if my bathroom wall is leaking?
Look for peeling paint, musty odors, wall discoloration, loose tiles, or a sudden spike in your water bill.
2. Can I fix a leaky bathroom wall myself?
Yes, for small issues like cracked grout or tiny pipe leaks. But for major plumbing leaks, it’s best to call a professional.
3. How much does it cost to fix a bathroom wall leak?
It ranges from $50 for minor fixes to $5000 for severe water damage and mold remediation. Early repairs save money.
4. How can I prevent leaks from coming back?
Use proper waterproofing, seal grout regularly, maintain good ventilation, and check plumbing connections often.
5. Is mold from bathroom leaks dangerous?
Yes, prolonged exposure to mold increases respiratory risks and allergies. Always clean it safely or hire professionals for big infestations.

