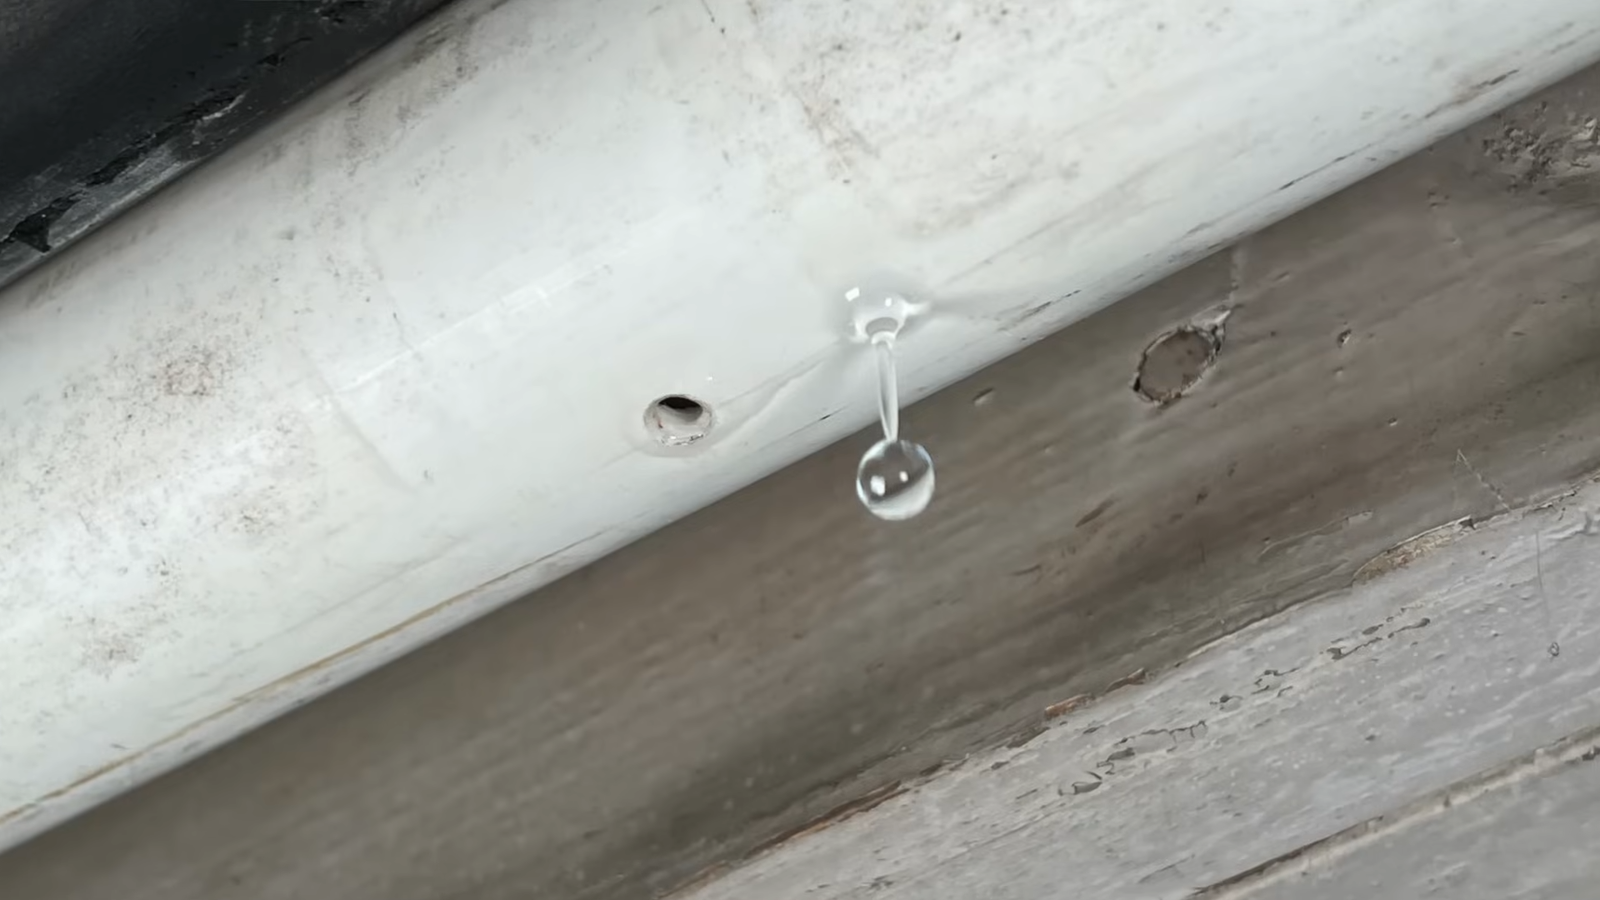
Leaking PVC pipes can feel like a betrayal from a trusted friend. One day your plumbing system is working fine, and the next day you hear that slow, maddening drip. The truth is, PVC pipes are durable, but like anything, they can wear down, crack, or simply loosen over time. And ignoring the leak? That’s like ignoring a ticking time bomb—it only gets worse.
I’ve dealt with PVC leaks in my own home more times than I’d like to admit. At first, I panicked, thinking I needed to call a plumber immediately. But after learning a few reliable fixes, I realized most PVC leaks are totally DIY-friendly, provided you have patience, the right tools, and a little know-how. Let’s break it all down in detail so you can tackle the problem like a pro.
1. Understanding Why PVC Pipes Leak
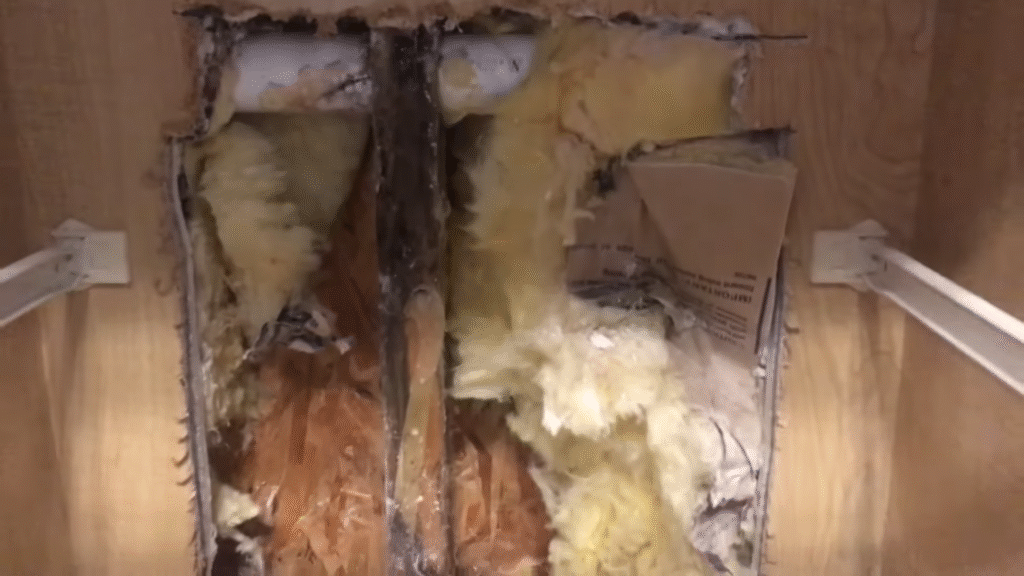
Leaks don’t just appear out of nowhere. PVC pipes typically fail for a handful of reasons, and knowing why your pipe is leaking helps you choose the right repair method.
- Improper installation: If the joints weren’t glued correctly with PVC cement, they’ll eventually loosen.
- Wear and tear: Over the years, even strong pipes can crack from pressure or ground shifting.
- Temperature changes: PVC expands and contracts with heat, which can lead to tiny fractures.
- External damage: A stray shovel in the garden or heavy object in the basement can crack a pipe.
- High water pressure: Constant stress from high PSI weakens the joints over time.
Here’s a quick fact: According to the American Water Works Association, about 14% of water in U.S. homes is lost to leaks. That’s hundreds of gallons wasted every year—and higher water bills for you. Catching a PVC leak early saves both money and headaches.
2. Spotting the Signs of a PVC Leak Early
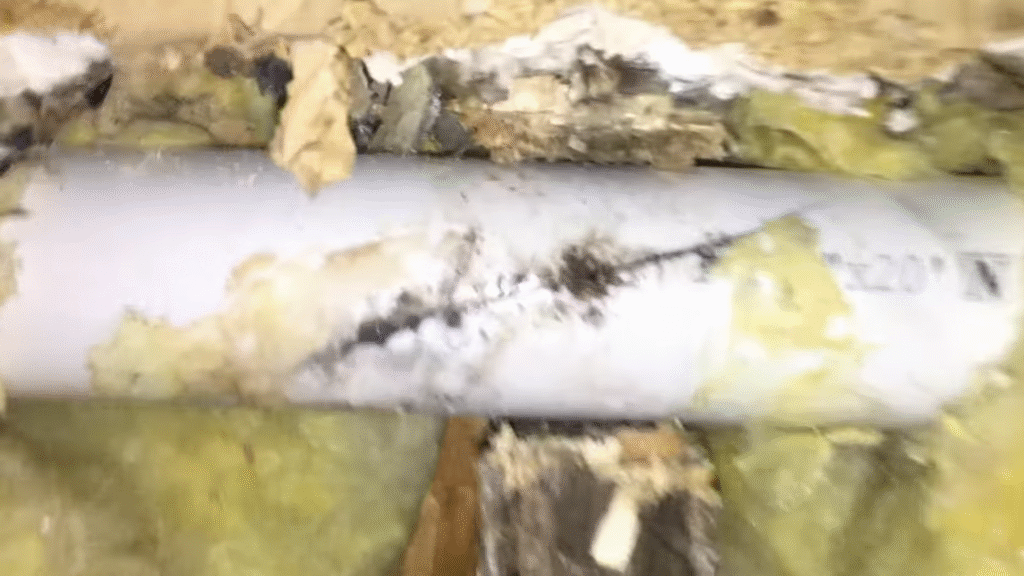
Leaks don’t always make themselves obvious. Sometimes it’s a puddle, sometimes just a faint musty smell. Here’s what to watch for:
- Dripping or spraying water near joints or cracks
- Damp walls, floors, or soil around buried pipes
- Unexplained increase in water bill
- Mold or mildew smell in the basement or bathroom
- Water stains on ceilings or walls
Once, I noticed a small wet patch under my laundry sink. It wasn’t dramatic, just a little dampness I could’ve ignored. But that patch turned out to be from a tiny PVC joint leak that, left unchecked, would’ve led to full-on flooding. Lesson learned: the sooner you find it, the easier (and cheaper) the fix.
3. Gathering the Right Tools and Materials
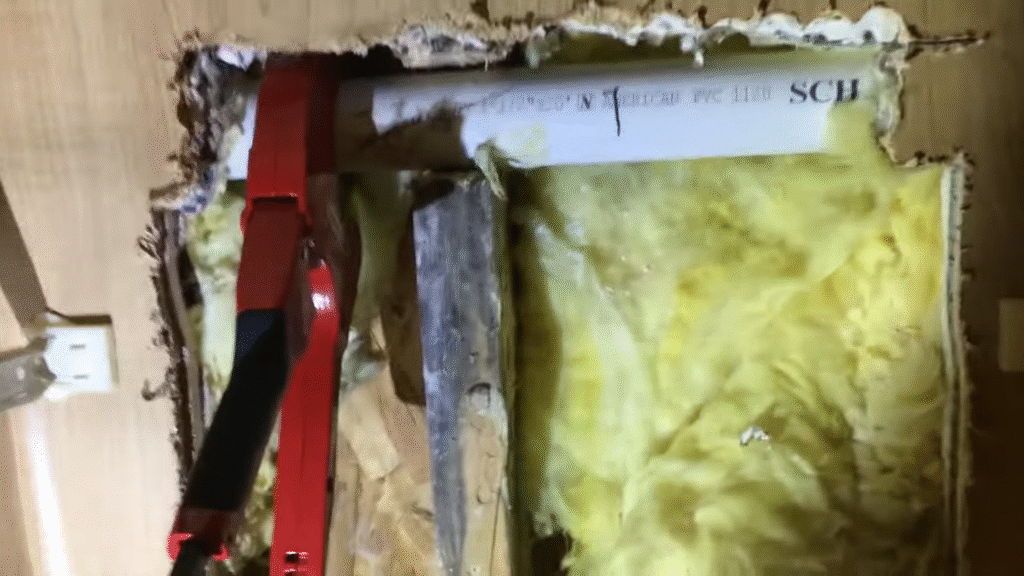
Before rolling up your sleeves, let’s talk prep. Nothing is worse than starting a plumbing repair only to realize you’re missing a crucial tool. Here’s your leak-fighting arsenal:
- PVC pipe cutter or hacksaw (for cutting damaged sections)
- Sandpaper or utility knife (for smoothing pipe edges)
- PVC primer and cement (the “glue” that fuses new pieces together)
- Replacement PVC pipe and fittings (same diameter as existing pipe)
- Pipe repair tape or epoxy putty (for temporary fixes)
- Bucket and towels (because water always finds a way to splash you)
- Gloves and safety glasses (never skip safety)
Tip from experience: Always buy a little more pipe and fittings than you think you’ll need. Mistakes happen, and having spares on hand saves you a frantic last-minute trip to the hardware store.
4. Temporary Fixes for PVC Pipe Leaks
Sometimes you just need a quick patch job—like when a leak appears at midnight and the hardware store is closed. These fixes aren’t forever, but they’ll hold long enough to stop the drip until you can make permanent repairs.
- Pipe repair tape: This silicone-based tape wraps tightly around the leak and creates a waterproof seal. Works best on small cracks or pinhole leaks.
- Epoxy putty: A clay-like substance you mold over the crack. Once it hardens, it forms a tough patch.
- Rubber patch with hose clamps: A piece of rubber (even from an old bike tire) wrapped around the leak and tightened with clamps can buy you a few days.
I once used duct tape as an emergency fix when a leak started under my kitchen sink. It held for 12 hours—long enough to get parts for the real repair. Moral of the story: duct tape is great in a pinch, but don’t count on it for long-term plumbing survival.
5. Permanent Fix: Replacing the Damaged Section
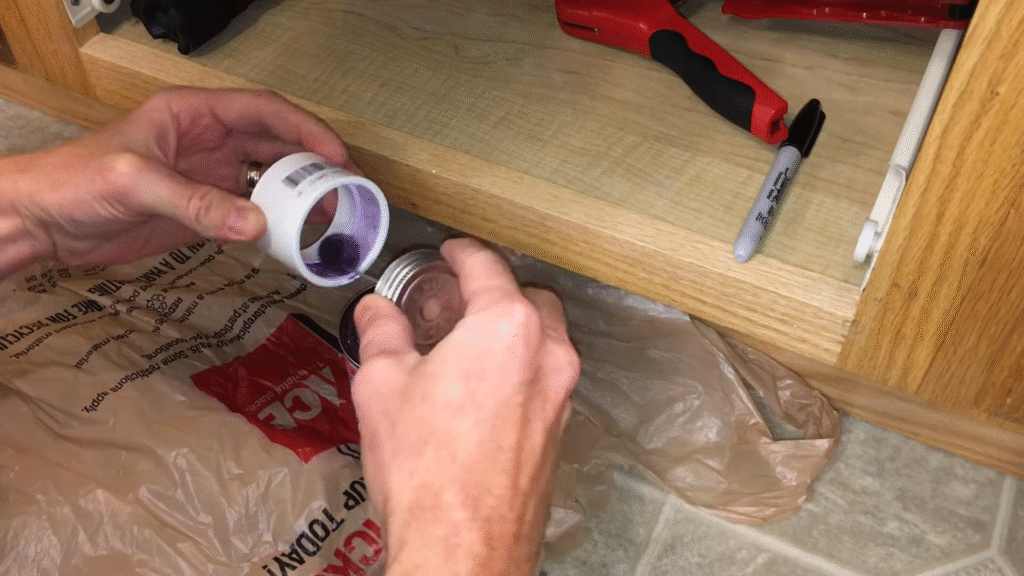
The most reliable way to fix a PVC leak is to cut out the damaged section and replace it with fresh pipe. Don’t be intimidated—this is actually easier than it sounds.
Step 1: Shut off the water supply
Locate the nearest valve and shut it tight. Drain any remaining water in the line by opening a faucet.
Step 2: Mark and cut out the damaged section
Use a pipe cutter or hacksaw to remove the cracked or leaking piece. Cut at least 1 inch beyond the damage to ensure clean edges.
Step 3: Smooth the edges
Use sandpaper or a utility knife to smooth burrs and rough edges. A smooth surface ensures a better seal when you glue the new pieces.
Step 4: Dry-fit the replacement
Measure and cut a new piece of PVC pipe, then dry-fit it with couplings to make sure everything aligns.
Step 5: Prime and cement
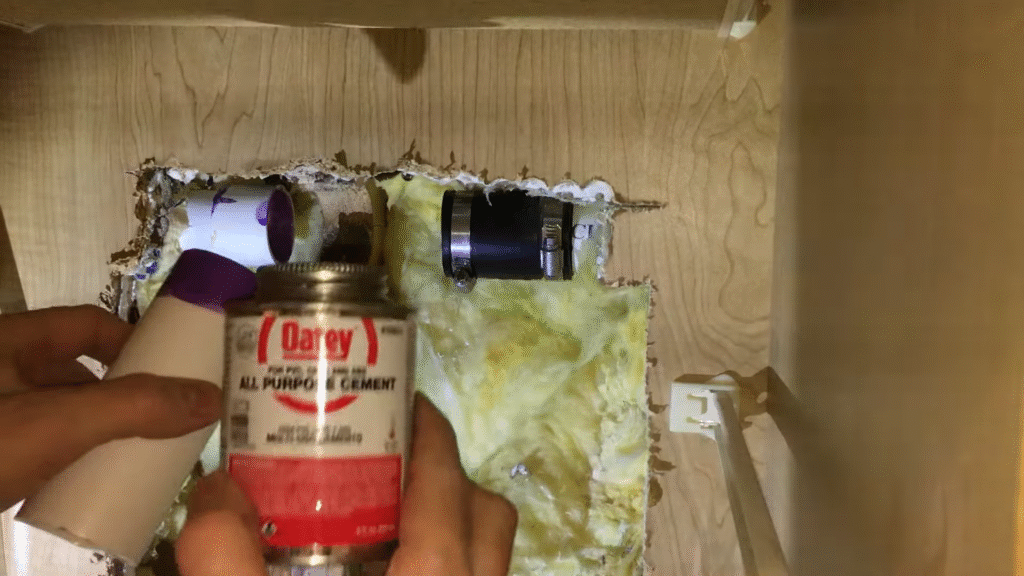
Apply PVC primer to both the replacement pipe and the existing ends. Then brush on PVC cement and quickly connect the pieces. Twist slightly to spread the glue evenly.
Step 6: Let it cure
Wait at least 15 minutes before turning the water back on (though 24 hours is best for full strength).
When I first did this, I was nervous about messing it up. But once I glued my first joint and saw how solid it became, I realized PVC repair is far less intimidating than it looks.
6. Fixing Leaky PVC Joints Without Replacing Pipe
Sometimes the problem isn’t the pipe itself—it’s the joint where two pieces meet. A poorly glued or old joint can start dripping.
Here’s how to handle it:
- If the joint is loose: Cut out the joint and replace it with a new coupling, following the same steps as above.
- If the leak is minor: Use epoxy putty around the joint for a temporary seal.
- If you can’t replace immediately: Use repair couplings (also called slip couplings). These are designed to slide over existing pipe without needing much room.
Pro tip: Always apply primer and cement liberally on joints. Skimping here is like building a house without nails—it’ll fail eventually.
7. Preventing Future PVC Leaks
Once you’ve fixed the leak, the last thing you want is a repeat performance. Prevention is key.
- Check water pressure: Keep it under 60 psi. Install a pressure regulator if needed.
- Inspect pipes annually: Look for signs of wear, especially near joints.
- Protect exposed pipes: Use insulation sleeves to guard against temperature swings.
- Don’t overtighten fittings: Believe me, tightening like you’re arm-wrestling a gorilla cracks PVC faster than anything.
- Be mindful during yard work: Shovels and lawn tools are sneaky pipe enemies.
Stat alert: The EPA estimates fixing household leaks can save families about 10,000 gallons of water a year. That’s enough for 270 loads of laundry.
8. When to Call a Professional
I’m all about DIY, but sometimes the problem is too big to handle alone. Call a plumber if:
- The leak is underground or behind walls
- Multiple leaks appear at once (a sign of systemic issues)
- The pipe diameter is large and requires specialized tools
- You’ve tried fixing it, but the leak keeps coming back
Hiring a plumber might cost $150–$300 for a small repair, but it’s worth it for peace of mind if you’re in over your head.
9. Cost of Fixing PVC Leaks
Let’s talk numbers.
- DIY repair: $10–$30 for cement, primer, and fittings
- Temporary repair kit: $5–$20
- Plumber service: $150–$500 depending on severity
Compared to a burst pipe (which can cause $5,000+ in water damage), spending a little time and money now is a no-brainer.
10. Real-Life Example of Fixing a Leak
Last year, a PVC pipe under my outdoor spigot cracked during a cold snap. At first, I panicked when I saw the water pooling near my foundation. But instead of calling a plumber, I grabbed my PVC cutter, replacement pipe, and cement.
Within 45 minutes, I had cut out the damaged section, glued in a new piece, and restored the water. That repair cost me under $15. If I’d called a plumber, it would’ve easily been over $200.
Trust me—once you fix your first leak successfully, you’ll feel like a plumbing superhero.
Conclusion
Fixing PVC pipe leakage isn’t rocket science. With the right tools, a little patience, and a clear step-by-step plan, you can tackle most leaks yourself. The key is knowing when to patch temporarily, when to replace permanently, and when to wave the white flag and call in a pro.
The next time you hear that dreaded drip, remember this: you’re not powerless. A leak is just a small challenge waiting for your inner handyman (or handywoman) to shine.
FAQs
1. Can I fix a PVC leak without cutting the pipe?
Yes, but only temporarily. Epoxy putty or repair tape can seal small leaks, but the best permanent fix usually involves cutting and replacing the damaged section.
2. How long does PVC cement take to cure?
It sets in about 15 minutes but reaches full strength in 24 hours. If possible, wait a day before running full water pressure.
3. What’s the lifespan of PVC pipes?
Typically 50–100 years, depending on water quality and installation. Leaks often come from joints rather than the pipe itself.
4. Is it safe to use PVC pipes for hot water?
Not really. PVC is best for cold water. For hot water, CPVC (chlorinated PVC) is designed to withstand higher temperatures.
5. How can I tell if my PVC joint wasn’t glued properly?
If you notice wiggle, looseness, or early leaks around the joint, chances are the cement wasn’t applied evenly or at all. A properly glued joint should feel solid and immovable.

