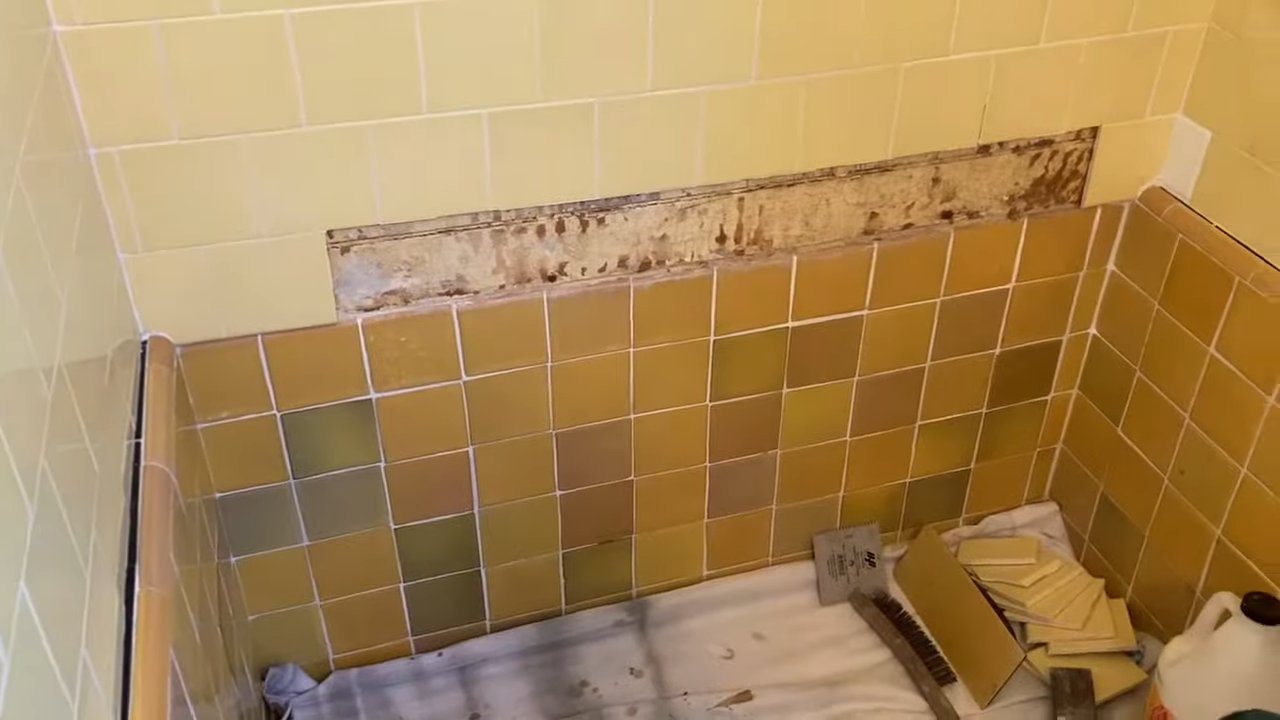
Bathrooms are the unsung heroes of our homes. They handle the steam, splashes, and constant foot traffic.
But when you spot a loose tile in your bathroom, it’s like finding a wobbly tooth—you know it needs attention before it becomes a bigger problem.
If you ignore it, that single loose tile can invite water underneath, weaken the wall or floor, and turn into a repair nightmare.
1. Why Bathroom Tiles Come Loose in the First Place
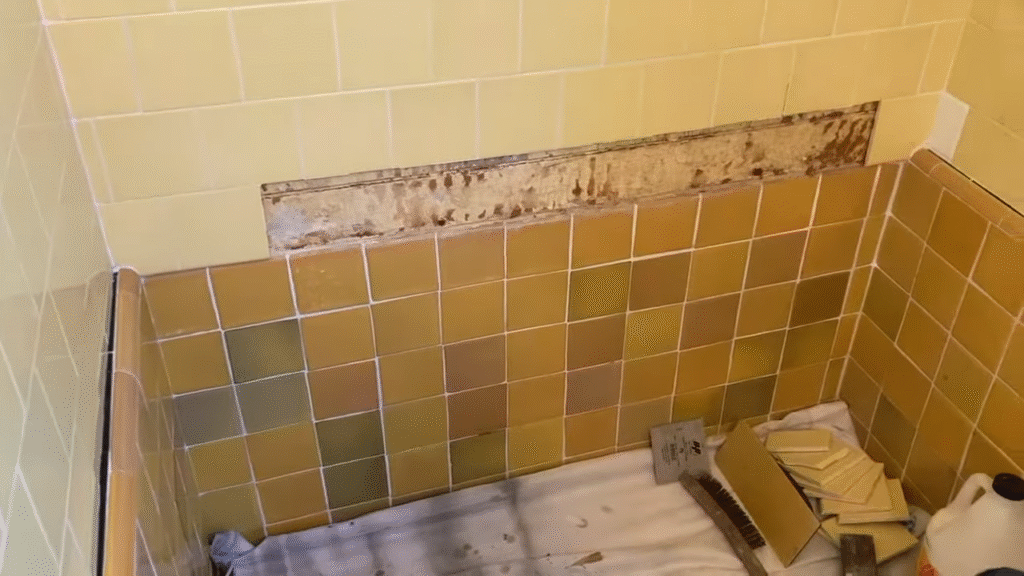
Before grabbing your tools, let’s talk about why this happens. Loose tiles aren’t usually random. There are a few common culprits:
- Moisture Seepage: Bathrooms are moisture factories. If the grout or sealant cracks, water sneaks behind the tile, weakening the adhesive.
- Improper Installation: Sometimes the original tiler cut corners—used the wrong adhesive or didn’t let it cure fully.
- Temperature Changes: Hot showers expand surfaces; when things cool down, they contract. Over time, this movement can pop tiles loose.
- Structural Shifts: If your house settles even slightly, tiles may detach.
Personal story: In my old apartment, a single cracked grout line in the shower turned into three loose tiles. It felt like peeling wallpaper—but instead of paper, it was heavy ceramic ready to crash on my toes. That taught me the importance of catching it early.
2. Tools and Materials You’ll Need
Fixing tiles is less about brute strength and more about precision. Think of it like performing minor surgery—you need the right instruments. Here’s your checklist:
- Safety gear: Gloves, goggles (tiles can snap sharply)
- Flathead screwdriver or chisel: To gently pry the tile off
- Hammer: To tap tools lightly, not to smash things
- Tile adhesive (thinset mortar or tile mastic): To reattach the tile
- Grout: To seal the joints again
- Grout float: For smooth application
- Tile spacers: If multiple tiles are being reset
- Sponge and bucket of water: For cleanup
- Sealant (silicone caulk): For waterproofing edges
- Replacement tile(s): Just in case the original breaks
Pro tip: Always buy a little extra tile when renovating. You’ll thank yourself later when you need a perfect match.
3. Removing the Loose Tile Without Breaking It
This is where patience pays off. If the tile is intact, you want to save it.
- Score the Grout: Use a utility knife or grout saw to carefully scrape out grout around the tile. This reduces pressure when you lift it.
- Gently Pry: Slide a flathead screwdriver under the edge and twist slightly. If it resists, tap gently with a hammer to ease it out.
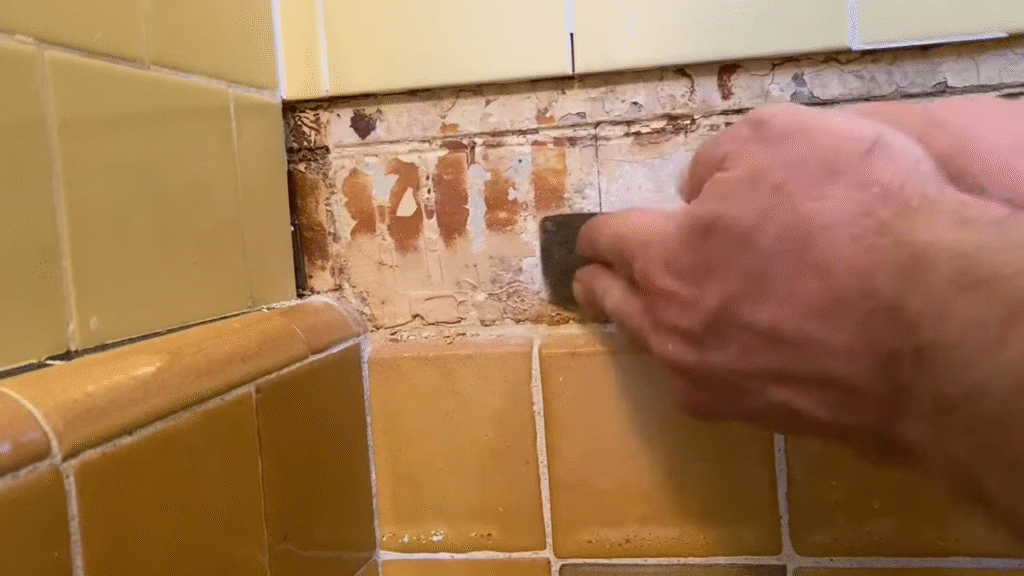
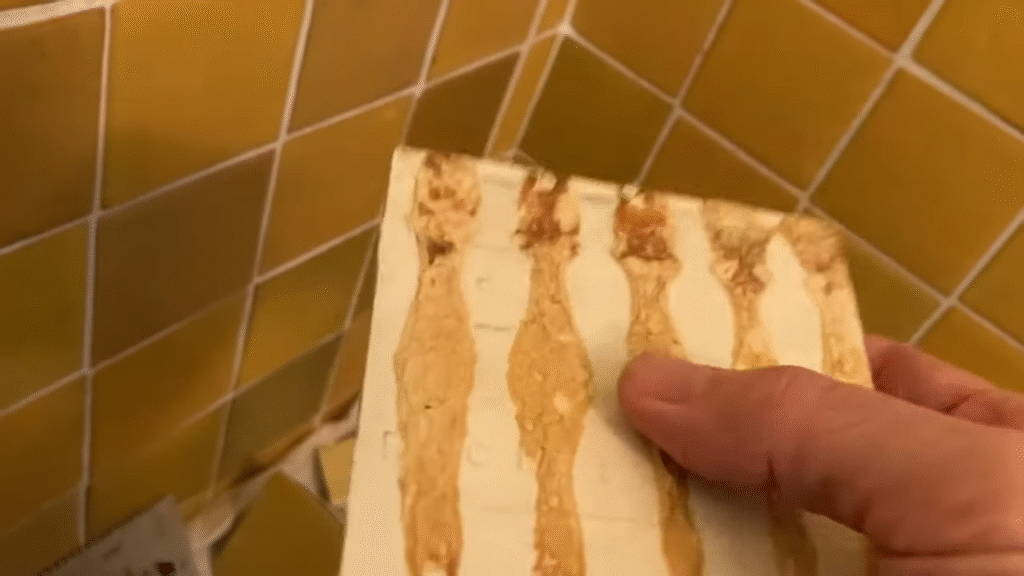
- Clean the Tile: Once removed, scrape off old adhesive from the back with a putty knife.
Think of it like removing a sticker—you want it clean enough to re-stick without lumps.
4. Preparing the Surface
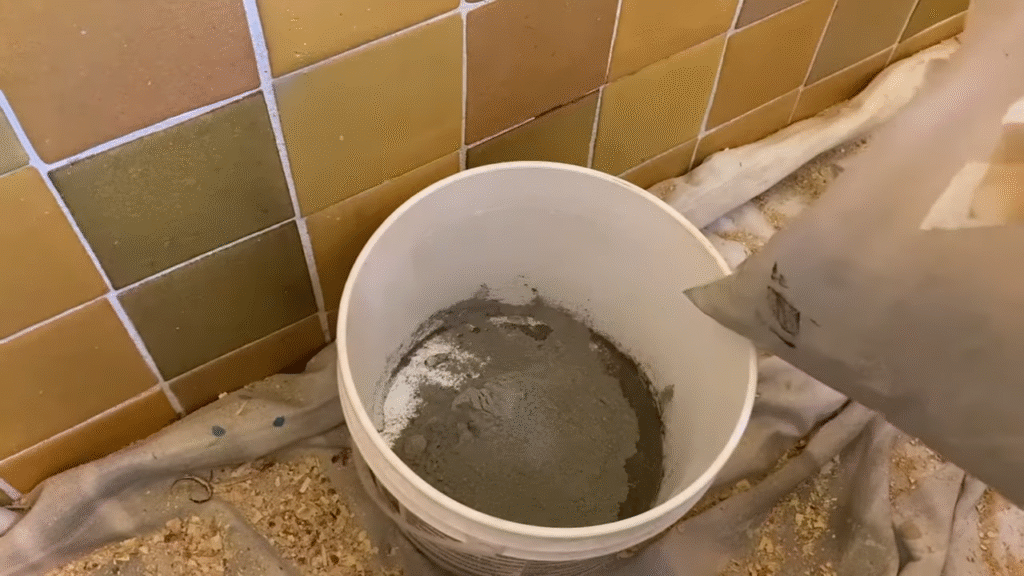
A good repair starts with a solid base. If you just slap the tile back, it won’t hold.
- Scrape Off Old Adhesive: Get the wall or floor smooth. Any leftover lumps can prevent proper bonding.
- Check for Moisture Damage: If the wall behind the tile is damp, let it dry fully. In severe cases, you may need to replace the backing board.
- Wipe Clean: Dust and debris kill adhesion. Wipe the area with a damp cloth and let it dry.
This step feels boring, but it’s like cleaning a skillet before cooking—if you skip it, the results won’t stick.
5. Reapplying Adhesive
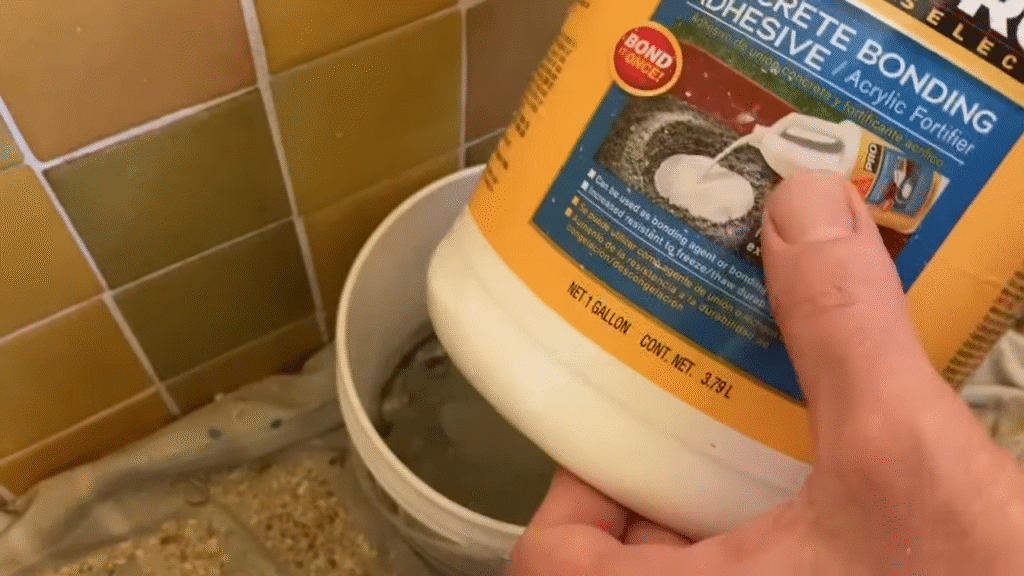
Now comes the fun part—sticking the tile back.
- Apply Tile Adhesive: Spread thinset mortar or tile mastic evenly on the wall or back of the tile using a notched trowel.
- Set the Tile: Press the tile firmly into place. Wiggle slightly to spread adhesive.
- Use Spacers: If you’re reinstalling multiple tiles, use spacers for even gaps.
Tip: Don’t overload with adhesive. Too much will ooze out, making grout work messy.
6. Grouting the Tile
Once the adhesive sets (usually 24 hours), it’s grout time.
- Mix Grout: Follow instructions until it’s toothpaste-like.
- Apply with Grout Float: Spread diagonally across tiles to pack joints fully.
- Wipe Excess: Use a damp sponge to clean surface but don’t dig out grout from joints.
- Polish After Drying: When a haze appears, buff with a dry cloth.
Grouting is oddly satisfying—like filling cracks in a puzzle and seeing it complete.
7. Sealing and Waterproofing
To prevent history from repeating itself, you need to lock out moisture.
- Seal Grout Lines: Apply a grout sealer once everything is dry.
- Caulk the Edges: Use silicone caulk along tub edges, floor-wall joints, or corners.
Skipping this is like fixing a leak but leaving the faucet dripping—it’ll just come back.
8. Common Mistakes to Avoid
Even confident DIYers fall into traps. Here are mistakes that can ruin the repair:
- Using Too Much Force: Tiles break easier than you think. Patience > muscle.
- Skipping Surface Prep: Adhesive on dust = tile won’t stick.
- Not Letting Adhesive Cure: Rushing grouting before adhesive sets leads to failure.
- Ignoring Underlying Problems: If water damage caused it, address that first.
I once fixed a tile in a rush before a dinner party. Looked great for a week, then popped out during a hot shower. Lesson: short-term pride, long-term regret.
9. When to Replace Instead of Repair
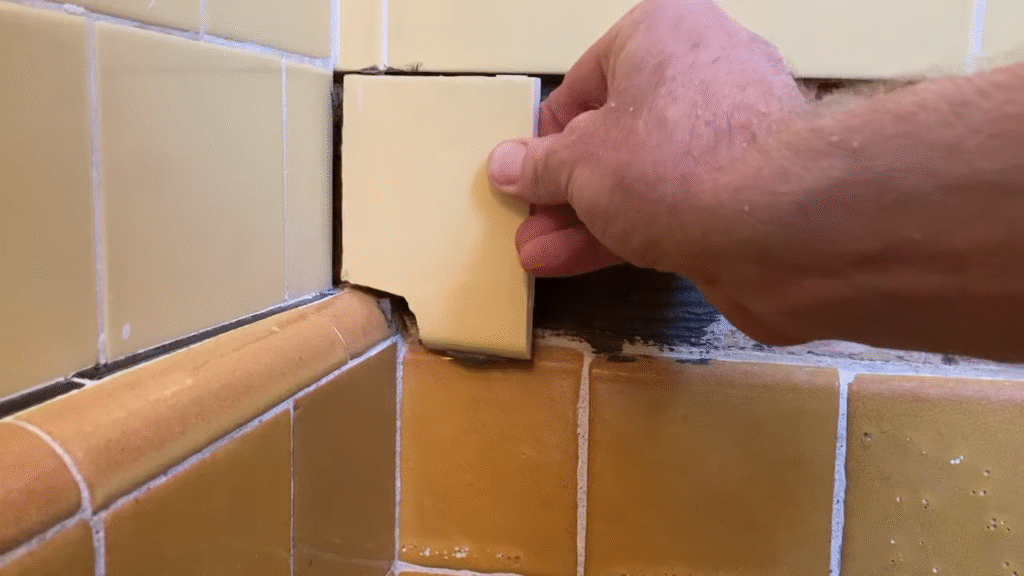
Sometimes, repairing a loose tile is like trying to glue back shattered glass—it’s not worth it. Replace instead if:
- The tile cracks while removing it.
- The adhesive backing is moldy or crumbling.
- Multiple tiles in one area are loose (sign of a bigger problem).
A replacement might sound like extra work, but in reality, it saves headaches.
10. Cost and Time Estimates
Here’s the part most homeowners care about:
- DIY Fix: $20–$50 for adhesive, grout, and sealant.
- Time: 1–2 hours of work (plus drying time).
- Hiring a Pro: $150–$500 depending on area size and damage.
Stats: According to HomeAdvisor, average tile repair costs range $150–$600, while full retiling can cost $1,000+. That’s why a DIY fix is often the smarter route.
Conclusion
Fixing a loose bathroom tile isn’t as intimidating as it looks. With the right tools, patience, and a little elbow grease, you can handle it like a pro. The key is not just sticking the tile back but addressing why it came loose in the first place—whether it’s moisture, weak adhesive, or structural shifts.
Think of it like patching up a friendship—you don’t just say “sorry,” you also fix the root cause so it doesn’t fall apart again. Do it right once, and your tiles will stay put for years.
FAQs
1. Can I glue a loose bathroom tile back without removing it?
Not effectively. The bond will be weak, and water can still get behind it. Proper repair means removing, cleaning, and resetting.
2. How long should I wait before using the shower after fixing tiles?
Wait at least 24–48 hours for adhesive and grout to cure fully. Always check product instructions.
3. What if I don’t have a matching replacement tile?
Check local tile stores, online marketplaces, or consider removing a hidden tile (behind a vanity) to use in a visible spot.
4. How can I prevent tiles from coming loose again?
Keep grout sealed, repair cracks quickly, and ensure proper ventilation in the bathroom to reduce moisture buildup.
5. Do I need special grout for shower tiles?
Yes, use waterproof grout (often epoxy-based) for wet areas. It resists water better than regular cement grout.

