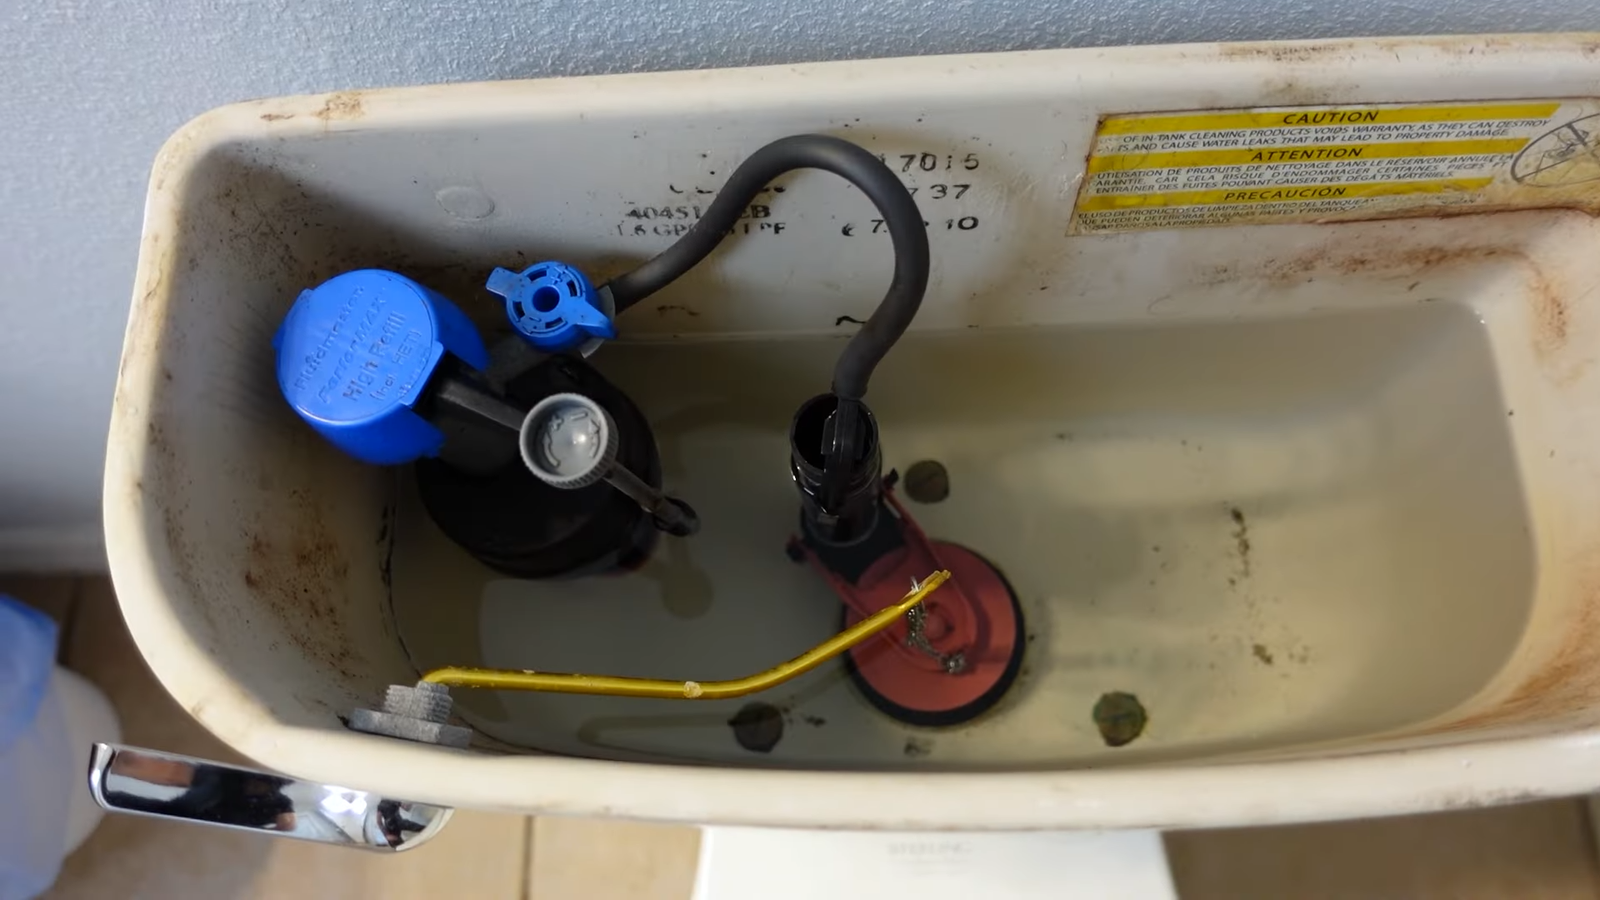
Fixing a toilet valve may sound like the kind of job that belongs on a plumber’s to-do list, but truthfully, it’s one of those repairs that almost anyone can handle with a little patience and guidance. Think of it like tightening the strings on a guitar—you may not get the tune perfect the first time, but with practice, you’ll get the hang of it.
This guide is your step-by-step playbook for understanding, diagnosing, and fixing a faulty toilet valve. You’ll learn what it does, why it fails, and exactly how to repair or replace it—all without flushing away your wallet on a professional plumber.
1. What Is a Toilet Valve and Why Does It Matter?
The toilet valve, often called the fill valve, is the unsung hero of your bathroom. It regulates the water that refills your toilet tank after every flush. When it works, you don’t even think about it. When it fails, you’re suddenly dealing with problems like:
- Constant running water (that sound like a tiny waterfall at 2 a.m. isn’t romantic—it’s money going down the drain).
- Weak or incomplete flushes.
- A toilet tank that takes forever to fill.
According to the Environmental Protection Agency (EPA), a running toilet can waste up to 200 gallons of water per day. That’s like leaving a faucet running non-stop and then wondering why your water bill looks like a down payment on a car.
So yes, this little part matters—a lot.
2. Signs That Your Toilet Valve Is Broken
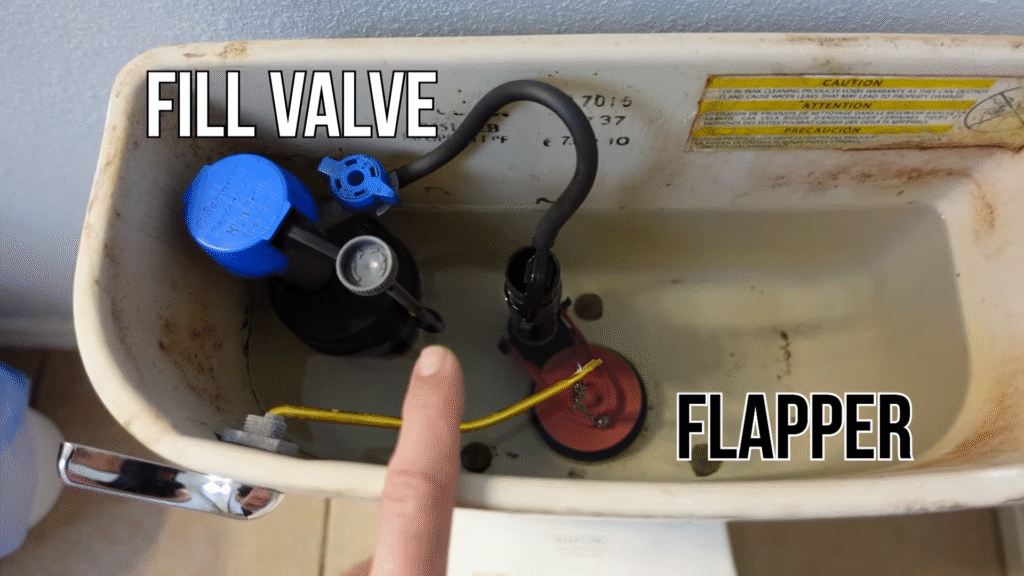
Before grabbing your toolbox, you need to know whether the toilet valve is the real culprit. Here are some unmistakable signs:
- The toilet won’t stop running. You jiggle the handle, but it keeps hissing like a tea kettle.
- The tank won’t fill properly. Sometimes it barely fills; other times, it takes ages.
- You hear strange noises. Gurgling, whistling, or screeching sounds after a flush usually point to a valve issue.
- Inconsistent flushing power. One day it’s a tidal wave, the next it’s a trickle.
- Visible wear and tear. If you peek inside the tank and see corrosion or mineral buildup on the valve, it’s probably past its prime.
A personal story here—I once ignored a constantly running toilet for three weeks. I thought, “It’s just a little water.” Wrong. My next water bill shot up by $47. That mistake could’ve bought me a brand-new fill valve and dinner for two.
3. Tools and Materials You’ll Need
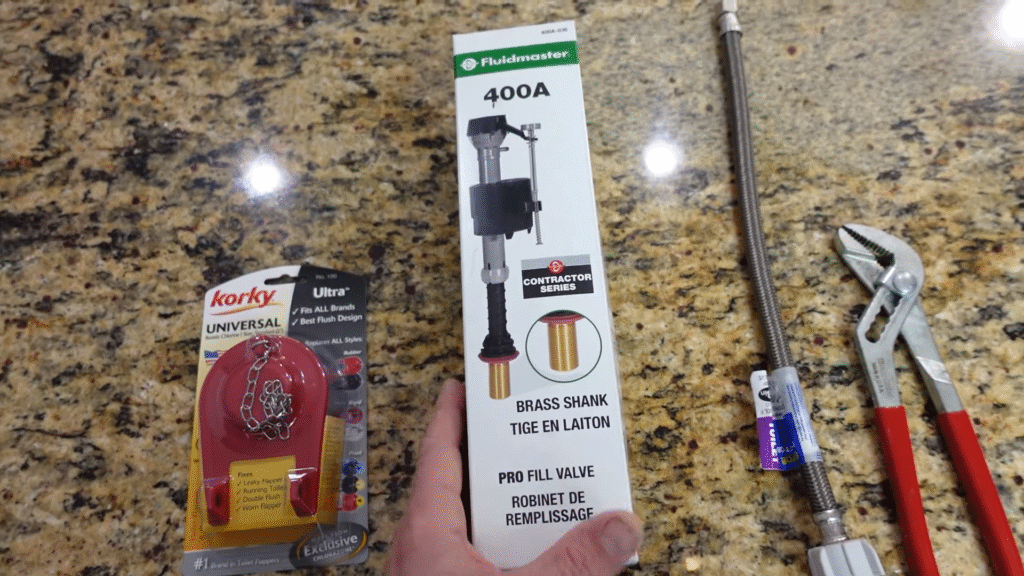
You don’t need a garage full of fancy tools. Most toilet valve repairs require only the basics:
- Adjustable wrench (or pliers)
- Sponge or towel (to soak up leftover water)
- Bucket (to catch drips when disconnecting the supply line)
- Replacement fill valve (costs $10–$25 on average at hardware stores)
- Teflon tape (optional, but handy for sealing connections)
- Screwdriver (sometimes needed depending on valve type)
Pro tip: Always check your toilet model before buying a replacement valve. Some brands, like Kohler or American Standard, have specific parts, while universal valves (like Fluidmaster 400A) fit most toilets.
4. How to Shut Off the Water Supply
Before you roll up your sleeves, turn off the water supply to the toilet. Otherwise, you’ll end up with a bathroom floor that looks like a kiddie pool.
Here’s how:
- Locate the shut-off valve—usually a silver knob on the wall behind the toilet.
- Turn it clockwise until it stops.
- Flush the toilet to empty the tank.
- Use a sponge or towel to soak up any leftover water inside the tank.
Think of this step like unplugging your toaster before fishing out a stuck bagel—it’s common sense and keeps you safe from unnecessary mess.
5. Removing the Old Toilet Valve
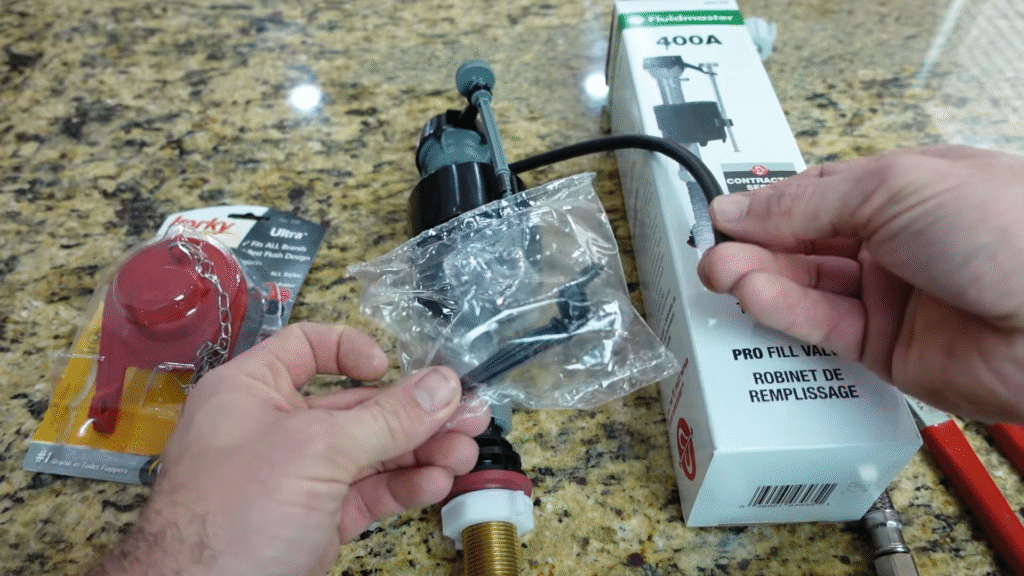
Now that your water is off and the tank is empty, it’s time to say goodbye to the faulty valve.
Steps to remove it:
- Disconnect the water supply line at the bottom of the tank using a wrench. Have your bucket ready for drips.
- Locate the lock nut holding the valve to the tank (usually under the toilet). Unscrew it.
- Lift the old valve straight out of the tank.
At this point, you might notice mineral buildup, corrosion, or even cracks in the plastic. Don’t worry—that’s completely normal. It’s like finding old rust when changing a car battery.
6. Installing the New Toilet Valve
Here’s where the magic happens. Installing the new valve isn’t complicated if you take it slow.
- Insert the new fill valve into the hole at the bottom of the tank.
- Tighten the lock nut from underneath—hand-tighten first, then give it a quarter turn with a wrench. Don’t overdo it or you’ll crack the porcelain.
- Reattach the water supply line to the new valve.
- Inside the tank, attach the valve’s refill tube to the overflow pipe.
Most new valves are adjustable, so set the water level about an inch below the overflow tube. This ensures proper flushing without wasting water.
7. Testing the Repair
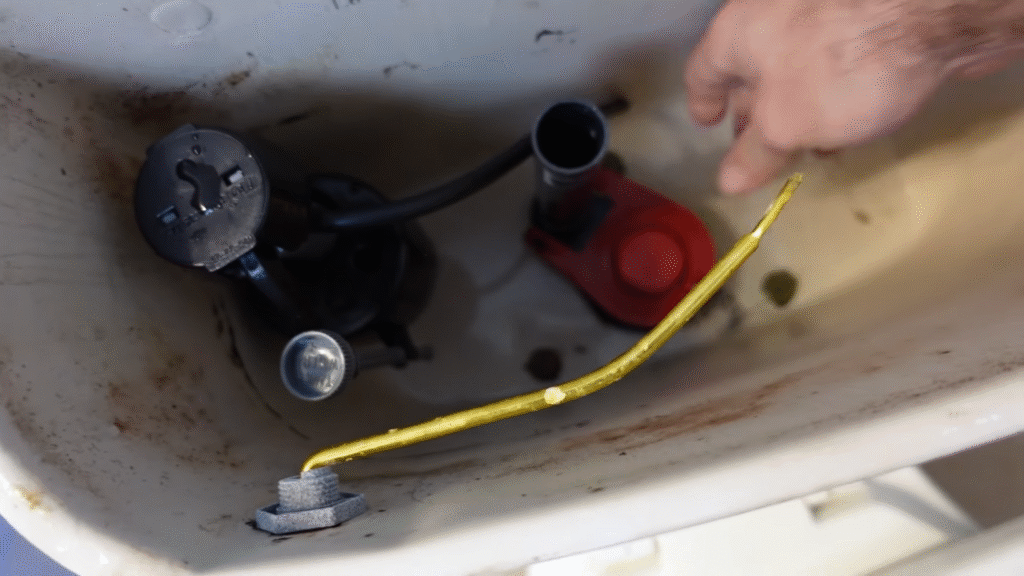
Once the new valve is in place, it’s time for the truth test:
- Turn the water supply back on slowly.
- Let the tank fill up.
- Flush and observe.
Check for:
- Proper filling speed.
- Correct water level in the tank.
- No leaks around the supply line or lock nut.
- Smooth, quiet operation.
If something seems off, adjust the valve height or the float. Don’t panic—small tweaks are part of the process.
8. Common Mistakes to Avoid
Even the handiest DIYers make mistakes. Here are some pitfalls you can dodge:
- Overtightening the nut. This can crack the tank, and then you’ve got a much bigger problem.
- Forgetting the refill tube. Without it, your bowl won’t refill properly after flushing.
- Setting the water level too high. This causes constant overflow and wasted water.
- Using the wrong valve. A universal valve won’t always fit specialty toilets.
When I replaced my first valve, I overtightened the nut thinking tighter meant safer. Wrong. I ended up with a hairline crack in the porcelain and a slow leak that haunted me for weeks. Lesson learned—snug is enough.
9. Cost Savings of Fixing It Yourself
Let’s talk numbers because nothing motivates like saving money.
- Average cost of a plumber visit: $125–$200.
- Average cost of a replacement valve: $15–$25.
- Time it takes: About 30–45 minutes.
By fixing it yourself, you’re basically paying yourself $200 an hour. That’s CEO-level pay for a bit of elbow grease. Plus, you’ll pick up a handy new skill.
10. Preventing Future Valve Problems
Fixing a toilet valve is great, but preventing issues in the first place is even better. Here’s how to keep yours healthy:
- Clean the tank occasionally. Sediment buildup can clog the valve.
- Check the water pressure. High water pressure (over 80 PSI) can damage valves. Install a regulator if needed.
- Replace parts proactively. Valves usually last 5–7 years. If yours is pushing a decade, swap it before it fails.
- Use quality replacement parts. Cheaper isn’t always better—sometimes you get what you pay for.
Think of it like dental care: brushing daily prevents cavities. A little tank check every few months saves you from midnight plumbing disasters.
Conclusion
Fixing a toilet valve isn’t nearly as intimidating as it sounds. With a few tools, some patience, and the right steps, you can tackle this repair in under an hour. Not only will you save money, but you’ll also avoid the stress of wasted water and high bills.
Every time you hear that peaceful silence after a flush—the tank filling quietly, no running, no leaks—you’ll know you did it yourself. And trust me, that’s a little victory worth celebrating.
FAQs
1. How do I know if my toilet valve needs replacing?
If your toilet runs constantly, makes odd noises, or doesn’t fill properly, it’s likely time for a new valve. Visible wear or corrosion inside the tank is another clear sign.
2. How long does a toilet valve last?
On average, a fill valve lasts 5–7 years, depending on water quality and usage. Hard water can shorten its lifespan.
3. Can I fix a valve instead of replacing it?
Sometimes cleaning out sediment or adjusting the float solves the problem, but in most cases, replacement is the more reliable long-term fix.
4. How much water does a leaking valve waste?
A running toilet can waste up to 200 gallons of water per day, which adds up to over 6,000 gallons per month—and a hefty utility bill.
5. Can I replace a toilet valve without turning off the water supply?
No, you should always shut off the water supply first. Otherwise, you’ll end up with a flooded bathroom.

