

If you’ve ever walked across your kitchen or bathroom floor and heard that hollow “clunk” under your feet, you already know what a loose tile feels like. It’s unsettling—like walking on a board that might give way.
The good news? You don’t always need to rip the tile out to fix it. In fact, with the right techniques, you can stabilize a loose floor tile and keep your floor looking seamless, without breaking the bank or your back.
1. Understanding Why Tiles Become Loose
Before we jump into fixing, you need to know why tiles go rogue in the first place. Loose tiles aren’t just random—they’re usually sending you a warning signal.
- Poor adhesive application: If the original installer didn’t spread adhesive evenly, voids form underneath, creating that hollow sound when you step on it.
- Subfloor movement: Wood subfloors especially expand and contract with humidity, stressing the bond.
- Moisture problems: Water sneaking under tiles weakens adhesive, especially in bathrooms, kitchens, and basements.
- Heavy impact: Dropping something solid (like a cast-iron pan) can shock the adhesive and loosen the bond.
Think of it like a loose tooth. Sometimes it’s bad hygiene (moisture), sometimes it’s trauma (impact), sometimes it’s just age. Knowing the cause helps you prevent future tile drama.
2. Tools and Materials You’ll Need
Fixing a tile without removing it is like performing “tile surgery” through a tiny opening. You’ll need the right instruments.
Basic toolkit checklist:
- Grout saw or oscillating tool (for cutting out old grout)
- Shop vacuum or compressed air (to clean voids)
- Epoxy or thin-set adhesive injection kit (often sold as “tile repair kits”)
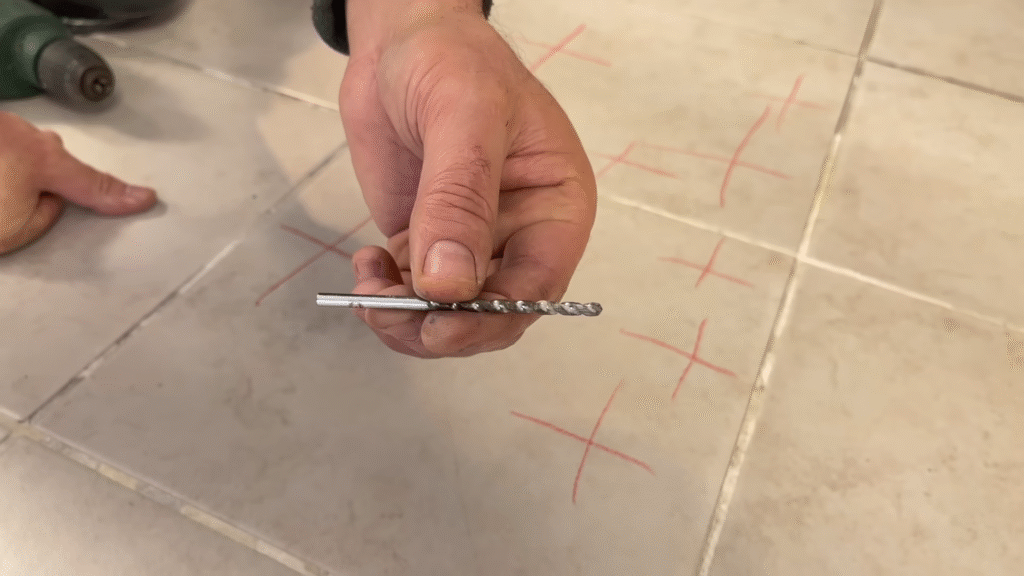
- Small drill and masonry bit (1/16”–1/8”)
- Syringe or applicator tip (to inject adhesive)
- Rubber mallet
- Painter’s tape
- Grout mix + float
- Damp sponge
Optional but helpful: kneepads (trust me, your knees will thank you).
When I first fixed a loose tile in my own kitchen, I thought I could “MacGyver” it with glue and a butter knife. Big mistake. Within a week, the tile was rocking worse than before. Having the proper repair adhesive kit is non-negotiable here.
3. The Drill-and-Inject Method
This is the most reliable way to fix a loose floor tile without ripping it out. Think of it like giving the tile a secret shot of medicine right where it hurts.
Step-by-step guide:
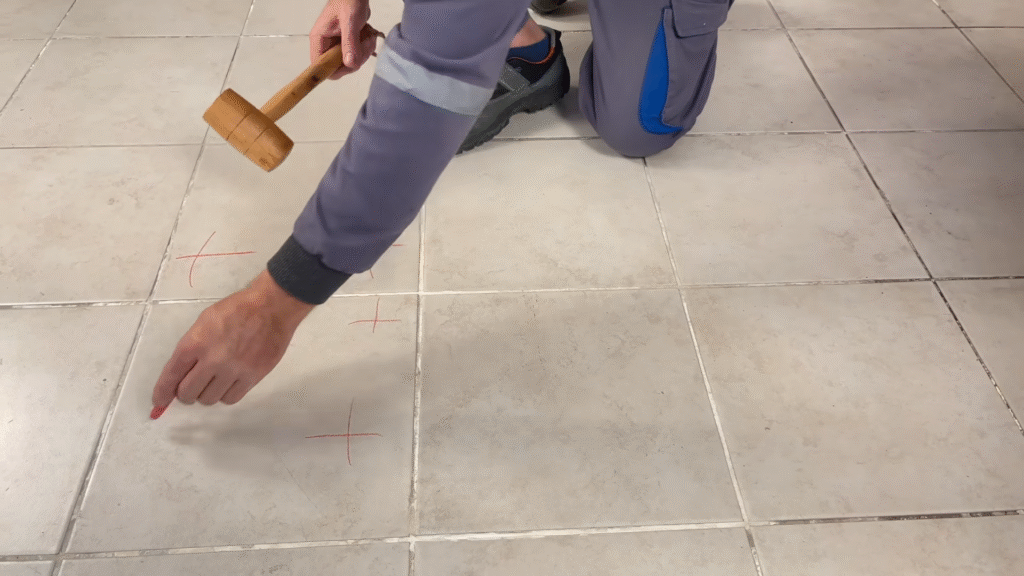
- Remove the surrounding grout
Use a grout saw or oscillating tool to carefully carve out the grout around the loose tile. This creates space for expansion and prevents pressure cracks when you re-seat it later. - Drill tiny holes
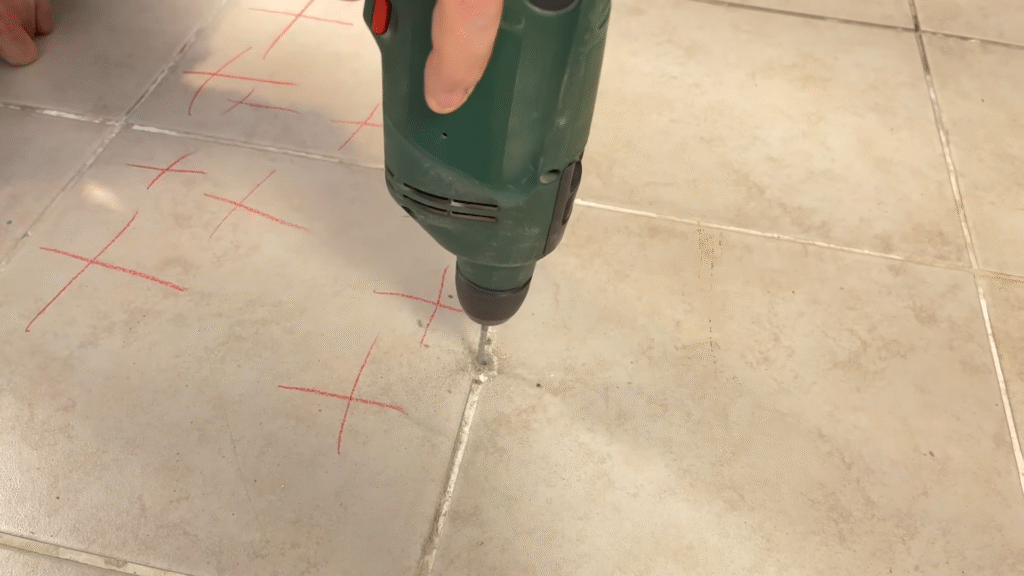
With a masonry bit, drill two or three very small holes into the grout joint or at the tile’s corners. These holes will act as entry points for your adhesive. Keep them shallow—you only want to break through the grout and reach the void beneath the tile. - Clean the void
Use a shop vac or compressed air to remove dust and debris from under the tile. If dirt stays inside, the adhesive won’t bond properly. - Inject adhesive
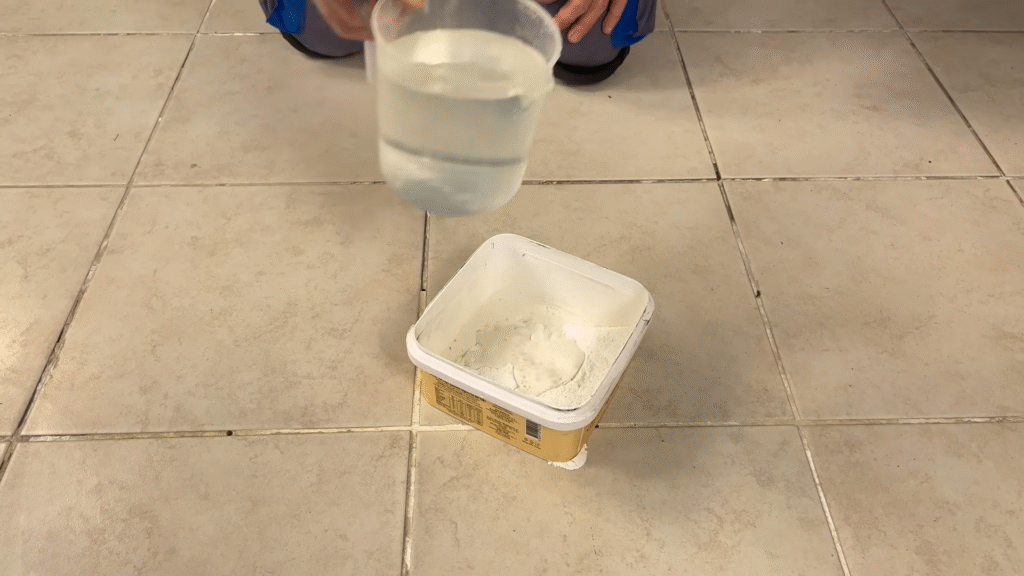
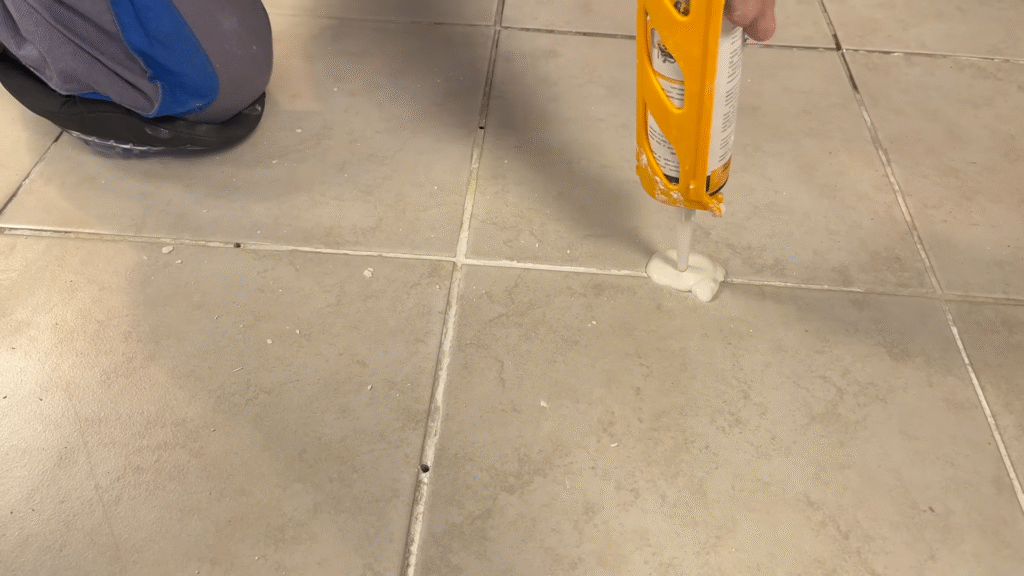
Load up your syringe or applicator with epoxy or a flowing thin-set adhesive. Slowly inject into the holes until you see material begin to squeeze back up. This means the void underneath is filling. - Press and set
Place a flat board over the tile and lightly tap with a rubber mallet. This ensures even spreading of adhesive beneath the tile. Leave the board and some weight (like a stack of books) on top while it cures. - Re-grout
Once cured, mix new grout and fill the drilled holes and joints. Smooth it with a grout float, wipe excess with a damp sponge, and let it dry.
When done correctly, the tile should feel rock solid again, as if it was never loose.
4. Using Tile Repair Adhesive Kits
If drilling feels intimidating, tile repair adhesive kits are your best friend. They usually come with pre-mixed adhesive and a syringe-style injector.
How they work:
- Instead of drilling into the tile, you inject through the grout line.
- Adhesive flows under the tile to re-bond it.
- Once cured, the tile is stabilized.
These kits are convenient for beginners because they take the guesswork out of mixing adhesives. They also prevent you from accidentally cracking a tile while drilling. The only drawback is they’re a bit pricier per repair compared to bulk adhesive.
From personal experience, I used one of these kits on a loose bathroom tile. It held up beautifully for years—proof that sometimes convenience pays off.
5. The Grout-Only Stabilization Trick
Now, let’s be real: sometimes the tile isn’t catastrophically loose—it just wiggles a little. In those cases, you can use a simpler, almost “band-aid” style fix: re-grouting.
Here’s how:
- Remove the old cracked or crumbling grout around the tile.
- Clean thoroughly with a vacuum.
- Reapply fresh grout into the joints.
- Smooth it out and clean the tile surface.
This doesn’t always fix the root problem, but it can stabilize a tile enough to stop it from wiggling. Think of it as bracing a wobbly chair leg—you’re not fixing the wood joint, but you’re giving it enough support to keep standing.
6. When to Use Epoxy vs. Thin-Set
Choosing the right adhesive is crucial. Here’s the quick breakdown:
- Epoxy adhesive: Best for small localized repairs. Extremely strong, water-resistant, cures quickly. Great for bathrooms and kitchens.
- Thin-set mortar: Better for larger voids or multiple tiles. Cheaper than epoxy, but slower curing and requires mixing.
If you’re only repairing one or two loose tiles, epoxy is worth the investment. If you’re repairing a whole section of floor, thin-set might save you money.
7. Common Mistakes to Avoid
Trust me, I’ve made some of these myself—and paid the price.
- Skipping grout removal: If you inject adhesive without clearing grout, pressure builds up and can crack the tile.
- Overfilling with adhesive: More is not always better. Too much adhesive can lift the tile unevenly.
- Using the wrong drill bit: Regular bits will shatter tiles. Always use a masonry bit.
- Walking on the tile too soon: Give adhesives proper curing time (often 24 hours). Step too early and you’ll ruin the bond.
Learning from these slip-ups is what separates a quick patch job from a lasting repair.
8. Preventing Future Loose Tiles
Once you’ve done the hard work of fixing, it’s smart to prevent the issue from repeating.
- Seal grout lines annually to block water intrusion.
- Check subfloor stability if you notice multiple loose tiles. Fixing the base prevents repeat failures.
- Control humidity in rooms with tile. A dehumidifier in basements works wonders.
- Use rugs in high-impact areas (like under kitchen sinks where heavy pans drop).
Think of it like maintaining your car—you don’t just fix a flat tire; you also check your tire pressure regularly to prevent future blowouts.
9. Cost Breakdown: DIY vs. Professional Repair
Here’s where numbers come into play.
- DIY repair kit: $15–$40 per loose tile
- Bulk epoxy or thin-set: $25–$50 for multiple tiles
- Hiring a pro: $100–$200 per tile (depending on labor rates)
According to HomeAdvisor, the average cost to professionally replace a single tile is $150. Compare that to a $25 DIY kit and the math speaks for itself. Unless you’re dealing with a whole floor or structural issue, DIY repairs are worth it.
10. My Personal First-Time Experience
I’ll be honest: the first time I fixed a loose tile, I was terrified of making it worse. My kitchen had this one hollow-sounding tile right near the fridge. Every time someone stepped on it, I winced.
I bought a cheap syringe kit, removed the grout, and injected adhesive like I was giving CPR to the tile. After a night of curing, I nervously tested it. Solid as a rock. That one success gave me confidence, and now I’ve fixed multiple tiles in different rooms without ever calling in a contractor.
If I can do it, so can you.
Conclusion
Fixing a loose floor tile without removing it is totally possible, and it doesn’t require you to be a master tiler. Whether you use the drill-and-inject method, a repair adhesive kit, or a simple re-grouting trick, you can bring stability back to your floor without expensive replacements.
The key is understanding the problem, using the right adhesive, and giving the repair enough curing time. Once you get the hang of it, it’s one of those satisfying DIY jobs where you save money, learn a new skill, and get to brag about it later.
So next time you hear that hollow clunk under your feet, don’t panic. Grab your tools, channel your inner tile surgeon, and fix it without ever pulling the tile up.
FAQs
1. Can I just glue down a loose tile without removing it?
Yes, by using an adhesive injection method, you can re-bond the tile from underneath without lifting it. Specialized repair kits make this easy.
2. How long does it take to fix a loose tile?
The actual repair may take about 30–60 minutes, but you’ll need to wait at least 24 hours for the adhesive to cure fully before walking on it.
3. What if multiple tiles are loose?
If you notice a whole section becoming loose, the issue may be with your subfloor or moisture. In that case, replacing tiles might be the better long-term solution.
4. Is epoxy safe for bathroom tiles?
Yes, epoxy adhesives are water-resistant and ideal for areas exposed to moisture like bathrooms and kitchens.
5. How can I tell if a tile is loose?
Tap on the surface with a coin or the handle of a screwdriver. A solid tile makes a sharp “click,” while a loose tile sounds hollow.