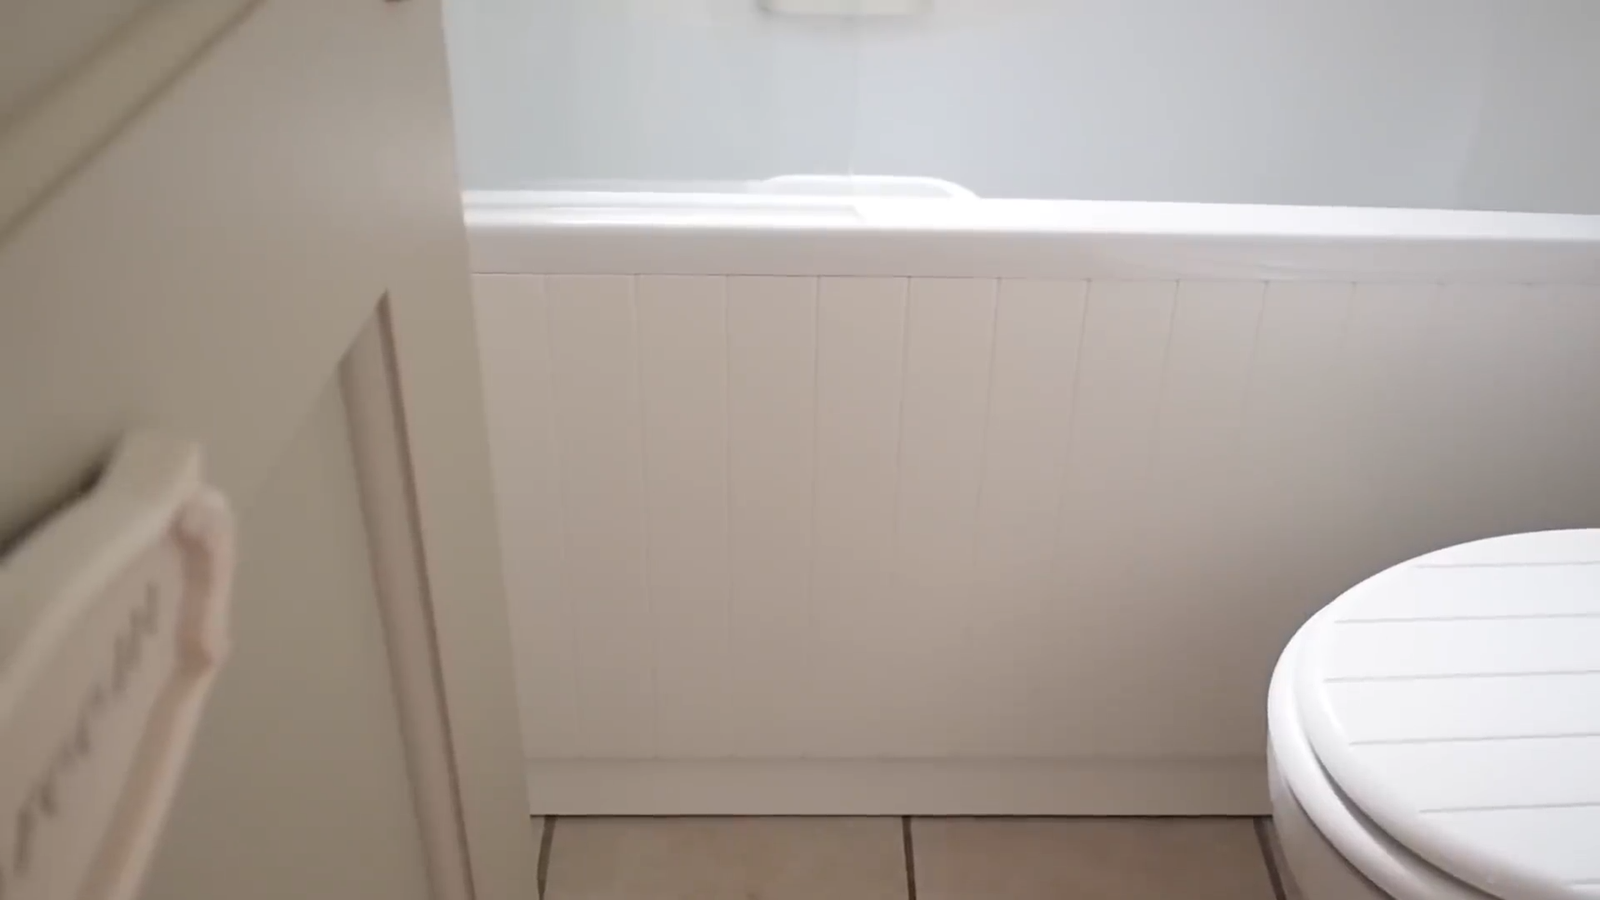
If your bath panel is loose, cracked, or simply not sitting right, you don’t need to call a plumber immediately. Fixing it is one of those underrated home DIY tasks that can save you time, money, and frustration.
I’ve been there—kneeling on a bathroom floor with screws rolling around, wondering if I should’ve just called for help. But once you know the process, it’s surprisingly straightforward.
1. What Exactly Is a Bath Panel?
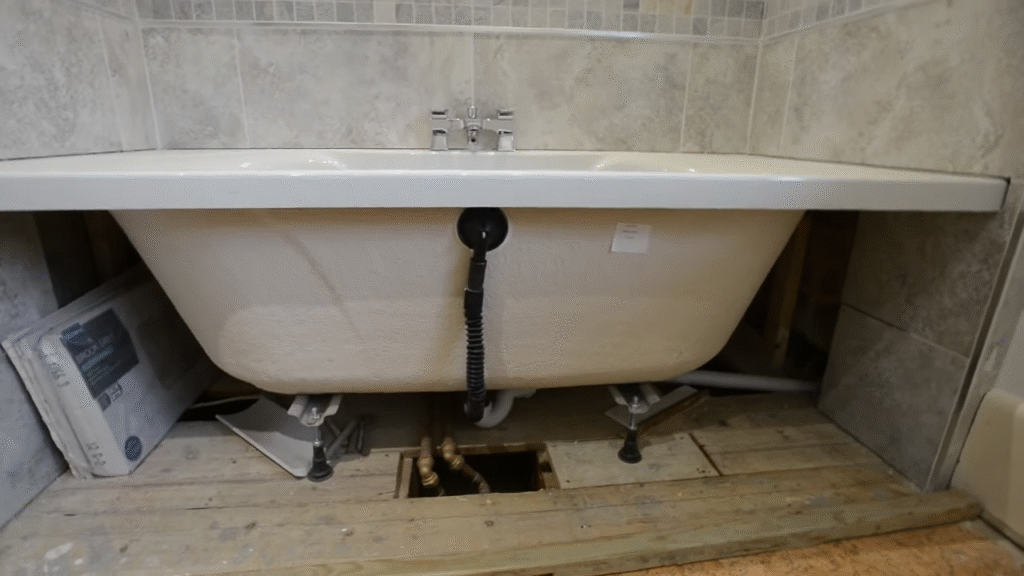
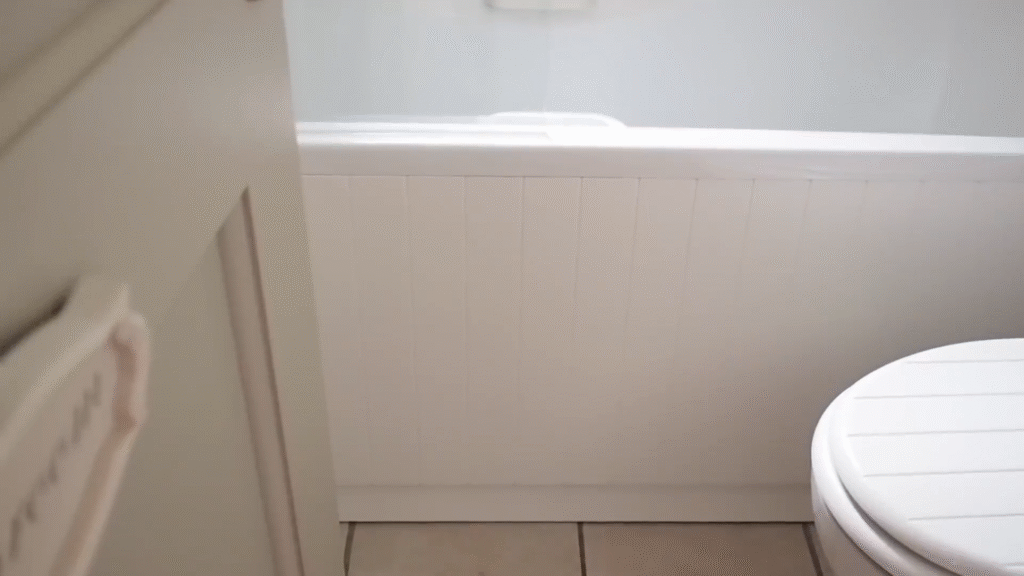
Before diving into repairs, let’s get clear on what a bath panel is. A bath panel is the finishing piece that covers the side of your bathtub, hiding the plumbing and creating a clean, polished look. It’s usually made of MDF, acrylic, wood, or plastic, and it fits snugly against the bath frame.
The panel isn’t just for looks—it also protects against moisture damage, prevents dust and dirt from collecting under the tub, and makes cleaning easier.
However, bath panels often become loose, warped, or cracked because of water exposure, poor installation, or just wear and tear over time.
2. Why Do Bath Panels Become Loose or Damaged?
It’s not always your fault when the panel starts acting up. Some common reasons include:
- Moisture damage: Bathrooms are humid by nature, and panels made of MDF or wood can swell or warp.
- Poor installation: If the panel wasn’t cut or fixed properly, it might not stay in place.
- Everyday wear and tear: Frequent cleaning, leaning against the bath, or accidental kicks can loosen it.
- Improper fixing clips or screws: Sometimes the clips provided are flimsy or screws rust over time.
- Expansion and contraction: Materials expand slightly in heat and contract in cold, making panels shift.
Understanding the cause helps you choose the right repair method.
3. Tools and Materials You’ll Need
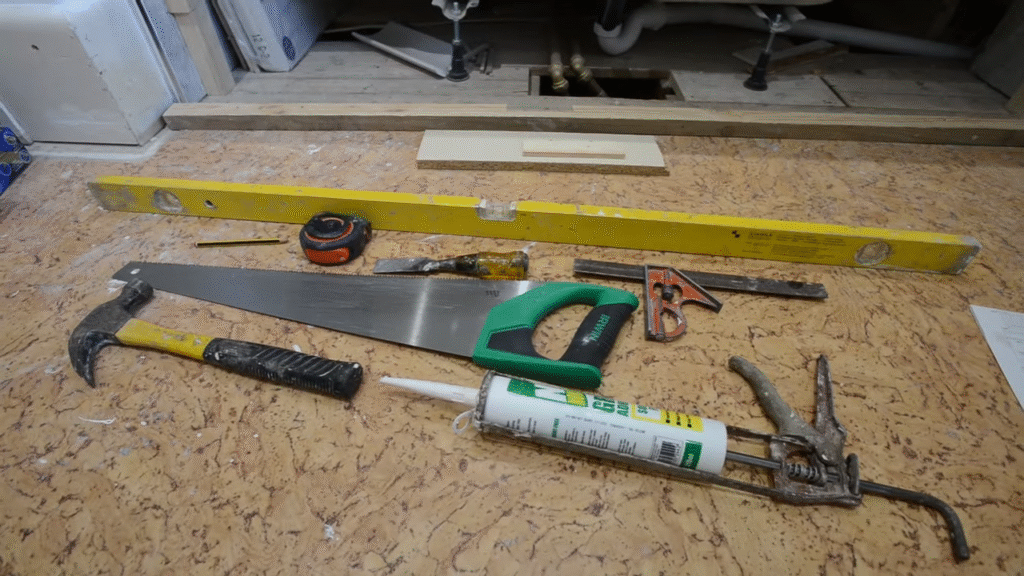
You don’t need a professional toolkit for this job. Here are the essentials:
- Measuring tape – to ensure accurate fitting.
- Screwdriver or drill – depending on the fixings.
- Bath panel clips/brackets – replacements if the old ones are worn.
- Sealant (silicone, waterproof) – to stop leaks and secure the panel edges.
- Replacement screws – if rusted or missing.
- Sandpaper – for smoothing any rough edges.
- Utility knife or saw – if you need to trim the panel for fitting.
Optional but helpful:
- Spirit level – to make sure the panel sits evenly.
- Protective gloves – to avoid sharp edges.
4. Step-by-Step Guide to Fixing a Loose Bath Panel
Here’s the straightforward process I use when tightening or reattaching a bath panel:
Step 1: Check How the Panel Is Fixed
Panels are usually secured with clips, screws, or a slot-in frame system. Identify which one you have before unscrewing anything.
Step 2: Remove the Panel Carefully
Unscrew or unclip it, making sure not to damage the edges. If it’s siliconed in, use a utility knife to cut through the old sealant.
Step 3: Inspect for Damage
Check if the panel itself is cracked, swollen, or warped. If it’s damaged beyond repair, replacing it may be the best option.
Step 4: Tighten or Replace Fixings
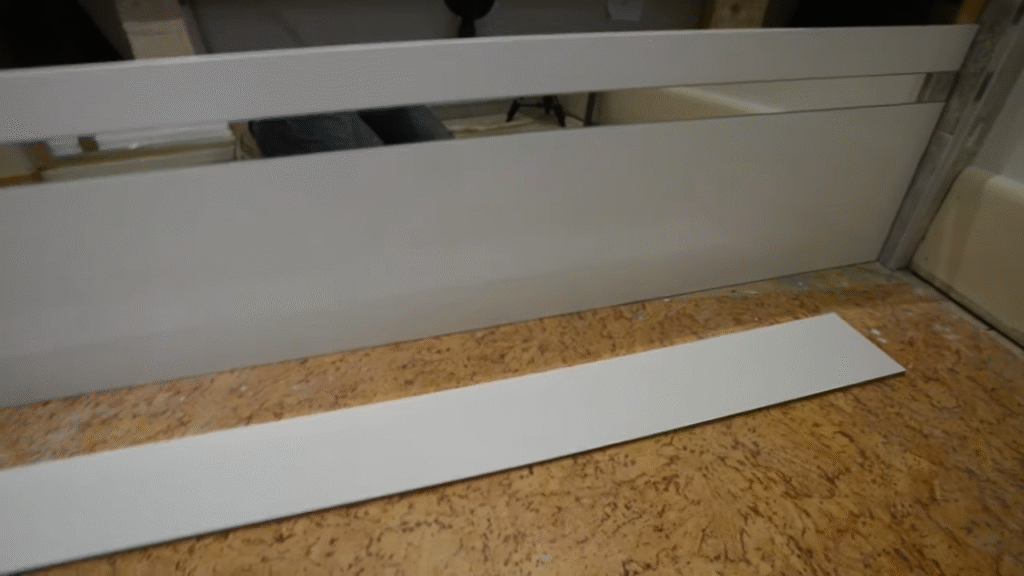
- If screws are loose, replace them with new ones.
- If clips are broken, buy new bath panel clips from a DIY store.
- If the frame is wobbly, reinforce it with additional brackets.
Step 5: Refit the Panel
Slide or clip it back into place, ensuring it’s flush against the bath.
Step 6: Seal the Edges
Apply a thin bead of waterproof silicone around the edges to keep water out. Smooth it with a sealant tool or your finger.
5. Fixing a Cracked Bath Panel
If your bath panel has a crack, you don’t always need to replace it immediately.
Here’s how to fix it:
- For small cracks in acrylic panels: Use a two-part plastic filler or epoxy resin, sand it down, and repaint if needed.
- For MDF or wood panels: Apply wood filler, sand it, and repaint with moisture-resistant paint.
- For deep cracks: Replacement is the most practical solution.
6. Adjusting a Bath Panel That Doesn’t Fit Properly
Sometimes panels don’t line up correctly with the bath frame. If that’s the case:
- Trim the panel: Use a fine-tooth saw or utility knife to cut it to the right size.
- Add spacers: If the panel is too small, wooden spacers or filler strips can help.
- Check uneven floors: Bathrooms often have uneven tiles, so adjusting the height might be necessary.
A little patience here goes a long way—better to cut small amounts gradually than to take off too much at once.
7. Preventing Future Bath Panel Problems
Once you’ve gone through the effort of fixing your panel, you’ll want it to last. Here are a few tips:
- Seal all edges to prevent water from seeping behind.
- Avoid leaning against the panel when getting in or out of the bath.
- Check annually for loose screws or gaps.
- Use moisture-resistant materials if replacing the panel.
- Ventilate your bathroom properly to reduce humidity damage.
Think of it like giving your bath panel a little annual health check—small tweaks save you bigger headaches later.
8. When Should You Replace Instead of Repair?
Sometimes fixing isn’t enough. Replacement is better when:
- The panel is swollen, warped, or rotten from water damage.
- It has large cracks that can’t be filled.
- The design is outdated and doesn’t match your bathroom anymore.
- It keeps coming loose despite multiple fixes.
New bath panels are relatively affordable. On average, in the UK and US, they cost $40–$150 depending on material and style. Investing in a new one might save you repeated repairs.
9. Cost of Fixing a Bath Panel
If you do it yourself, the cost is minimal—just $10–$30 for clips, screws, and sealant.
If you hire a professional:
- Handyman or plumber fee: Around $60–$120 per hour.
- If replacement is needed, add the cost of the new panel.
Doing it yourself is definitely the cheaper route unless the panel is part of a complex built-in design.
10. My Personal Experience Fixing a Bath Panel
The first time I tackled a loose bath panel, I underestimated it. I thought, “How hard can this be?” Then I found myself crawling on the bathroom floor, flashlight in hand, discovering that half the screws were rusted and the panel didn’t even fit properly.
After some trial and error (and a quick run to the DIY store for new clips), I finally got it back in place. The trick was sealing it properly. Once I added silicone around the edges, the panel felt solid and looked brand new.
The whole job took about an hour, and I saved at least $100 in labor costs. That’s when I realized bath panel repair is one of those DIY wins worth learning.
Conclusion
Fixing a bath panel might seem like a small task, but it makes a huge difference in keeping your bathroom neat, waterproof, and stylish. Whether it’s loose, cracked, or simply out of place, the repair process is straightforward once you know the steps.
Remember:
- Always identify the type of fixing before removing the panel.
- Tighten or replace screws/clips if it’s loose.
- Seal edges with waterproof silicone.
- Repair small cracks with filler, but replace if badly damaged.
Think of your bath panel as the protective armor of your bathtub—it deserves a little care to stay strong and functional.
FAQs
1. How do you secure a loose bath panel?
You can secure a loose bath panel by tightening screws, replacing broken clips, or reinforcing with brackets. Once fitted, seal the edges with waterproof silicone.
2. Can you replace just the front bath panel?
Yes, most bath panels come in two pieces—the front and the end panel. You can replace only the damaged section without changing the entire set.
3. How do you cut a bath panel to size?
Use a fine-tooth saw or utility knife for precise trimming. Always measure twice and cut slowly to avoid mistakes.
4. How long does it take to fix a bath panel?
For a loose panel, it usually takes 30–60 minutes. If you need to replace it, plan for around 1–2 hours depending on trimming and sealing.
5. Can you paint a bath panel?
Yes, wooden and MDF panels can be painted with moisture-resistant bathroom paint. Acrylic or plastic panels are harder to paint and may need a primer designed for plastics.

