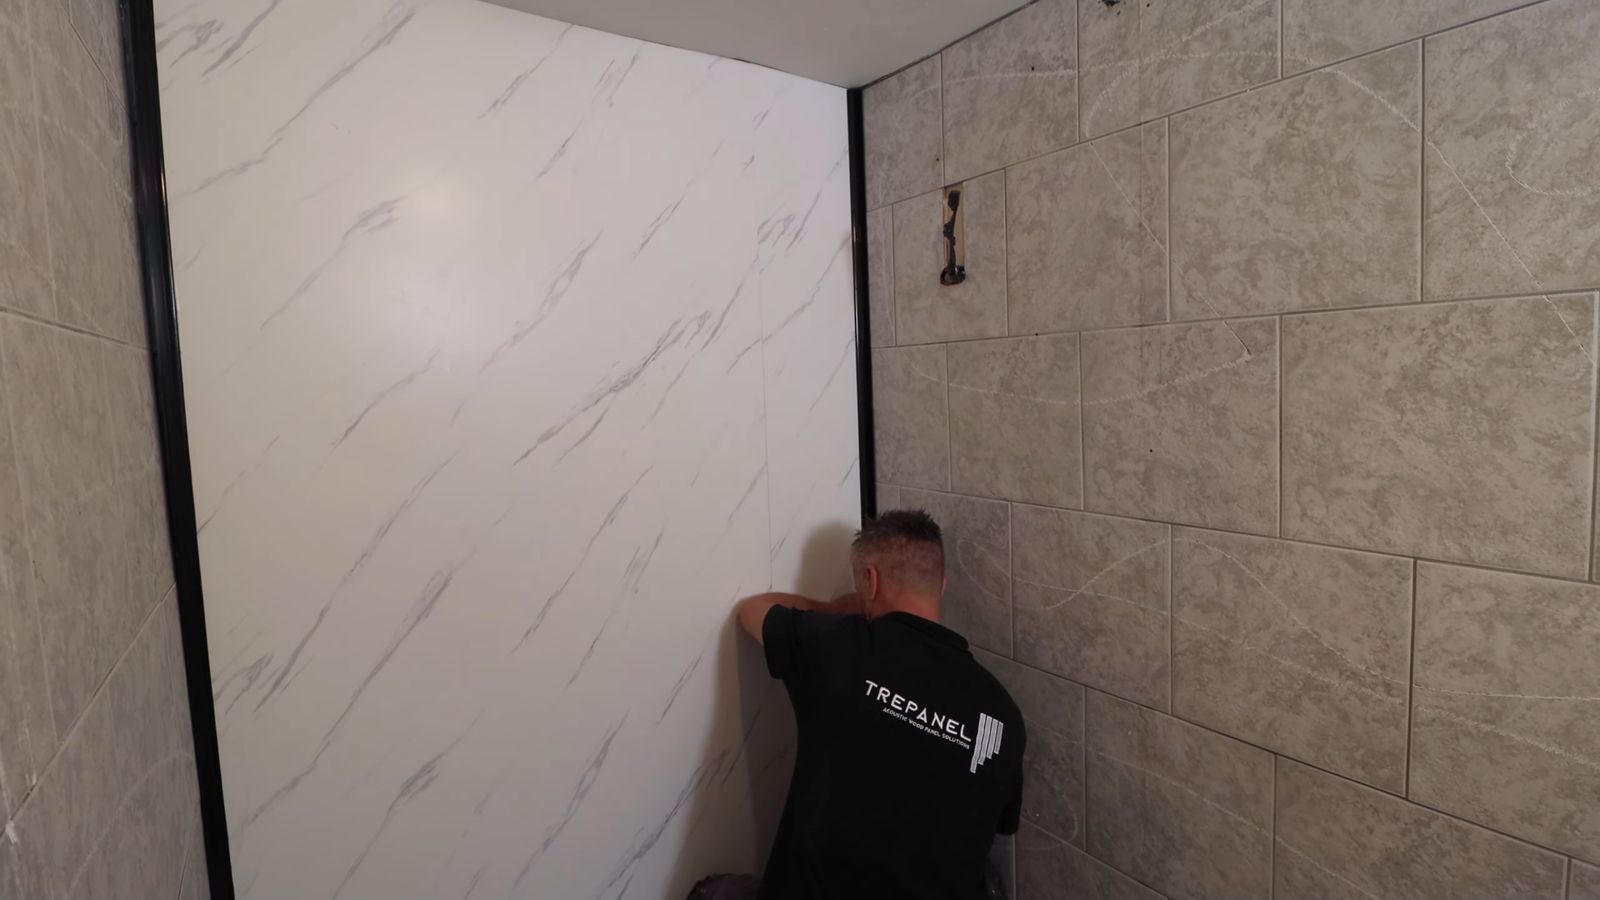
If you’ve ever stepped into a bathroom and admired those sleek, waterproof panels that seem to fit together like puzzle pieces, you’ve probably wondered: how do you actually attach bathroom wall panels?
It’s not rocket science, but it does require patience, the right tools, and a methodical approach. I’ll walk you through everything you need to know, sprinkled with a few of my own hard-earned lessons so you don’t repeat the same mistakes I did.
1. Why Choose Bathroom Wall Panels Over Tiles
Bathroom wall panels are gaining serious popularity, and for good reason. In fact, a 2023 interior design survey showed that 40% of homeowners renovating their bathrooms opted for wall panels instead of traditional tiling. Why? Because they:
- Save time – no grout to deal with.
- Reduce maintenance – easy to clean, no mold creeping in.
- Are cost-effective – panels can cost 20–40% less than tiling.
- Look modern – designs mimic tile, marble, stone, or even wood.
From personal experience, I’ll tell you this: when I remodeled my guest bathroom, the panels cut my installation time by half compared to tiling my main bathroom. And the kicker? No more scrubbing mildew-stained grout lines.
2. Types of Bathroom Wall Panels You Can Use
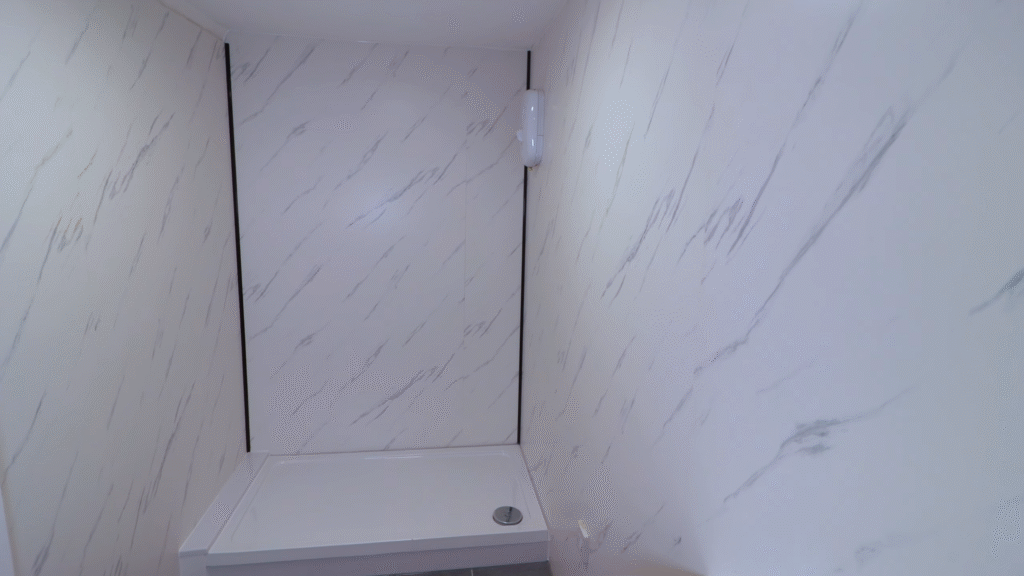
Before we even touch a drill or adhesive, you need to know what kind of panels you’re dealing with. Different materials require slightly different handling. Here are the most common types:
- PVC Panels – Lightweight, waterproof, and budget-friendly. Perfect for DIY beginners.
- Acrylic Panels – Glossy, stylish, and excellent for sleek, modern bathrooms.
- Laminate Panels – Durable, often mimicking stone or tile. A bit pricier but long-lasting.
- Solid Core Panels – High-quality and heavy-duty. Best for large bathrooms or high-moisture areas.
Here’s my tip: PVC is a lifesaver if you’re on your first DIY panel project. They’re forgiving, easy to cut, and cheaper if you make a mistake.
3. Tools and Materials You’ll Need
Let’s get practical. You can’t attach panels with your bare hands (unless you’re a superhero, in which case, can you come help me with my kitchen too?). Here’s what you’ll need:
- Panels of your choice (measure your bathroom first!)
- Adhesive (high-grab waterproof adhesive is best)
- Sealant (mold-resistant silicone)
- Measuring tape & spirit level
- Jigsaw or fine-toothed saw
- Pencil & masking tape
- Safety gear (goggles, gloves)
- Spacers or wedges
Don’t underestimate the power of a spirit level. I once thought my eyes were good enough to judge straight lines. Spoiler: they weren’t. One panel ended up looking like it was slowly sinking into the floor.
4. Preparing the Walls for Panels
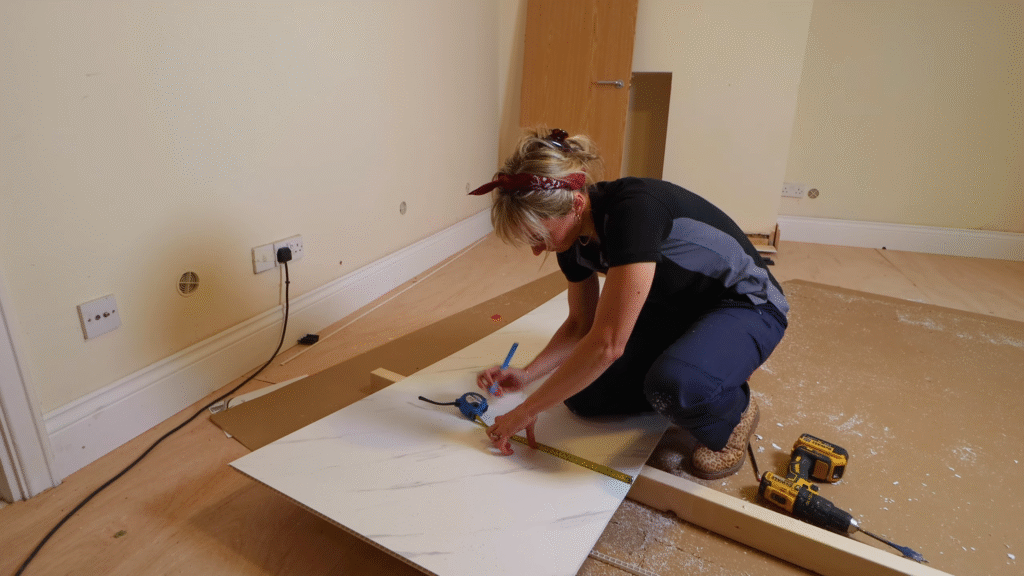
Think of this as prepping a canvas before painting. If you skip this step, your panels won’t sit right, and you’ll regret it later.
- Remove old tiles or coverings – If you’re covering tiles, make sure they’re solid and not loose.
- Clean the surface – Dust, grease, or old adhesive can prevent panels from sticking.
- Check for moisture – If there’s mold, treat it before installing.
- Level uneven walls – Panels need a flat base. You can batten out the wall or use adhesive to correct small dips.
Here’s the golden rule: clean and dry. Panels and moisture don’t mix until you’re sealing, and trust me, you don’t want trapped dampness creating hidden mold colonies behind your shiny new walls.
5. Measuring and Cutting Panels
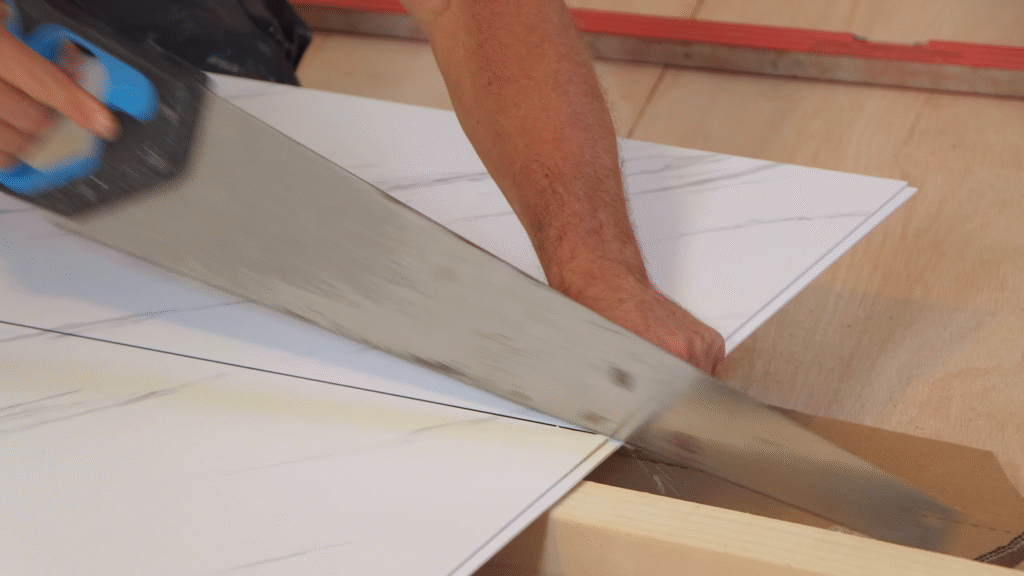
This is where patience pays off. Measure twice, cut once—because panels aren’t cheap, and mistakes can sting both your wallet and your pride.
- Height – Measure from floor to ceiling at multiple points. Rooms aren’t always perfectly square.
- Width – Account for uneven walls; measure top, middle, and bottom.
- Cutting – Use a fine-toothed saw or jigsaw. Apply masking tape where you cut to prevent chipping.
Here’s a personal confession: my first panel job left me with a gap the size of a toddler’s finger between the panel and ceiling because I assumed my ceiling was straight. Don’t be me. Measure at multiple points.
6. Applying Adhesive Correctly
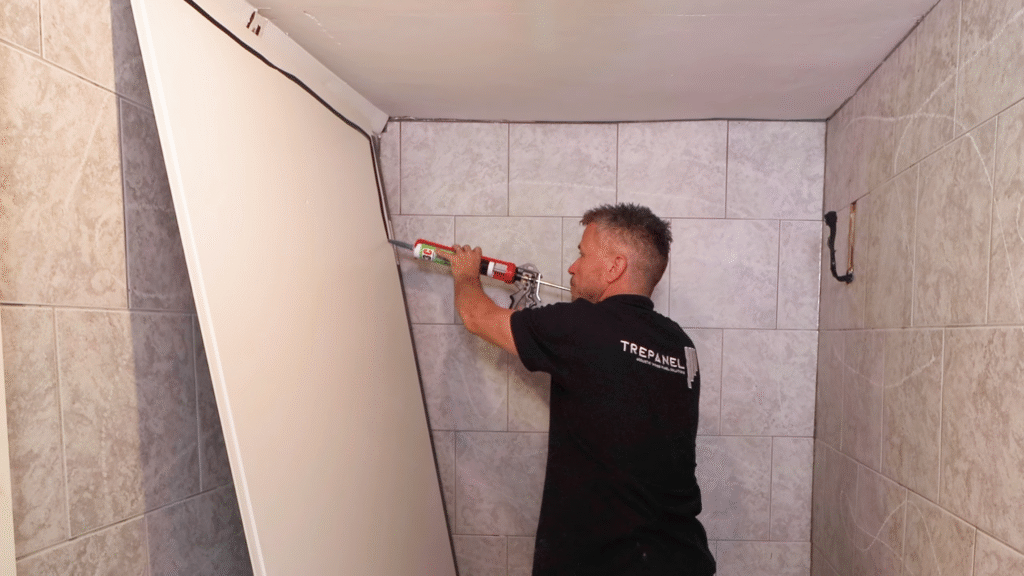
This step is all about technique. Too much adhesive, and panels might warp; too little, and they’ll peel off like old wallpaper.
- Apply in vertical lines or dots – About 10–15 cm apart.
- Keep away from edges – Leave about 2 cm gap from the sides so adhesive doesn’t ooze out.
- Use panel adhesive only – Don’t experiment with random glues. Bathroom-specific adhesives are waterproof and mold-resistant.
Pro tip: If you’re nervous, test-fit the panel without adhesive first. It’s like a rehearsal before the big show.
7. Fixing Panels to the Wall
Now the fun begins. This is where you attach your first panel—and let me tell you, that first click into place feels oddly satisfying.
- Start at the most visible corner or wall (usually behind the shower or main wall).
- Place spacers at the bottom for expansion.
- Press the panel firmly against the adhesive.
- Use a spirit level to check alignment.
- Hold for a few seconds to let adhesive grip.
Work your way across, interlocking tongue-and-groove panels as you go. That click is like music to a DIYer’s ears.
8. Sealing the Joints and Edges
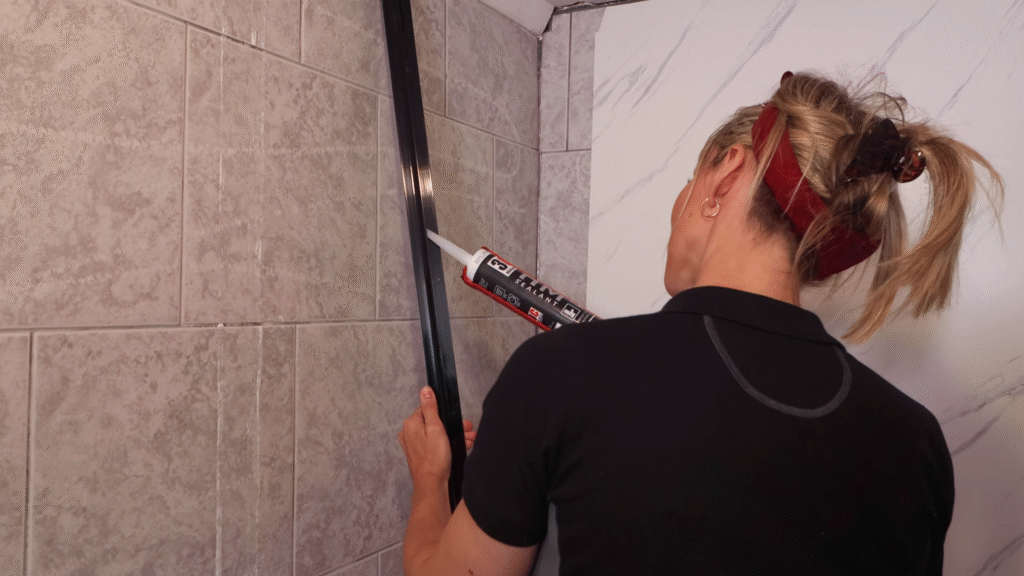
This is the part that separates a good job from a professional-looking one. Seal everything—don’t cut corners here.
- Apply mold-resistant silicone sealant to all joins, corners, and edges.
- Smooth it with a sealant tool or your finger (dip it in soapy water for a clean finish).
- Don’t forget around the shower tray, bath edges, and ceiling lines.
A friend of mine skipped sealing behind his sink. Guess what? Three months later, water had crept behind the panel, and he had to redo the whole section. Painful lesson: seal like your bathroom depends on it—because it does.
9. Common Mistakes to Avoid
Even the most enthusiastic DIY warriors trip up sometimes. Here’s what to watch out for:
- Not acclimating panels – Leave them in the bathroom for 24 hours before fitting. They expand and contract with temperature.
- Skipping surface prep – Adhesive won’t bond properly on dusty walls.
- Cutting corners on sealant – A rookie mistake with long-term consequences.
- Rushing measurements – Panels are unforgiving; take your time.
I once rushed through a job thinking I could finish before dinner. Let’s just say I ate cold leftovers that night while staring at a crooked panel.
10. Cost and Time Estimates
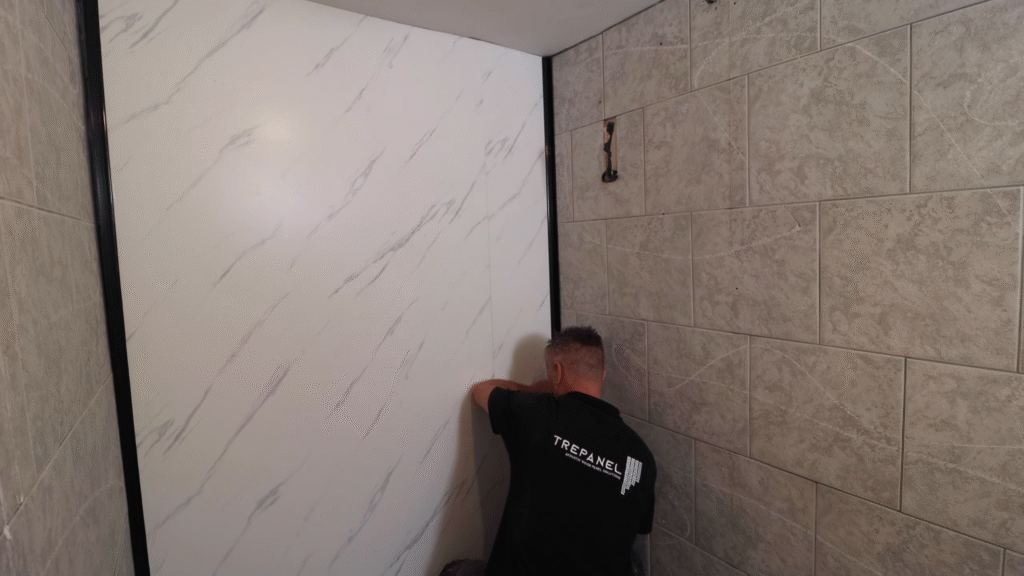
People often ask, “How much will this set me back?” Here’s a rough guide (based on average bathroom size in the UK/US):
- Cost – Panels can range from $50–$120 per panel. A medium bathroom might need 8–12 panels. Add $100 for adhesive and sealant.
- Time – A small bathroom can be done in a day (6–8 hours). Larger bathrooms might take a weekend.
Compared to tiling, panels can cut costs by 20–40% and save you 2–3 days of labor. Not bad for something that looks just as sleek.
Conclusion
Attaching bathroom wall panels isn’t just about slapping plastic on walls. It’s a systematic process—measure, cut, glue, fix, and seal. Once you get the hang of it, it’s incredibly rewarding. Your bathroom gets a fresh, modern look without the back-breaking effort of tiling.
If I can leave you with one piece of advice, it’s this: don’t rush. Take the time to measure properly, align perfectly, and seal thoroughly. Do that, and you’ll step into a bathroom that feels like a mini spa every morning.
FAQs
1. Can I install bathroom wall panels over tiles?
Yes, as long as the tiles are secure and not loose. Clean thoroughly and use the right adhesive.
2. Do I need professional help to attach panels?
Not necessarily. Most homeowners can DIY with patience and the right tools. Complex bathrooms with awkward corners may need a pro.
3. How long do bathroom wall panels last?
With proper installation and sealing, panels can last 10–15 years easily.
4. Can bathroom wall panels be cut around pipes and fixtures?
Absolutely. Use a jigsaw to cut holes for pipes, taps, or shower fittings. Always measure carefully before cutting.
5. Are bathroom wall panels waterproof?
Yes, when installed and sealed properly. The material itself is waterproof, but edges and joints must be sealed to keep water out.

