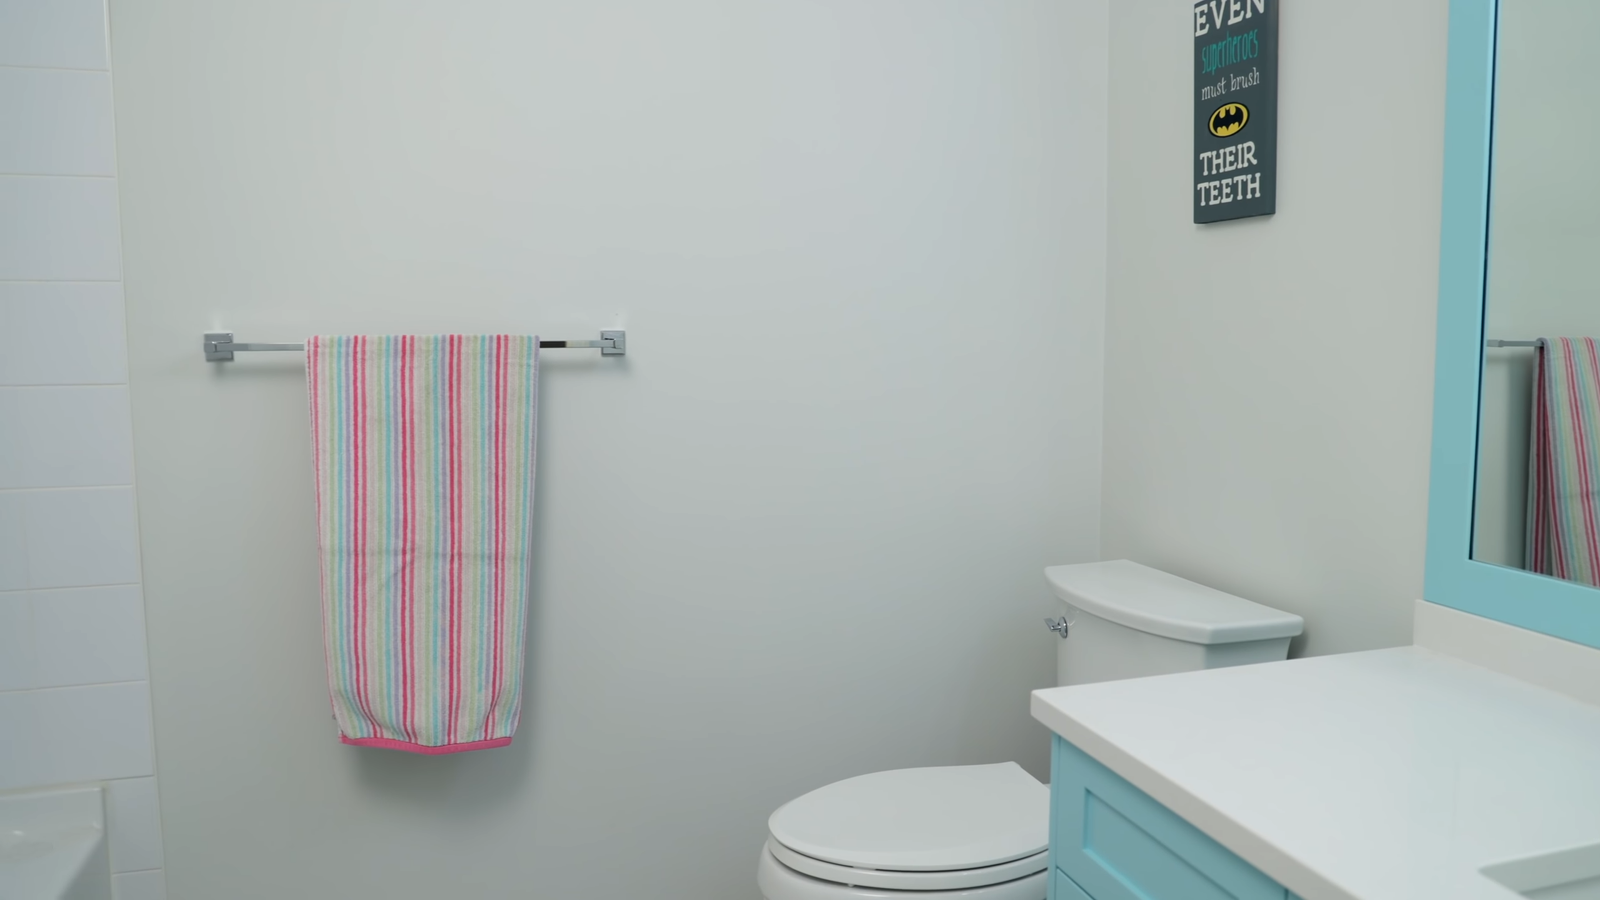
Upgrading your bathroom doesn’t always mean ripping out tiles or spending thousands on a remodel. Sometimes, it’s as simple as attaching the right bathroom accessories—from towel bars to soap dispensers—to make the space feel modern, functional, and organized. The tricky part? Figuring out how to install these accessories so they stay secure, look good, and don’t cause future headaches.
I’ve been there—standing in my bathroom with a towel ring in one hand, a drill in the other, and a growing fear that I was about to ruin the tile forever. Over time, though, I learned the step-by-step secrets to making accessories not just stick, but stay put.
1. Understand the Types of Bathroom Accessories
Before you grab a drill, you need to know what you’re attaching. Bathroom accessories typically fall into two main categories:
- Wall-mounted accessories – Think towel bars, shelves, toilet roll holders, soap dishes, and robe hooks. These usually require drilling or adhesive mounting.
- Freestanding accessories – Floor stands, caddies, and storage racks that don’t need installation.
Within wall-mounted, you also have drill-based installations (the strongest, most permanent) and adhesive or suction-based installations (ideal for renters or quick solutions).
According to a 2024 home improvement market study, 62% of homeowners prefer wall-mounted accessories because they free up floor space and make cleaning easier. That means if you want your bathroom to look sleek, you’ll likely be drilling or sticking things to the wall.
2. Gather the Right Tools Before Starting
Attaching bathroom accessories is one of those projects where the prep matters as much as the execution. Having the right tools at arm’s length saves you from mid-project meltdowns.
Here’s your essential toolkit:
- Drill with masonry or tile bit (for tiled walls)
- Screwdriver (manual or electric)
- Measuring tape (accuracy is everything)
- Level (because a crooked towel bar is unforgivable)
- Masking tape (helps prevent drill bits from slipping on tile)
- Pencil or marker for marking spots
- Wall anchors (plastic or metal, depending on wall type)
- Silicone sealant (optional, prevents moisture damage around holes)
I once skipped the level, thinking I could “eyeball” a towel rack. Let’s just say towels sliding off one side taught me the value of precision the hard way.
3. Know Your Wall Surface
Attaching accessories isn’t a one-size-fits-all job. The surface you’re working with changes the game.
- Drywall – Easy to drill, but needs anchors for weight support.
- Ceramic tile – Durable but tricky to drill; requires a masonry or carbide-tipped bit.
- Glass or mirror – Adhesive methods are safest.
- Concrete or brick – Use heavy-duty anchors and a hammer drill.
Pro tip: Knock on the wall before drilling. A hollow sound means drywall; a solid sound means tile or concrete. This quick test can save you from broken bits or a wobbly installation.
4. Step-by-Step Guide to Drilling Into Tile
Most modern bathrooms are tiled, so let’s tackle the scariest scenario first—drilling into tile.
- Mark the spot with a pencil where the accessory will go.
- Stick masking tape over the mark to prevent drill slippage.
- Use a carbide-tipped drill bit on low speed, applying gentle pressure.
- Once through the tile, switch to a regular bit for drilling into the wall behind.
- Insert wall anchors if needed.
- Screw in the accessory’s mounting plate.
- Attach the accessory firmly.
According to hardware experts, 70% of installation failures come from skipping anchors. Without them, screws loosen over time, especially in humid bathrooms.
5. How to Attach Bathroom Accessories Without Drilling
Not everyone can—or wants to—drill into walls, especially if you’re renting. Luckily, modern adhesives have leveled up.
Here are popular no-drill solutions:
- Adhesive strips and hooks – Perfect for lightweight items like toothbrush holders or small racks.
- Silicone-based adhesive pads – Stronger, water-resistant, and ideal for soap dishes or towel rings.
- Suction cups – Easy to reposition but best for smooth tiles or glass.
When I lived in a rental, I used heavy-duty adhesive hooks for my towel rack. It held surprisingly well—until one humid summer when it slid off overnight with a dramatic crash. Lesson? Always check the weight capacity before trusting adhesive options.
6. Measuring and Positioning Correctly
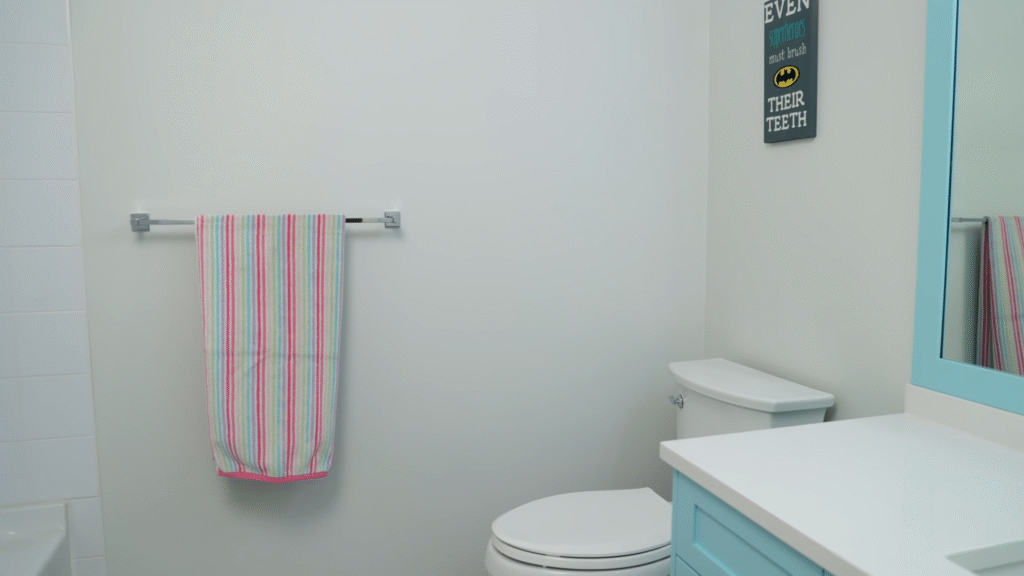
Bad positioning can ruin even the best installation. Accessories need to be not only secure but also ergonomically placed.
Here are standard mounting heights (based on building codes and design guidelines):
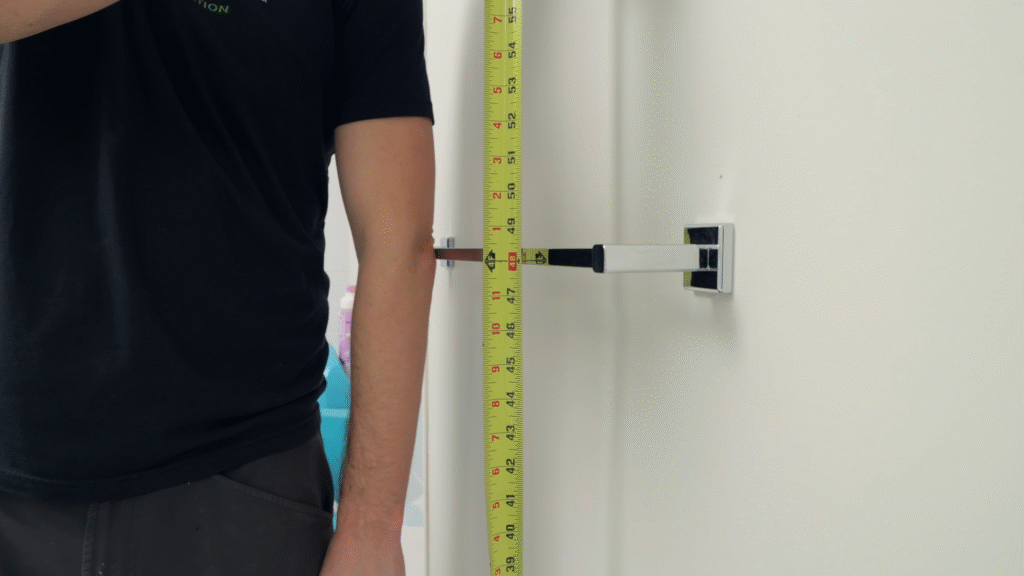
- Towel bars – 48 inches from the floor
- Towel rings – 20 inches above the sink
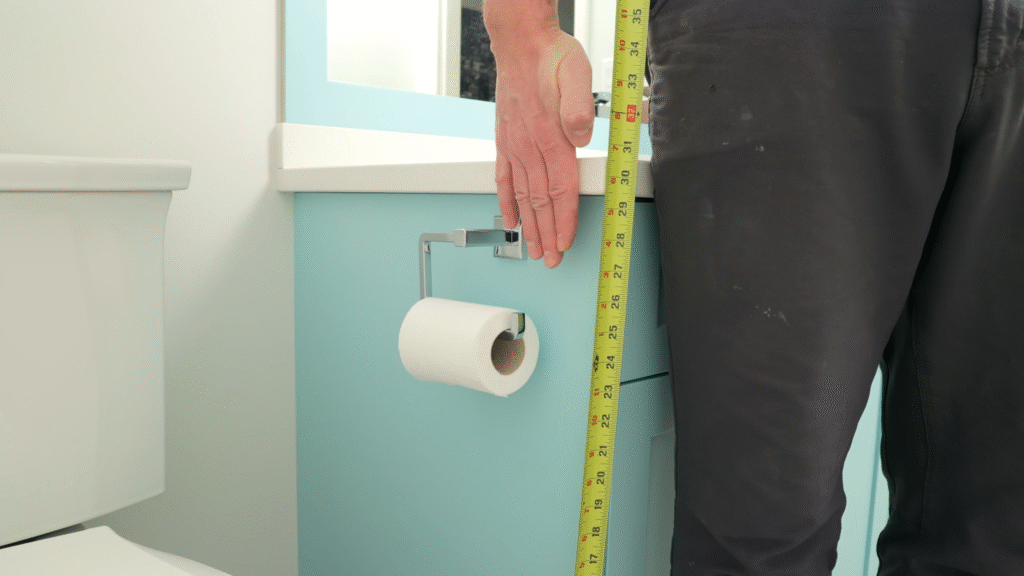
- Toilet paper holder – 26 inches from the floor, 8–12 inches from the toilet
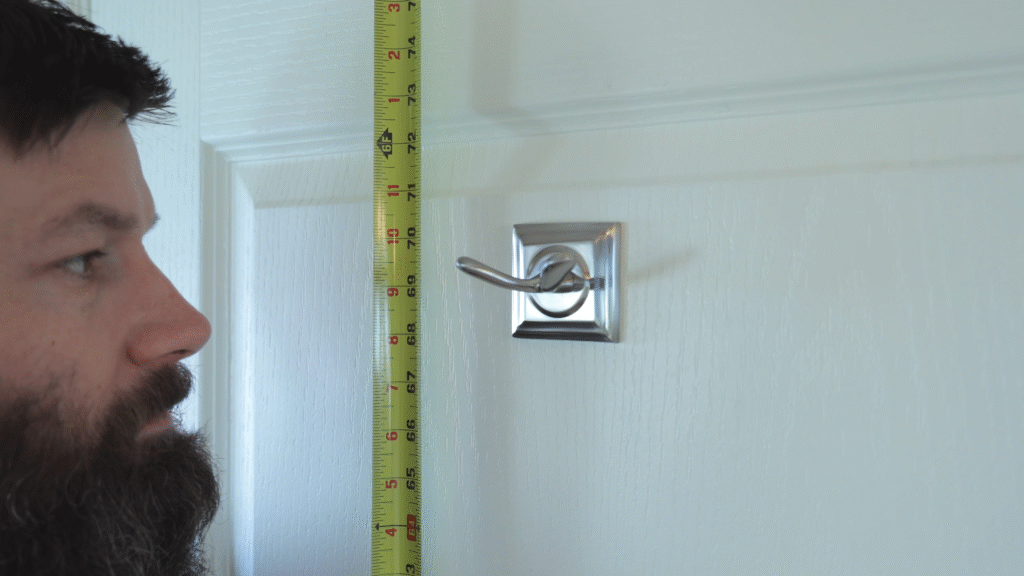
- Robe hooks – 70 inches from the floor
- Shelves – 3–4 feet high, depending on use
Measure twice, drill once. I once put a toilet paper holder so close to the wall that every sheet tore awkwardly—proof that measurements matter more than you’d think.
7. Anchors and Screws: Choosing the Right Ones
Your installation is only as strong as the anchor behind it.
- Plastic anchors – Good for light loads on drywall.
- Metal toggle bolts – Best for heavy items like shelves.
- Molly bolts – Expand behind the wall for stronger grip.
- Concrete anchors – Necessary for brick or cement walls.
Stat check: A towel bar can hold up to 10–15 pounds when properly anchored. Skip anchors, and that number drops to about 3–4 pounds—barely enough for one damp bath towel.
8. Waterproofing Your Installations
Bathrooms are humid, and water is the enemy of both screws and adhesives. To prevent future issues:
- Add a thin bead of clear silicone sealant around drilled holes.
- Choose stainless steel screws to avoid rust.
- Wipe down adhesive-backed accessories regularly to prevent moisture weakening the bond.
Moisture once corroded the screws of my shower caddy, turning them a rusty orange that dripped down the tile. Since then, I always use stainless steel.
9. Common Mistakes to Avoid
Even seasoned DIYers make mistakes. Avoid these:
- Skipping the level – leads to crooked accessories.
- Drilling too fast – cracks tiles.
- Using the wrong anchors – results in accessories falling off.
- Ignoring weight limits – adhesives fail under too much load.
Think of this like cooking without reading the recipe—yes, you might get it right, but more often, you’ll end up with a mess.
10. Safety Tips While Installing
Safety isn’t just for big power tools—it matters in small bathroom projects too.
- Wear safety goggles when drilling (tile shards can fly).
- Turn off power if drilling near outlets.
- Use a mask when drilling concrete or drywall to avoid dust inhalation.
- Always check for hidden pipes or wiring before drilling.
A neighbor once drilled into a bathroom wall only to hit a water pipe—cue indoor waterfall. Always check with a stud finder or inspection tool before you start.
Conclusion
Attaching bathroom accessories is less about brute force and more about patience, precision, and preparation. Whether you’re drilling into stubborn tile or using adhesives in a rental, the secret lies in knowing your wall, choosing the right hardware, and positioning accessories at practical heights.
Done right, these small installations can make your bathroom feel like a spa-level upgrade without breaking the bank. And trust me—once you’ve successfully installed your first towel bar, you’ll start looking around thinking, what else can I attach?
FAQs
1. What is the best adhesive for bathroom accessories?
A silicone-based waterproof adhesive is best. It’s strong, resistant to humidity, and works on tiles, glass, and even some plastics.
2. Can I install a towel bar on drywall without anchors?
Technically yes, but it won’t hold much. Always use anchors on drywall to prevent the bar from pulling out after a few uses.
3. How do I drill into tile without cracking it?
Use masking tape over the drill spot, go slow with a carbide-tipped bit, and avoid hammer mode on your drill.
4. What if I make the hole in the wrong spot?
You can fill small mistakes with wall filler or silicone. For tile, use matching grout or a tile repair kit.
5. How much weight can suction cup accessories hold?
On smooth, clean tile or glass, strong suction cups can hold up to 10–15 pounds. But humidity and dirt weaken the grip, so check them regularly.

