Regrouting a bathroom might sound like one of those “weekend warrior” projects you keep putting off, but trust me—once you dive in, it’s a game-changer.
Old, cracked, or mold-stained grout makes even the most stylish bathroom look tired and neglected. Regrouting gives it a facelift without ripping out tiles or spending thousands on renovations. If you’ve ever looked at your bathroom and thought, “It just feels… dingy,” chances are the grout is to blame.
1. Why Regrouting Your Bathroom Matters
Grout is more than that sandy filler between your tiles. It’s a protective barrier that keeps moisture from seeping behind tiles and causing structural damage. Over time, grout gets discolored, cracked, and moldy.
Here’s the thing: mold doesn’t just look gross—it’s a health hazard. According to the EPA, mold exposure can cause respiratory issues, especially in bathrooms where humidity is high. Studies show that around 50% of bathrooms develop mold problems within 5 years if not properly maintained.
A fresh regrout:
- Improves your bathroom’s appearance instantly.
- Boosts resale value (bathroom upgrades bring a 70%+ ROI according to Remodeling Magazine).
- Protects tiles and walls from hidden water damage.
I remember visiting a friend’s house where the grout was so stained, I honestly thought the tiles were supposed to be dark gray. After they regrouted, I couldn’t believe it was the same bathroom. That’s how transformative this project can be.
2. Tools and Materials You’ll Need

Before you jump in, gather your supplies. Nothing kills motivation like running to the hardware store mid-project with dust all over your clothes.
Here’s your bathroom regrouting toolbox:
- Grout removal tool (manual grout saw, oscillating tool, or rotary tool like a Dremel)
- Vacuum or small brush for cleaning out grout lines
- New grout (choose between sanded or unsanded)
- Grout float
- Mixing bucket and paddle (if using powdered grout)
- Sponge and clean water
- Grout sealer
- Masking tape and drop cloths (to protect surfaces)
- Gloves and safety goggles
Pro tip: Spend the extra money on a carbide grout removal blade for your oscillating tool if you’re redoing a large bathroom. Manual tools work, but they’ll leave your hands screaming for mercy.
3. Choosing the Right Grout
Grout isn’t one-size-fits-all. Using the wrong type can lead to cracking or poor bonding. Let’s break it down simply:
- Sanded grout – Best for joints wider than 1/8 inch. It has grit that prevents shrinkage. Perfect for floor tiles.
- Unsanded grout – Best for joints narrower than 1/8 inch. Smooth texture, great for walls and delicate tile finishes.
- Epoxy grout – More durable, resistant to stains, but pricier and harder to apply. Ideal for showers.
When I regrouted my shower for the first time, I mistakenly used sanded grout for very narrow joints. It clumped, looked uneven, and cracked within weeks. Lesson learned: match your grout type to your joint size.
4. Preparing Your Bathroom for Regrouting

Prep is everything. Think of it like painting a wall—you can’t slap on paint without cleaning and priming.
Steps to prep:
- Clear the area. Remove all toiletries, rugs, and shower curtains.
- Ventilate. Keep a fan running or window open to deal with dust.
- Protect surfaces. Tape off fixtures and lay down a drop cloth.
- Wear safety gear. Goggles and gloves are non-negotiable.
I once skipped taping my sink edge because I was “in a hurry.” Big mistake. The grout removal tool left permanent scratches on the porcelain. Don’t do what I did—protect your surfaces.
5. Removing the Old Grout
This is the most tedious step, but also the most important. Rushing here is like building a house on a cracked foundation—it won’t last.
Here’s how to remove grout:
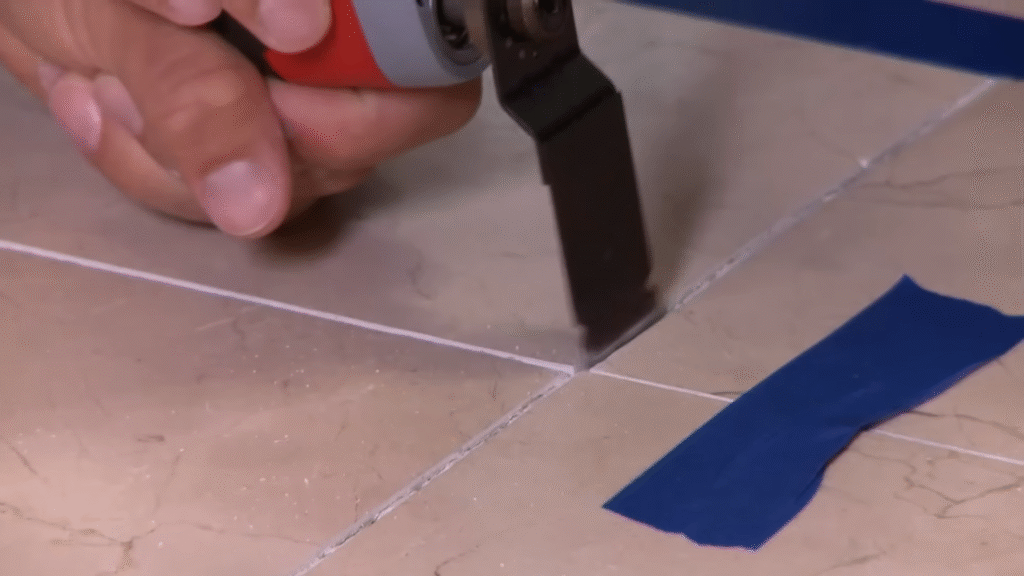
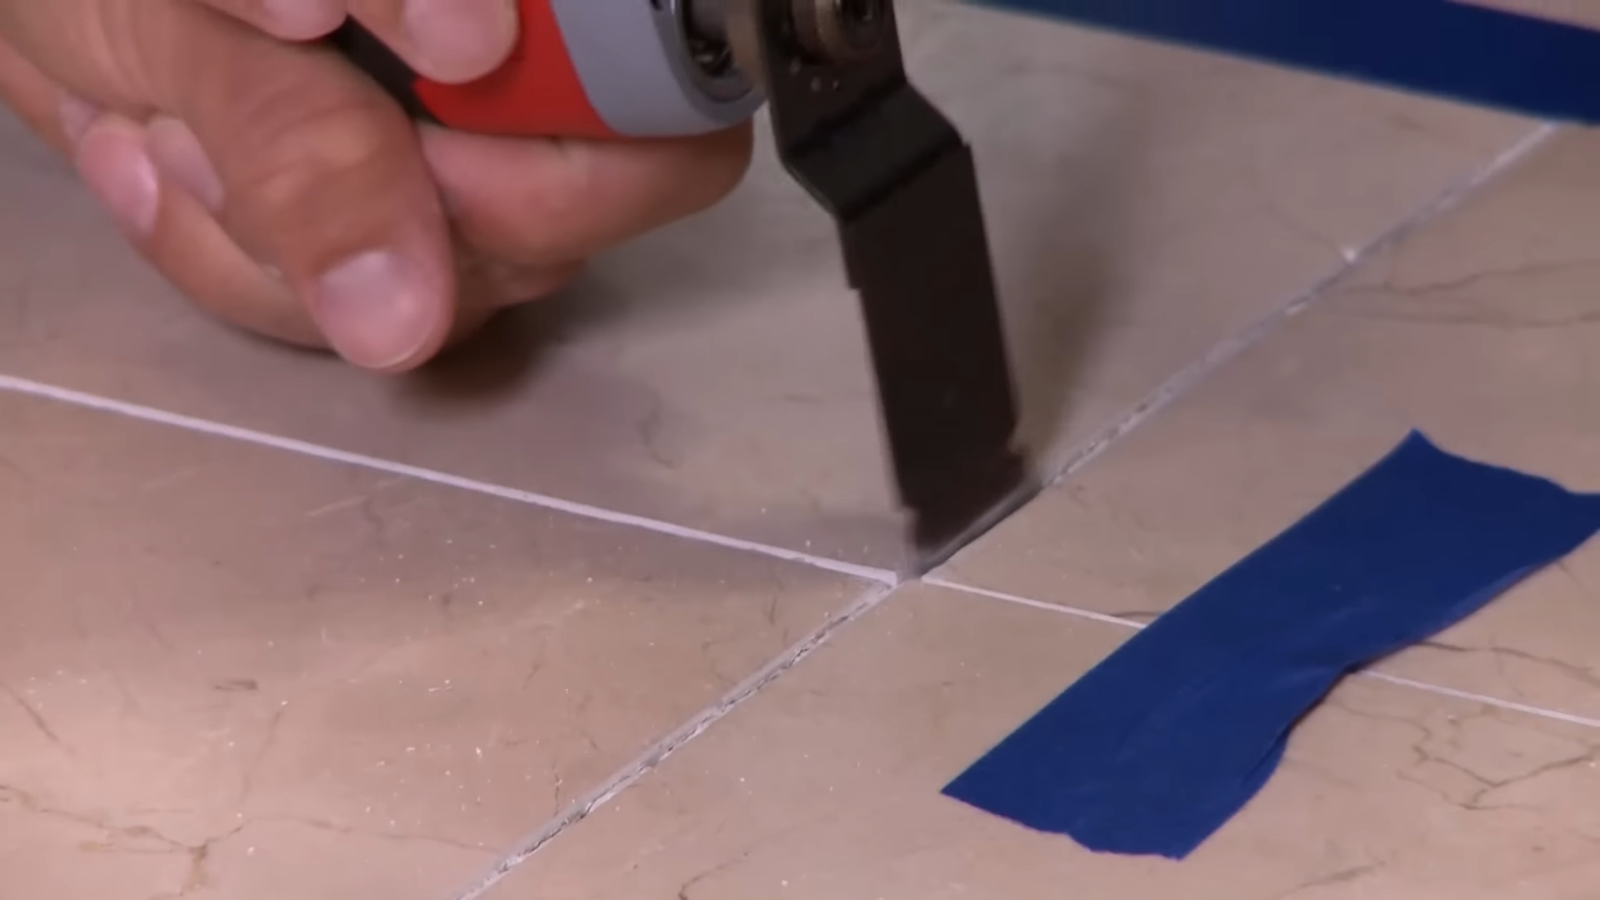
- Use a grout saw or oscillating tool to cut into the old grout lines.
- Work slowly to avoid chipping tiles.
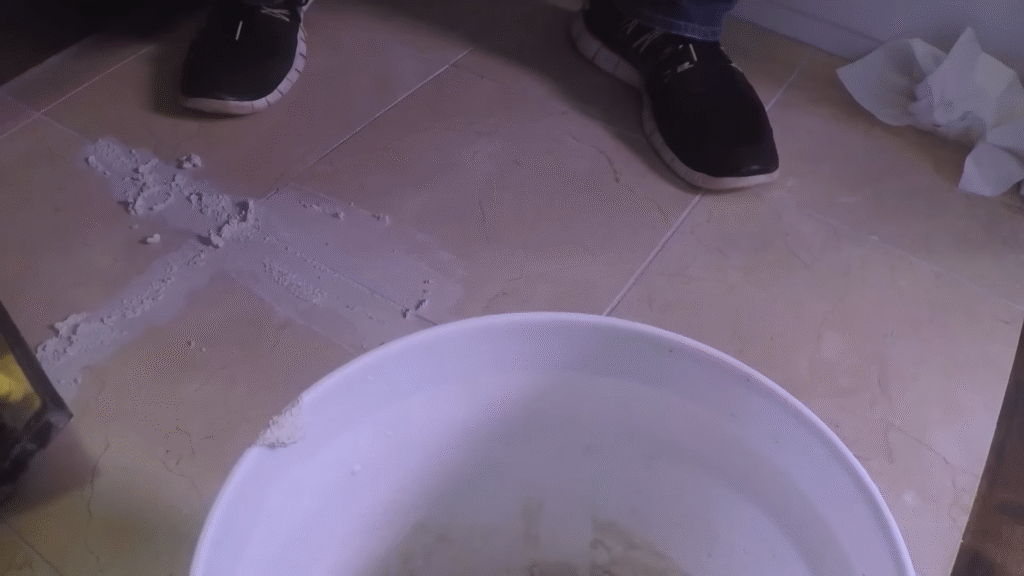
- Vacuum or brush out dust as you go.
- Remove at least 2–3 mm of grout depth for the new grout to bond.
Expect this to take hours, especially in a large bathroom. For reference, it took me 6 hours to regrout a standard 5×8 bathroom floor. Patience is key here.
6. Cleaning Out the Joints

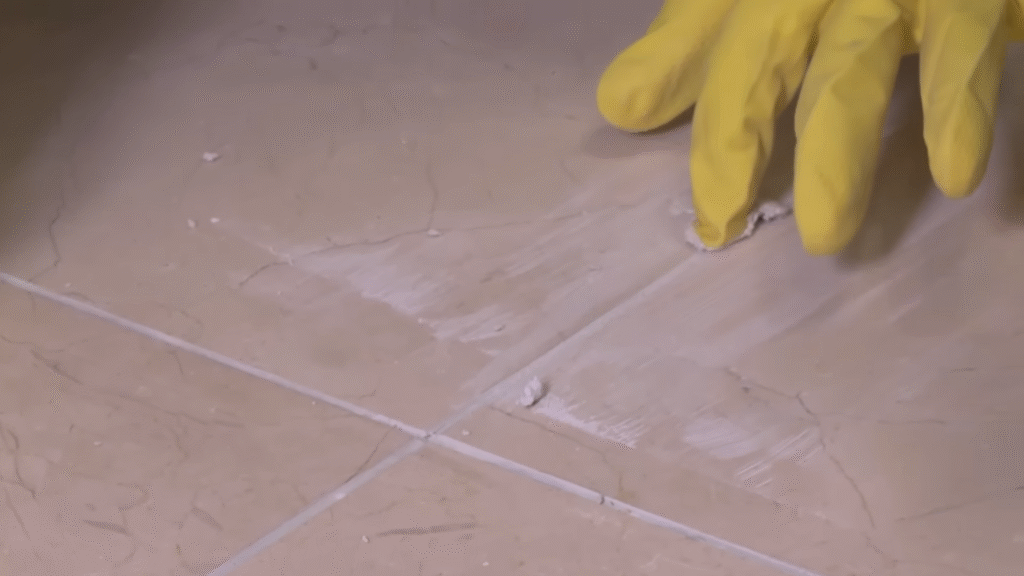
Once the old grout is removed, your tiles will look messy. Don’t panic—that’s normal.
Steps to clean:
- Vacuum out all debris.
- Use a damp sponge to wipe the joints.
- Let dry completely before adding new grout.
Skipping this step is like trying to stick tape on a dusty surface—it won’t hold. Clean lines = long-lasting grout.
7. Mixing Your Grout
If you’re using pre-mixed grout, congratulations—you just saved yourself some stress. If not, here’s how to mix:
- Pour grout powder into a clean bucket.
- Add water slowly (follow package directions).
- Mix until it’s peanut butter consistency—not too watery, not too stiff.
- Let it rest for 5–10 minutes, then remix.
Why rest it? Grout needs to “slake,” which lets chemicals activate properly. Skip this, and your grout may weaken prematurely.
8. Applying the New Grout

This is the fun part—the moment you see your bathroom transforming.
Steps:
- Scoop grout with a float and spread it diagonally across the joints.
- Hold the float at a 45-degree angle to push grout into gaps.
- Cover a small area at a time (3×3 ft).
- Wipe excess grout off the surface with the edge of the float.
Think of this like icing a cake—you want it smooth and filled, not clumpy.
9. Cleaning Excess Grout
After about 15–20 minutes, grout starts to haze. That’s your cue.
- Use a damp sponge, wiping diagonally across tiles.
- Rinse the sponge frequently in clean water.
- Don’t dig into the joints—you’ll pull grout out.
Pro tip: Change your rinse water often. Dirty water just smears grout back onto tiles.
10. Curing and Drying
Grout isn’t dry after a few hours—it needs time to cure.
- Avoid walking on floors or using showers for at least 24–48 hours.
- For epoxy grout, check manufacturer’s curing time—it can differ.
- Keep the bathroom ventilated to speed up drying.
Remember, grout cures from the inside out. It might look dry on the surface, but it’s still hardening beneath.
11. Sealing Your Grout
This step is non-negotiable, especially in bathrooms where moisture is constant.
- Wait at least 48–72 hours after grouting.
- Apply a penetrating sealer with a brush or applicator bottle.
- Wipe off excess from tiles immediately.
Studies show that sealed grout lasts 2–3 times longer than unsealed. Skipping this step is basically sending mold an invitation to move back in.
12. Maintenance Tips to Keep Grout Fresh
Once your bathroom looks brand new, you’ll want it to stay that way. Here’s how:
- Clean weekly with a pH-neutral cleaner (avoid harsh bleach).
- Dry surfaces after showers—moisture breeds mold.
- Re-seal annually to maintain protection.
- Spot clean stains early before they set.
A personal trick I use: keeping a small squeegee in the shower. Takes 20 seconds to wipe down tiles, but it adds years to your grout’s lifespan.
Conclusion
Regrouting a bathroom isn’t glamorous, but the payoff is massive. It’s one of those DIY projects that delivers visible results in just a couple of days. By removing old grout, carefully applying new material, and sealing it properly, you’ll give your bathroom a fresh, clean, and mold-resistant look that lasts for years.
I’ve personally made every mistake in the book—from rushing grout removal to skipping sealer—and paid the price in repairs. But with patience, the right tools, and these steps, you’ll avoid those pitfalls.
Think of it as giving your bathroom a spa day—out with the old, in with the new, leaving everything refreshed and glowing.
FAQs
1. How often should I regrout my bathroom?
Most bathrooms need regrouting every 8–15 years, depending on maintenance and grout quality. Heavy-use showers may need it sooner.
2. Can I grout over old grout?
Technically yes, but it’s a bad idea. New grout won’t bond well, and cracks will reappear quickly. Always remove at least 2–3 mm of old grout first.
3. How long does it take to regrout a bathroom?
A small bathroom (5×8 ft) takes about 6–10 hours spread over 2–3 days, including curing and sealing time.
4. What’s the best grout for showers?
Epoxy grout is the gold standard—it’s waterproof, stain-resistant, and durable. If that’s too pricey, unsanded grout with a good sealer works well for narrow joints.
5. How do I know if my grout needs replacing instead of just cleaning?
If your grout is cracked, crumbling, or missing chunks, it’s time to regrout. If it’s just discolored but intact, a deep clean or steam cleaning may be enough.

