When you’re diving into a bathroom renovation, one of the most confusing questions that pops up is: Do you replumb first, or plaster first? It sounds simple, but get it wrong, and you’ll find yourself tearing out freshly plastered walls just to run a pipe or cursing as you redo messy patchwork repairs.
I’ve been down this rabbit hole myself when remodeling my first home. Let’s just say, after plastering too early, I ended up with walls that looked like Swiss cheese after the plumber had his turn. Not fun—and definitely not budget-friendly.
1. Why The Order Matters in Bathroom Renovation

Renovating a bathroom is like baking a layered cake. If you try to frost before baking, you’ll have a soggy mess. The sequence of steps is everything.
Plumbing and plastering are especially interconnected. Pipes run inside walls and floors, and plaster covers those surfaces to give you a neat finish. If you plaster first and then realize the plumbing needs adjusting, you’ll be hacking into fresh walls.
Worse, any hidden leaks or pipe misplacements could go unnoticed until it’s too late, leading to mold, damp spots, or costly repairs. According to a 2024 survey by Homebuilding & Renovating Magazine, water damage accounts for nearly 30% of post-renovation callbacks. A lot of that comes from poor sequencing.
The golden rule? Always prioritize infrastructure (plumbing, wiring) before finishing (plastering, tiling, painting).
2. The Case for Replumbing First
Think of plumbing as the skeleton of your bathroom. Without a strong framework, everything else collapses.
When you replumb first:
- You install or replace water supply lines and drainage.
- You decide where your toilet, sink, shower, or bathtub will sit.
- You can easily adjust pipe layouts without damaging finished walls.
Plumbers often call this “first fix plumbing.” It’s all the behind-the-scenes work—laying pipes in walls, ceilings, or under floors—before walls are sealed and surfaces are decorated.
Skipping replumbing or leaving it too late is like putting on a brand-new suit without checking if the seams are intact. You may look sharp for a day, but it won’t last.
Here’s another stat for you: A study by the UK Chartered Institute of Plumbing and Heating Engineering (CIPHE) found that 70% of bathroom leaks happen at junctions or fixtures improperly fitted during rushed or awkward installations. Doing plumbing first avoids those headaches.
3. Why Plastering Comes After

Plastering is all about aesthetic and protection. It seals walls, makes them smooth, and creates the perfect canvas for tiles, paint, or wallpaper.
But plaster is also fragile in its early stages. It needs time to set and cure, which can take from 2–7 days depending on the room’s humidity. Imagine a plumber drilling into that fresh plaster to chase in a pipe. The result? Cracks, crumbles, and repairs that never look quite the same.
By plastering after replumbing:
- You cover up all the pipe chases neatly.
- The finish is smoother and longer-lasting.
- You avoid unnecessary double work and costs.
I once plastered a wall before the final shower layout was decided. Big mistake. When the shower valve was repositioned, the wall had to be reopened, patched, and skimmed again. That wall still looks “off” years later—a constant reminder that plastering too soon is like icing a cake before the layers are stacked.
4. The Typical Bathroom Renovation Timeline
To make things crystal clear, here’s the general order most professionals follow:
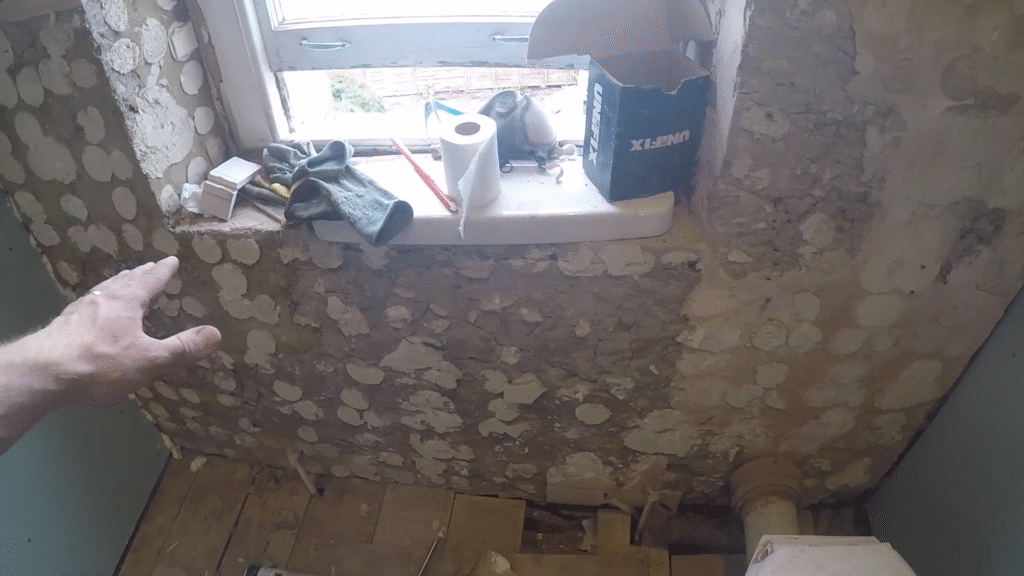
- Strip out the old bathroom – Remove old tiles, fixtures, plaster, and flooring.
- First fix plumbing – Replace or reroute water and waste pipes.
- First fix electrics – Install wiring for lighting, fans, underfloor heating, or sockets.
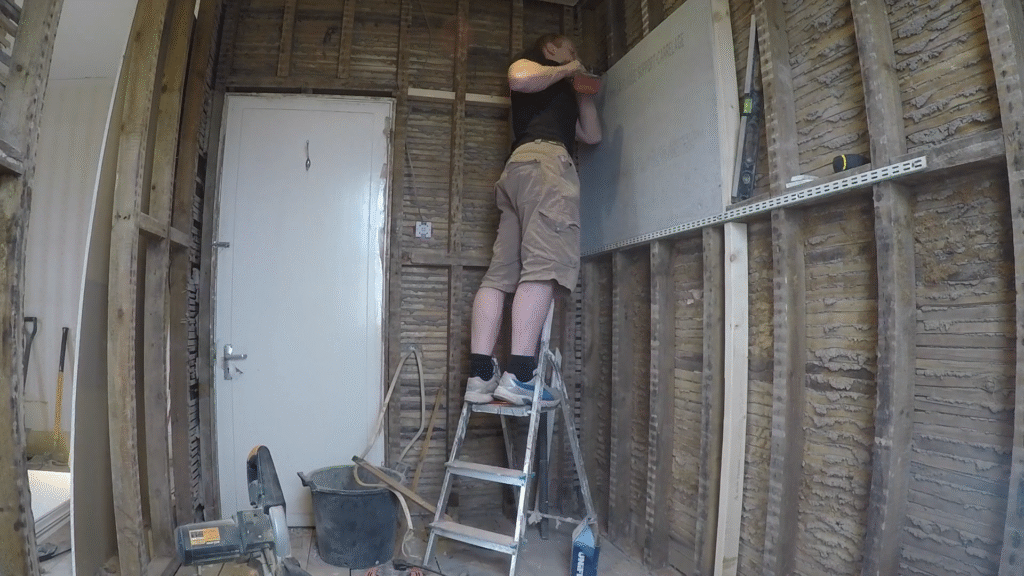
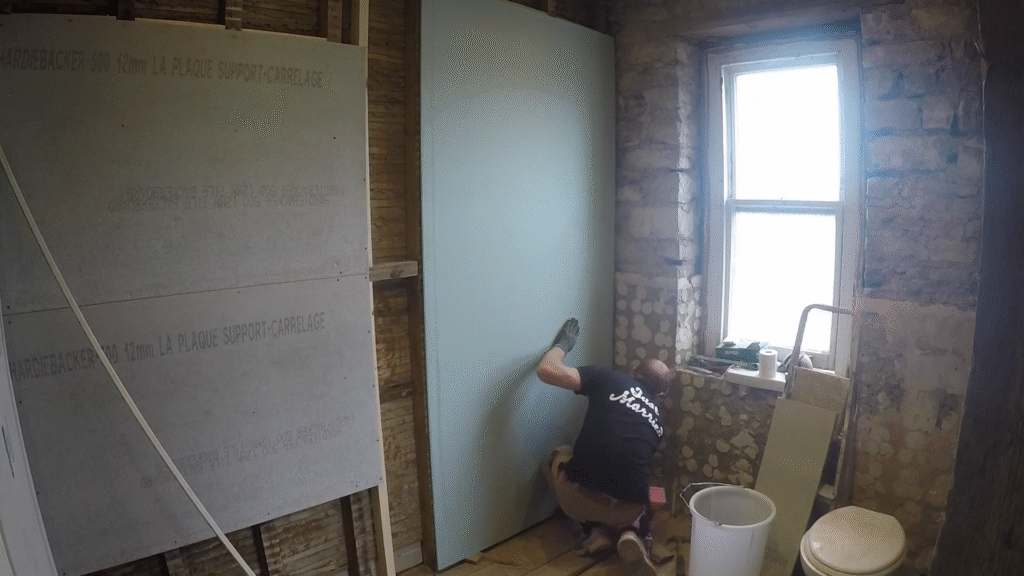
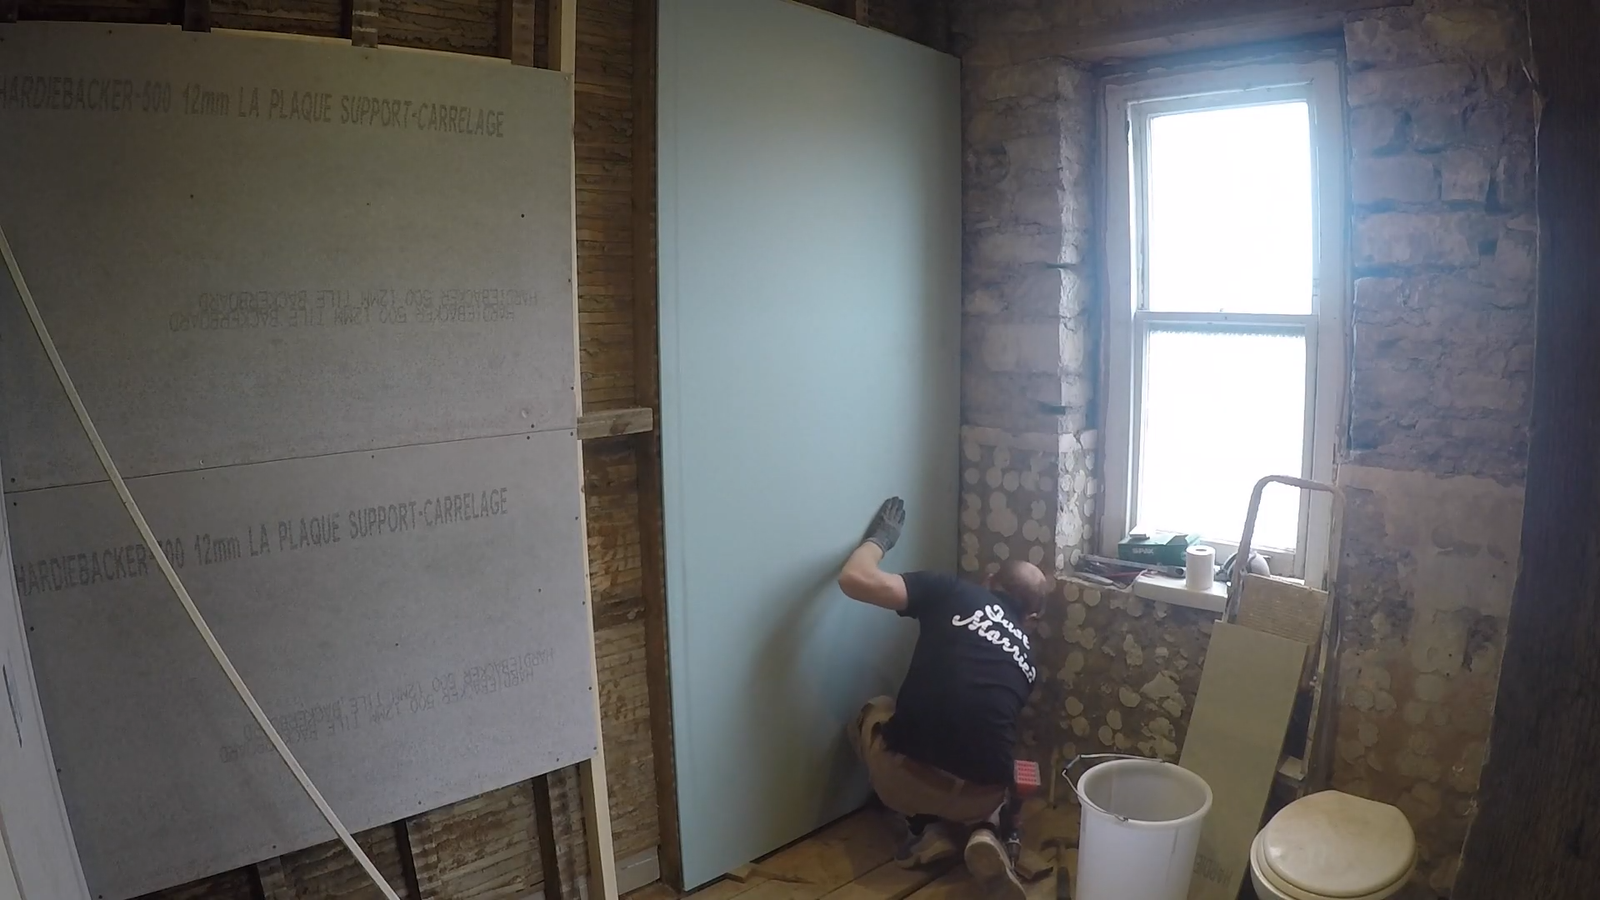
- Plastering or wall boarding – Once the hidden work is done, make the walls smooth.
- Waterproofing and tiling – Apply tanking where needed and lay tiles.
- Second fix plumbing – Fit toilets, sinks, taps, showers, baths.
- Second fix electrics – Add lights, fans, heated mirrors.
- Final decoration – Painting, sealing, accessories.
Notice how plumbing comes way before plastering in this sequence? That’s no accident. It’s the industry standard.
5. How Long Does Replumbing Take?
If you’re budgeting your time, here’s what to expect:
- Full replumb of a small bathroom: 2–5 days.
- Moving major fixtures (toilet/shower): Add 1–2 days.
- Replacing old copper pipes with modern plastic/PVC: Often quicker, since plastic is easier to install.
Factors that affect timing:
- The age of your house (older homes often hide surprises).
- The condition of existing pipes (corroded copper or lead pipes need full replacement).
- Accessibility of walls and floors.
Pro tip: Always have your plumber pressure-test the system before plastering. Nothing’s worse than sealing up a wall only to discover a sneaky pinhole leak later.
6. How Long Does Plastering Take?

Plastering itself is fairly quick, but drying is the bottleneck.
- Skim coat on existing plasterboard: 1–2 days work, 2–4 days drying.
- Full re-plaster over brick/block: 3–5 days work, 5–7 days drying.
- Humidity levels matter—a steamy bathroom takes longer to dry unless well ventilated.
Rushing into tiling or painting over damp plaster traps moisture, leading to peeling or mold growth. That’s why plastering always comes after plumbing, when the walls can be left alone to properly dry.
7. Common Mistakes to Avoid
I’ve seen DIYers and even contractors trip up by ignoring the correct order. Here are the biggest mistakes to dodge:
- Plastering too early. Pipes will eventually need chasing in or moving.
- Skipping plumbing upgrades. If you’re already renovating, replace old pipes. Don’t plaster over aging infrastructure.
- Not coordinating trades. Plasterers hate coming back for patch jobs. Plumbers hate drilling into finished walls. Communication saves money.
- Rushing drying times. A damp plaster wall behind tiles is like a sponge—it will fail over time.
8. Cost Implications of Getting It Wrong
Money talks, and getting the order wrong can burn your wallet.
- Replastering after plumbing changes can add $800–$1,500 to a project, depending on the bathroom size.
- Water damage repairs from leaks hidden in plastered walls can run $2,000–$10,000 depending on severity.
- Project delays are another hidden cost—waiting for trades to redo work can stretch a 3-week job into 2 months.
It’s always cheaper to get the order right the first time.
9. Personal Anecdote: My First Bathroom Fiasco
When I renovated my first home, I thought plastering early would save time. Big mistake.
The plumber came in after the plasterer had finished and realized the shower valve was 5 inches too high. Guess what? He had to cut straight into my brand-new walls. The plasterer had to come back, re-skim, and charge me double for the trouble.
That mistake alone cost me nearly $1,200 extra. Lesson learned: plumbing first, plaster second. Always.
10. Tips for a Smooth Renovation
Here are some golden nuggets I wish I knew earlier:
- Plan the layout early. Decide where fixtures go before plastering.
- Get a plumbing pressure test. Always test before sealing walls.
- Use moisture-resistant plasterboard. Bathrooms are damp zones—regular plasterboard won’t last.
- Leave plaster to dry fully. Use dehumidifiers or fans to speed up, but don’t tile too soon.
- Keep communication open. Plumbers and plasterers must coordinate. A quick chat saves big money.
Conclusion
So, back to the burning question: Do you replumb or plaster a bathroom first?
The answer is clear—you replumb first, then plaster. Plumbing sets the foundation. Plastering comes after to smooth and seal everything neatly. Reversing the order is like painting a wall before building it—it just doesn’t work.
A successful bathroom renovation comes down to respecting the sequence. Pipes and wires first, finishes last. Stick to that, and you’ll save time, money, and sanity.
FAQs
1. Can I plaster and then do plumbing if I’m in a rush?
Technically, yes—but you’ll regret it. Any changes or leaks will ruin the plaster, forcing you to redo it. Always do plumbing first.
2. How long should I wait after replumbing to plaster?
As soon as the plumbing is tested and confirmed leak-free, plastering can begin. Usually within a day or two.
3. Can I plaster around exposed pipes?
You can, but it looks unprofessional and makes future repairs harder. Best practice is to chase pipes into walls before plastering.
4. What happens if plaster gets damaged during plumbing?
You’ll need patch repairs, but they rarely look as smooth as a full skim. That’s why plumbing always comes first.
5. Should I replumb even if my current pipes look fine?
If your pipes are older than 30 years, made of lead, or corroded, it’s smart to replumb during renovation. You don’t want to plaster over pipes that could fail soon.

