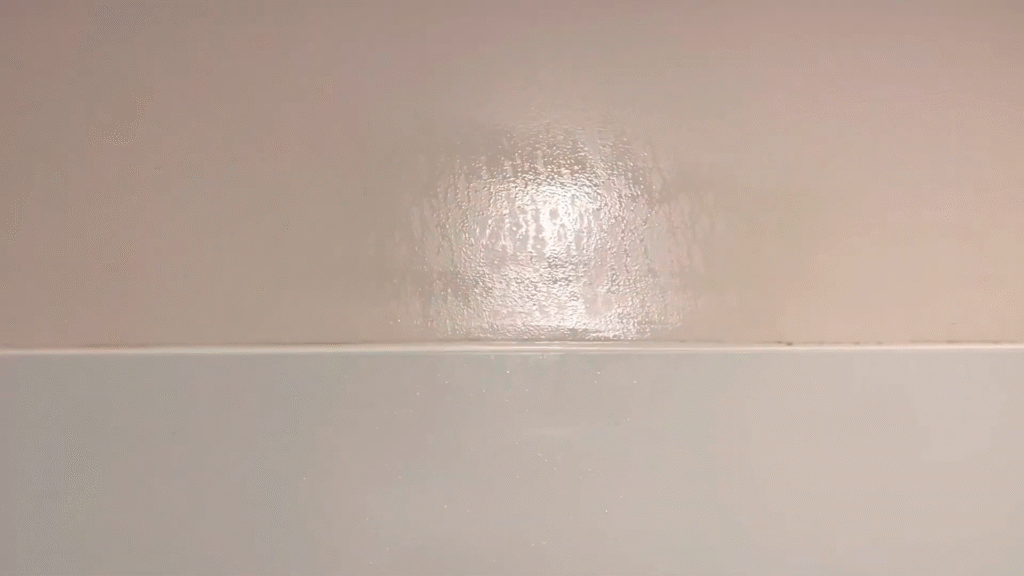
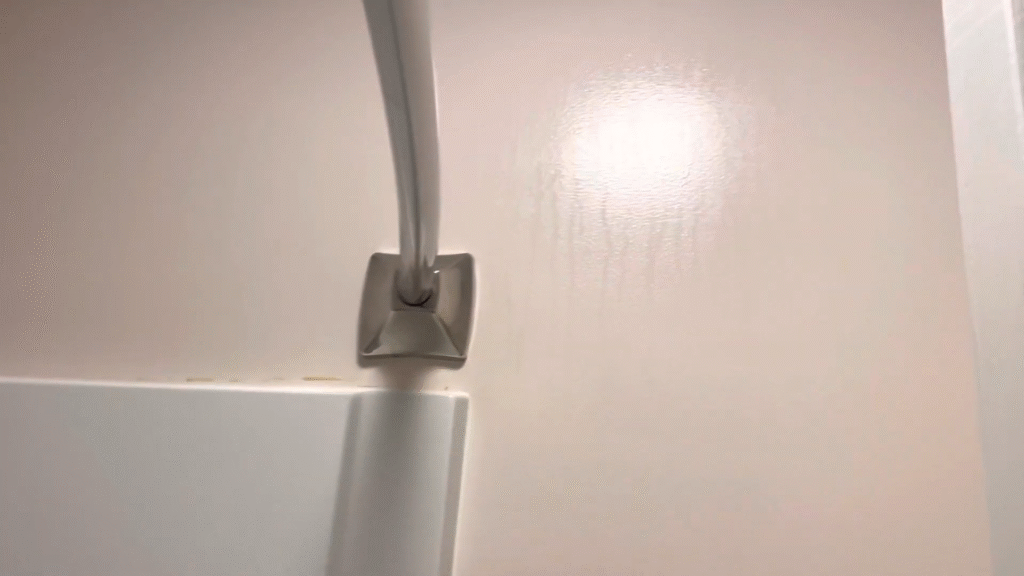
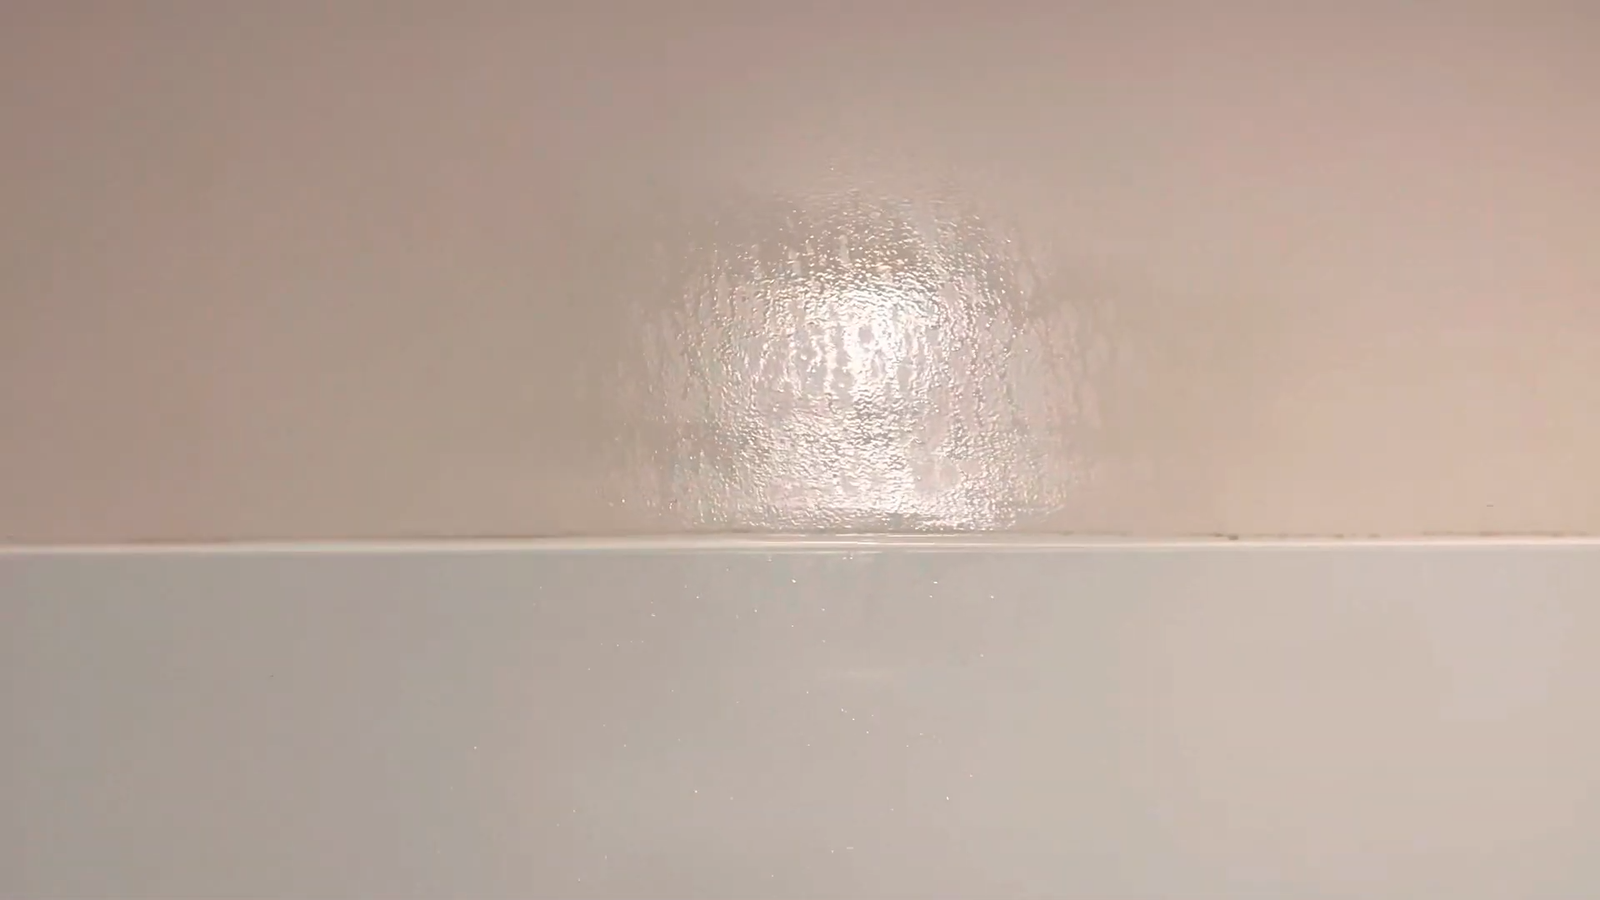
Let’s be real—bathroom moisture is like that clingy guest who just won’t take the hint. You think you’ve shooed it away with a quick towel wipe, but nope—it sneaks back, slowly creeping into the walls, causing peeling paint, mildew, and that unpleasant musty smell. If you’ve ever walked into your bathroom and thought, “Why does it feel like a rainforest in here?”, you’re not alone.
According to the Environmental Protection Agency (EPA), indoor humidity above 60% creates the perfect breeding ground for mold, and bathrooms are ground zero because of constant showers, hot water, and poor ventilation. Tackling bathroom moisture isn’t just about keeping the walls looking fresh—it’s about protecting your home, your health, and your sanity.
1. Identify the Real Culprit Behind Bathroom Moisture

Before you grab a bucket of paint or scrub brush, you need to figure out why your bathroom walls are damp in the first place. Bathroom moisture comes from three usual suspects:
- Condensation: Hot showers + cold walls = moisture dripping down like your bathroom is crying.
- Leaks: A sneaky pipe behind the wall or a loose showerhead can secretly soak your drywall.
- Ventilation Issues: Without proper airflow, moisture hangs around like an unwanted roommate.
Quick test? Take a hot shower with the fan off. If your mirror fogs up and your walls bead with moisture, you’ve got a condensation issue. If only one corner or patch of wall stays damp no matter what, you might have a plumbing leak. Knowing this saves you from spending money in the wrong places.
2. Improve Bathroom Ventilation Like a Pro
Think of ventilation as your bathroom’s personal trainer—it keeps the air moving, prevents “sweaty walls,” and stops mold from building muscle. Poor ventilation is the #1 reason bathroom walls trap moisture.
Here’s how to fix it:
- Upgrade Your Exhaust Fan: Most people use weak fans that barely move air. Experts recommend at least 1 CFM (cubic foot per minute) per square foot of bathroom space. For a 100 sq. ft. bathroom, you need a 100 CFM fan.
- Run the Fan Longer: Don’t just flip it off after your shower. Run it for 15–20 minutes after bathing to fully clear humidity.
- Crack a Window: If you’re lucky enough to have a bathroom window, open it even just an inch. Fresh airflow works like magic.
- Install a Humidity-Sensing Fan: These smart fans turn on automatically when humidity rises, so you don’t have to remember.
Personal confession? I used to be lazy and switch off my bathroom fan right after showering. Then one day, I noticed black spots forming near the ceiling. Lesson learned: let the fan finish the job, or you’ll be inviting mold to move in rent-free.
3. Control Humidity Levels With Dehumidifiers

Sometimes, even a powerful fan isn’t enough—especially if you live in a humid climate. That’s where a dehumidifier comes in.
According to the American Lung Association, keeping indoor humidity between 30–50% is crucial to prevent mold growth. A small bathroom dehumidifier can easily pull a pint of water per day from the air, turning your bathroom from swamp to sanctuary.
Tips for using one:
- Place it in a corner away from direct water splashes.
- Empty and clean the tank often—don’t let stagnant water sit.
- Consider a wall-mounted model for small bathrooms.
I once tried a portable dehumidifier and was shocked to see how much water it collected after just one steamy shower. Imagine that water sitting in your walls instead—that’s exactly what mold feeds on.
4. Seal Walls With Moisture-Resistant Paints and Primers
Painting over bathroom walls with regular paint is like wearing a white T-shirt in the rain—you’ll regret it. Moisture-resistant paints and primers act as a water-repellent shield for your walls.
Look for:
- Mold-resistant paints with antimicrobial additives (e.g., Zinsser Perma-White or Benjamin Moore Aura Bath & Spa).
- Oil-based or latex primers to block water seepage.
- Semi-gloss or satin finishes—they repel moisture better than flat paints.
Extra tip: If your bathroom already has peeling paint or stains, scrape it down, use a mold-killing primer, then repaint. Skipping the prep is like putting makeup over a sunburn—it hides the issue but doesn’t fix it.
5. Check and Fix Plumbing Leaks Immediately
Even the tiniest leak can cause big-time wall damage. The CDC reports that over 50% of indoor mold problems are linked to hidden leaks.
Signs you might have a leak:
- Persistent damp patches on walls or ceilings.
- Musty smells that don’t go away.
- Paint bubbling or drywall swelling.
Don’t wait. Call a plumber, or if you’re handy, tighten fittings yourself. I ignored a slow drip once, thinking it was “no big deal.” Six months later, I had to replace an entire section of bathroom wall. Trust me, prevention is cheaper.
6. Use Mold-Resistant Materials in Bathrooms
If you’re remodeling or repairing, choose materials that fight moisture naturally. Standard drywall is like a sponge—it soaks everything up. Instead, go for:
- Greenboard or cement board instead of drywall.
- Moisture-resistant tiles (ceramic, porcelain, or glass).
- Vinyl or PVC wall panels for high-moisture areas.
These materials may cost a bit more upfront, but they save you from replacing soggy walls down the road. Think of it as buying an umbrella before the storm hits.
7. Regular Cleaning and Mold Prevention Habits
Bathrooms demand routine maintenance, not just a once-a-year scrub. Mold spores are everywhere, and your bathroom walls are their dream vacation spot.
- Wipe down walls weekly with a vinegar-water mix.
- Clean grout lines—these are mold’s favorite hiding spots.
- Keep shower curtains or doors open after use to dry out faster.
- Use moisture-absorbing products like silica gel packs or charcoal bags.
I started leaving my shower door open after showers, and the difference was night and day. No more slimy buildup, no musty smell—just a fresher bathroom overall.
8. Manage Temperature Differences
Ever wonder why your walls sweat more in winter? Warm, steamy air from your shower hits the icy bathroom walls, and boom—instant condensation.
Fix it by:
- Insulating walls near plumbing and exterior surfaces.
- Using a bathroom-safe space heater to keep surfaces warm.
- Running warm water briefly before a shower to “pre-warm” pipes.
Think of it like preheating your oven—except this time, it’s your walls you’re protecting.
9. Consider Waterproof Wall Coverings
If moisture has been a long-term battle, sometimes paint and fans aren’t enough. That’s when waterproof wall coverings become a game changer.
Options include:
- Acrylic or PVC wall panels—easy to install and 100% waterproof.
- Waterproof wallpaper (yes, it exists!).
- Glass or tile backsplashes behind sinks and tubs.
They not only block moisture but also give your bathroom a sleek, updated look. I once installed peel-and-stick waterproof panels behind my sink, and not only did they stop water damage, but guests thought I had remodeled.
10. Long-Term Moisture Control Habits
Stopping bathroom moisture isn’t a one-time fix—it’s a lifestyle. Make these habits second nature:
- Always ventilate after every shower.
- Wipe down wet surfaces immediately.
- Inspect your bathroom every month for leaks or mold.
- Repaint or reseal walls every 3–5 years.
It’s like dental hygiene—you don’t brush once and call it a lifetime job. Keep up with maintenance, and your bathroom will stay mold-free and fresh.
Conclusion
Stopping bathroom wall moisture isn’t rocket science—it’s a mix of good habits, smart upgrades, and timely fixes. Whether it’s ventilation, humidity control, or simply wiping down your walls, consistency is your secret weapon. Remember, every drop of moisture you ignore is a silent invitation to mold.
When I finally got serious about moisture control, I not only saved my walls but also made my bathroom feel cleaner and healthier. Treat your bathroom walls like a good friendship: give them air, care, and attention, and they’ll stick around looking beautiful for years.
FAQs
1. How do I stop moisture in my bathroom walls?
Improve ventilation with a high-powered exhaust fan, keep humidity below 50%, seal walls with moisture-resistant paint, fix leaks immediately, and maintain regular cleaning habits.
2. Can dehumidifiers really help with bathroom moisture?
Yes. A small dehumidifier can remove up to a pint of water daily, lowering humidity levels and preventing condensation on walls.
3. What kind of paint should I use for bathroom walls?
Use mold-resistant, moisture-proof paints in semi-gloss or satin finishes. Pair with a primer designed to block water seepage for best results.
4. How do I know if my bathroom has a hidden leak?
Signs include persistent damp spots, musty smells, bubbling paint, or swelling drywall. If you notice these, call a plumber.
5. How often should I repaint or reseal bathroom walls?
Every 3–5 years, or sooner if you notice peeling, staining, or mold growth. Regular upkeep keeps walls protected from constant moisture.

