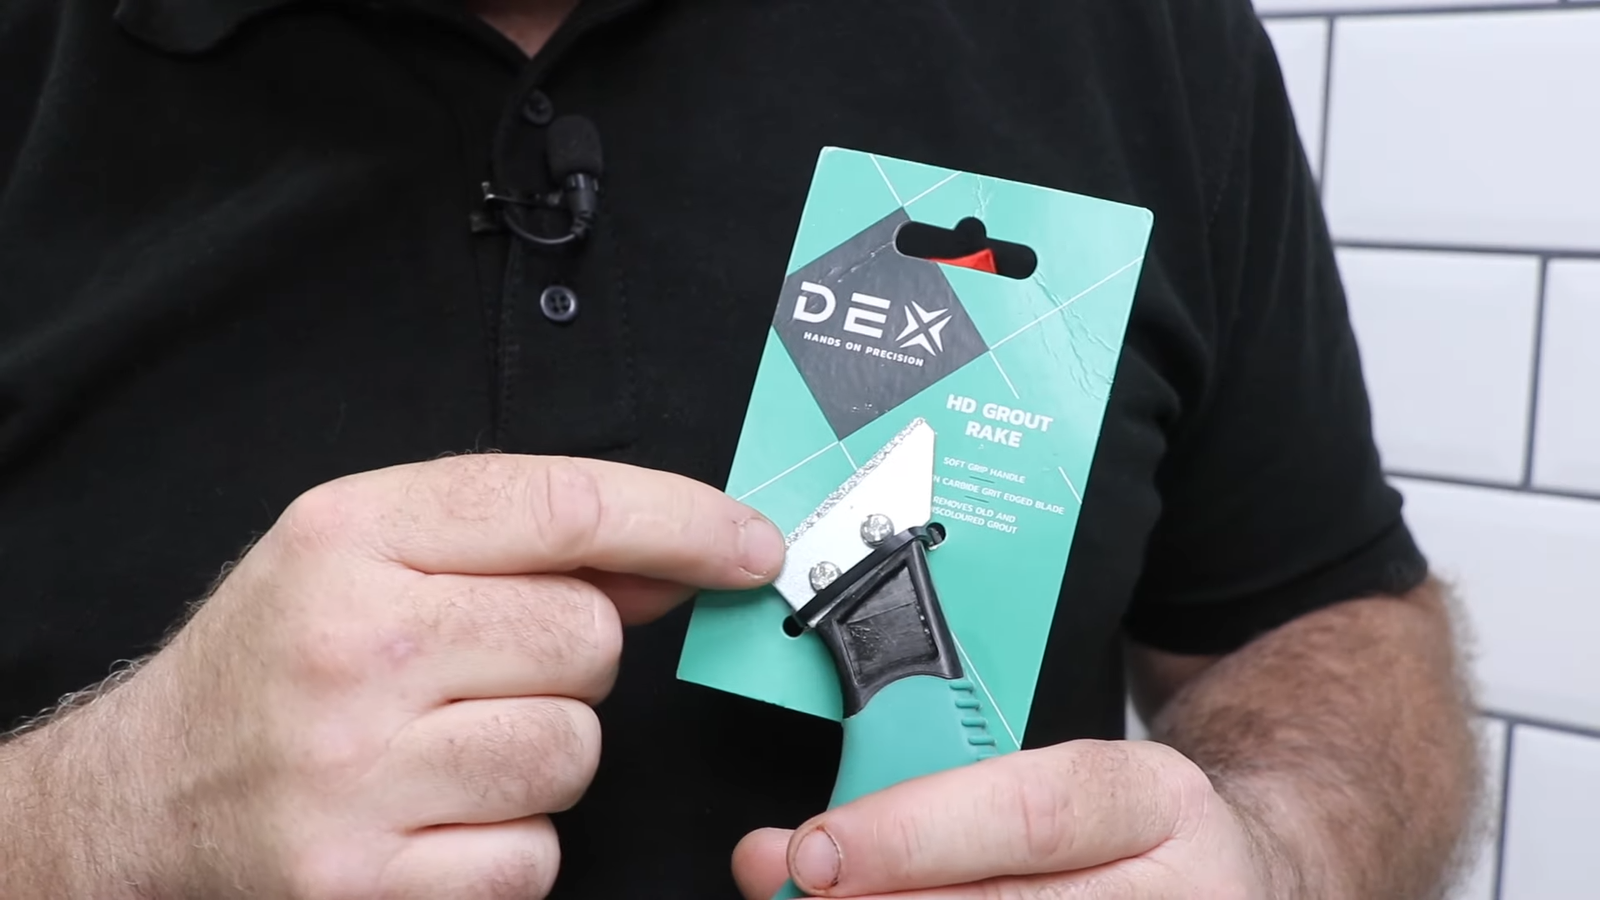
Rerouting your bathroom might sound like a task reserved for contractors with tool belts and decades of experience, but here’s the truth: you can absolutely do it yourself.
Think of it like refreshing your bathroom’s skin—it’s not surgery, it’s skincare. And with the right tools, patience, and know-how, you’ll save hundreds (sometimes thousands) while getting the satisfaction of saying, “Yep, I did that.”
1. Why Regrouting Your Bathroom Matters
Grout isn’t just there for looks—it’s the invisible superhero keeping your bathroom tiles locked in place and protecting your walls and floors from water damage. Cracked, stained, or missing grout is like having holes in your armor. Water sneaks in, mold sets up camp, and before you know it, you’re looking at a repair bill that makes your stomach flip.
According to the National Association of Home Builders, bathrooms are the second most remodeled rooms in homes, and a large chunk of those projects involve retiling because of neglected grout issues. The cost of full bathroom tile replacement can run anywhere from $2,000 to $10,000 depending on size. Compare that to the cost of grout tools and materials—usually less than $100 for DIYers—and the math speaks for itself.
2. Signs You Need to Regrout
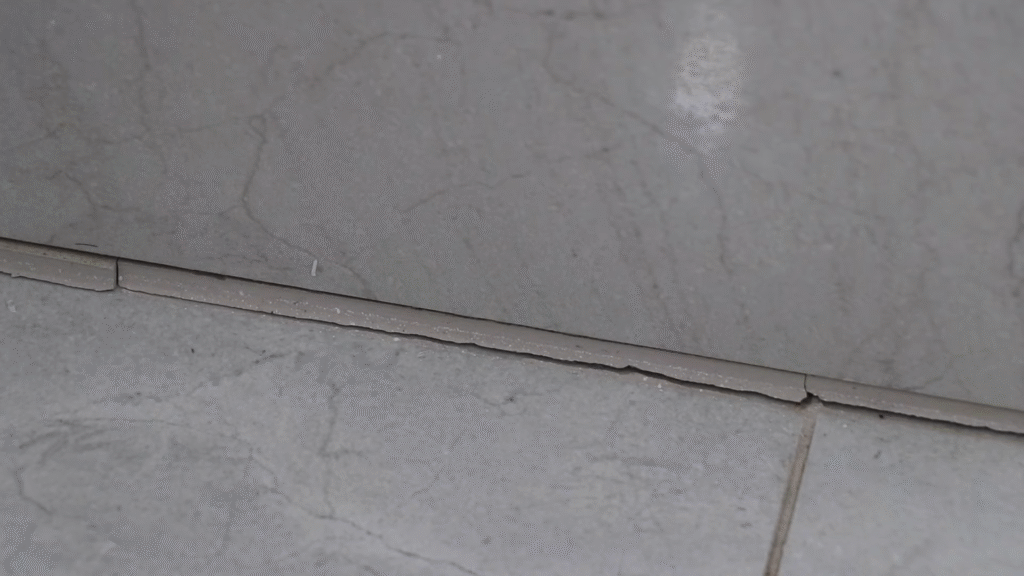
Not all grout problems mean total replacement. Sometimes a deep clean is enough. But here are the telltale signs that regrouting is necessary:
- Cracking and crumbling: If pieces of grout fall out when you clean or shower, water is already finding its way in.
- Persistent stains: If scrubbing doesn’t budge discoloration, the grout has absorbed too much grime.
- Mold and mildew growth: Dark, musty grout that keeps coming back is beyond saving.
- Loose tiles: This is a red flag. Grout failure can cause tiles to shift or detach.
A quick rule of thumb: if grout is less than half intact, replace it. Otherwise, patch repairs may work temporarily, but they won’t solve the underlying issue.
3. Tools and Materials You’ll Need
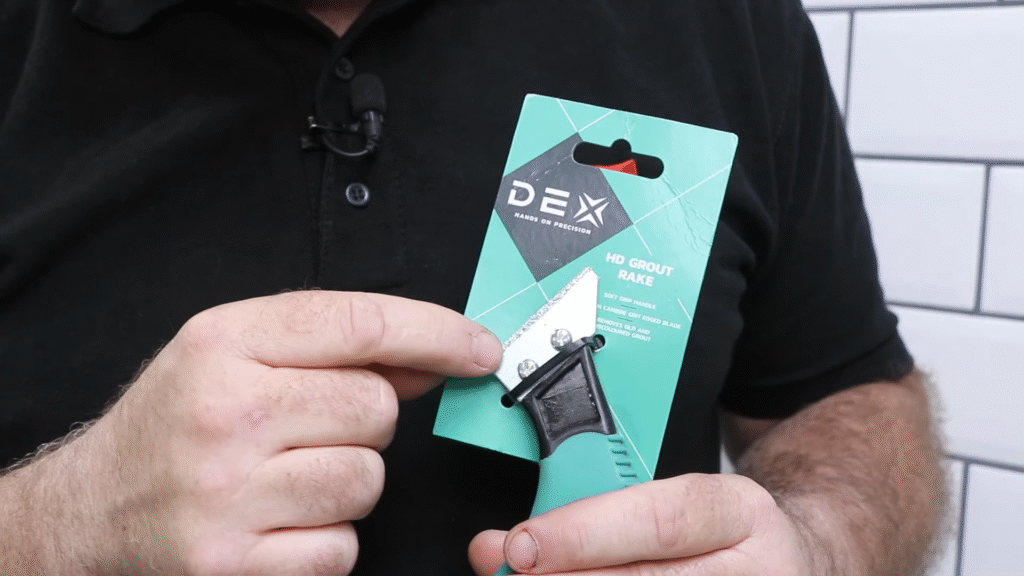
Before you roll up your sleeves, gather your bathroom “surgery kit.” Here’s a checklist I swear by:
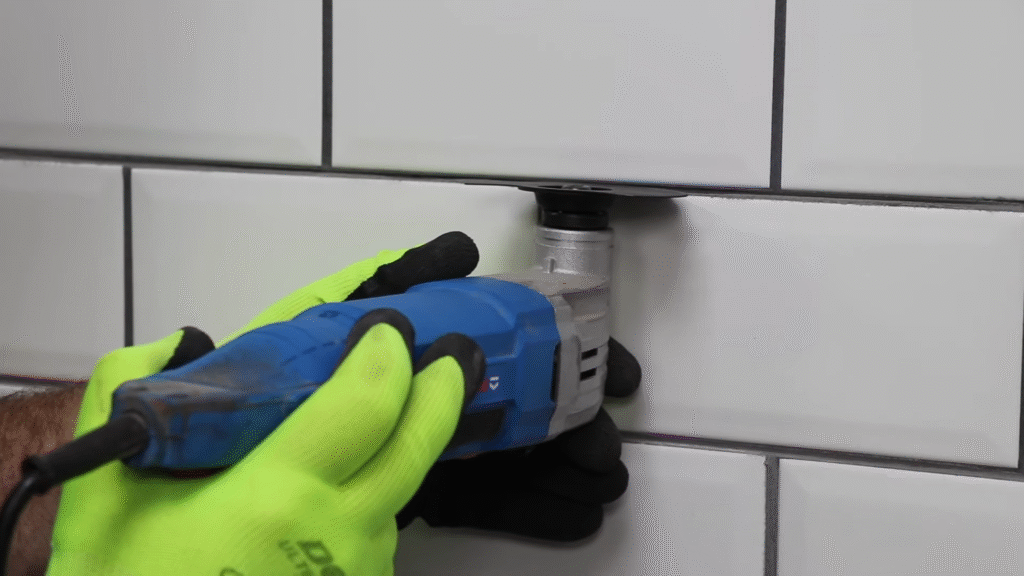
- Grout saw or oscillating tool (for removing old grout)
- Utility knife
- Vacuum or brush (to clear out debris)
- Pre-mixed or powdered grout (choose the right type—more on that next)
- Rubber grout float (for application)
- Sponge and clean water bucket
- Grout sealer (non-negotiable if you want your work to last)
- Protective gloves and mask (because grout dust is no joke)
Most of these tools can be found at your local hardware store, and you don’t need top-of-the-line gear. When I bought my first grout float, it cost me less than the price of a takeout pizza, and it’s still going strong years later.
4. Choosing the Right Grout
Grout isn’t one-size-fits-all. Choosing the wrong type is like wearing flip-flops in the snow. You need to pick the right one for durability and appearance.
- Sanded grout: Best for wide joints (⅛ inch or more). Stronger and less likely to shrink.
- Unsanded grout: For narrow joints (less than ⅛ inch). Smoother finish but weaker if used in wide spaces.
- Epoxy grout: Expensive but nearly indestructible. Stain-resistant, waterproof, and great for showers.
Fun fact: A survey by Tile Council of North America found epoxy grout lasts up to 15 years longer than cement-based grout. I used epoxy in my shower the second time around, and while mixing it was a bit of a workout, the payoff was worth it. No stains, no mold—just crisp lines.
5. How to Remove Old Grout
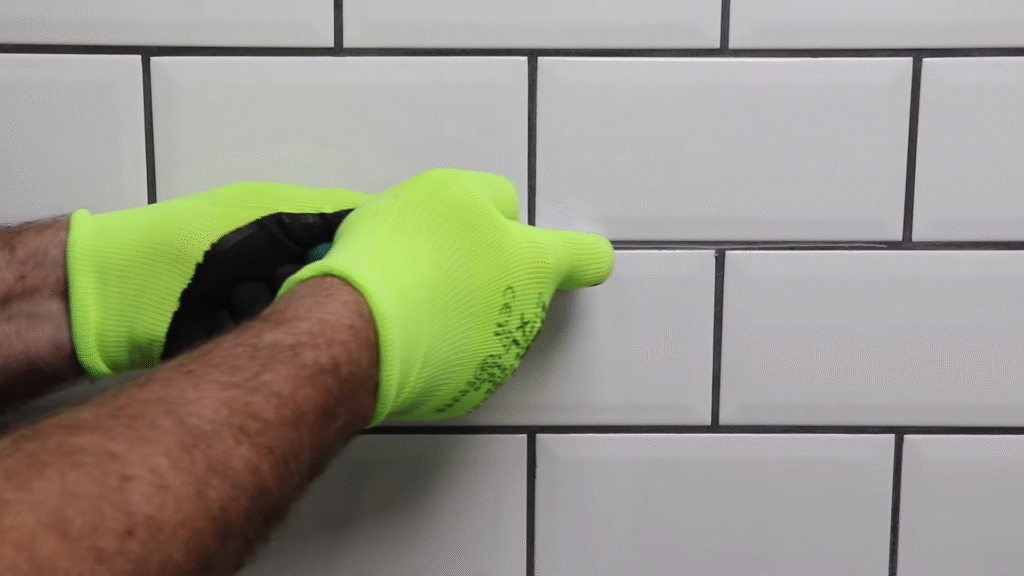
This step is dusty, noisy, and oddly satisfying. Removing old grout is like peeling off an old sticker—you’ve got to be patient and thorough.
- Score the grout lines using a grout saw or oscillating tool.
- Work slowly—don’t rush, or you’ll chip tiles.
- Vacuum debris as you go so you can see what’s left.
- Inspect carefully to ensure all old grout is removed before moving forward.
Pro tip: Keep a spray bottle of water handy to minimize dust. I learned this the hard way when my first attempt left my bathroom looking like a construction zone.
6. Mixing and Applying New Grout
Here’s where the magic happens.
- Mix the grout (if not pre-mixed) to a peanut-butter-like consistency.
- Load the float with grout and press it firmly into the joints at a 45-degree angle.
- Work in small sections—grout dries quickly.
- Wipe excess grout with a damp sponge before it hardens, rinsing the sponge often.
- Let it cure for at least 24 hours.
Think of grout like icing on a cake. The smoother and more even you spread it, the more professional it looks. I once rushed through this step, only to find lumpy grout lines that annoyed me for months. Lesson learned: slow and steady wins.
7. Sealing the Grout
Skipping this step is like leaving your front door wide open in a rainstorm. Grout sealer is essential for protecting your work from moisture, stains, and mold.
- Wait 48–72 hours after grouting.
- Apply sealer with a small brush or applicator bottle.
- Wipe off excess from tiles immediately.
- Reapply every 1–2 years for longevity.
According to a HomeAdvisor survey, bathrooms without sealed grout needed repairs three times faster than sealed ones. Trust me—you don’t want to be back at square one within months.
8. Common Mistakes to Avoid
Regrouting isn’t complicated, but small mistakes can lead to big headaches. Watch out for these pitfalls:
- Not removing all old grout—new grout won’t bond properly.
- Over-watering the mix—weakens the grout.
- Skipping the sponge step—leads to grout haze on tiles.
- Skipping sealer—shortens the lifespan dramatically.
When I first regrouted, I skipped sealing because I thought it was optional. Six months later, mold crept back like an uninvited guest. Never again.
9. Time and Cost Breakdown
Let’s get real about what this project involves.
- Time: A small bathroom wall or shower may take 4–6 hours, plus curing time. Larger areas can stretch into a weekend project.
- Cost: Expect to spend $50–$150 on materials. Compare that to hiring a pro, which typically costs $300–$1,200 depending on bathroom size.
The return on investment is massive. Regrouting boosts not only your bathroom’s appearance but also your home’s resale value. In fact, Zillow reports that bathroom updates can add up to 10% to a home’s value.
10. Should You DIY or Hire a Pro?
So, should you grab your tools or call an expert? Here’s the quick rundown:
- DIY if: You’re patient, have basic hand skills, and your grout problem is limited to a manageable area.
- Hire a pro if: You have large, complex areas, loose or damaged tiles, or simply no time.
Personally, I see regrouting as a satisfying weekend project, but I wouldn’t hesitate to call a pro if I discovered deeper tile damage. Sometimes it’s about knowing when to pass the torch.
Conclusion
So, can you regrout your bathroom yourself? Yes, absolutely—and you should. With the right tools, knowledge, and a little patience, you can restore your bathroom’s beauty, protect it from water damage, and save a big chunk of money. The key is preparation: remove old grout properly, choose the right type, apply it carefully, and always seal it.
Regrouting isn’t glamorous, but it’s empowering. Every time you step into your bathroom, you’ll be reminded of the work you did with your own two hands. And honestly? That’s priceless.
FAQs
1. Can I regrout my bathroom myself?
Yes! With basic tools, patience, and careful steps, most homeowners can regrout themselves and save hundreds compared to hiring a professional.
2. How long does it take to regrout a bathroom?
A small shower or wall usually takes 4–6 hours, plus 24 hours of curing. Larger bathrooms may take a full weekend.
3. How often should bathroom grout be replaced?
On average, grout lasts 8–15 years with proper sealing and maintenance. High-moisture areas may need attention sooner.
4. Do I need to remove all the old grout before regrouting?
Yes. New grout won’t bond properly to old grout. Removing it ensures a strong, long-lasting finish.
5. Is sealing grout really necessary?
Absolutely. Sealing protects against water, stains, and mold. Skipping it often leads to repairs within months.

