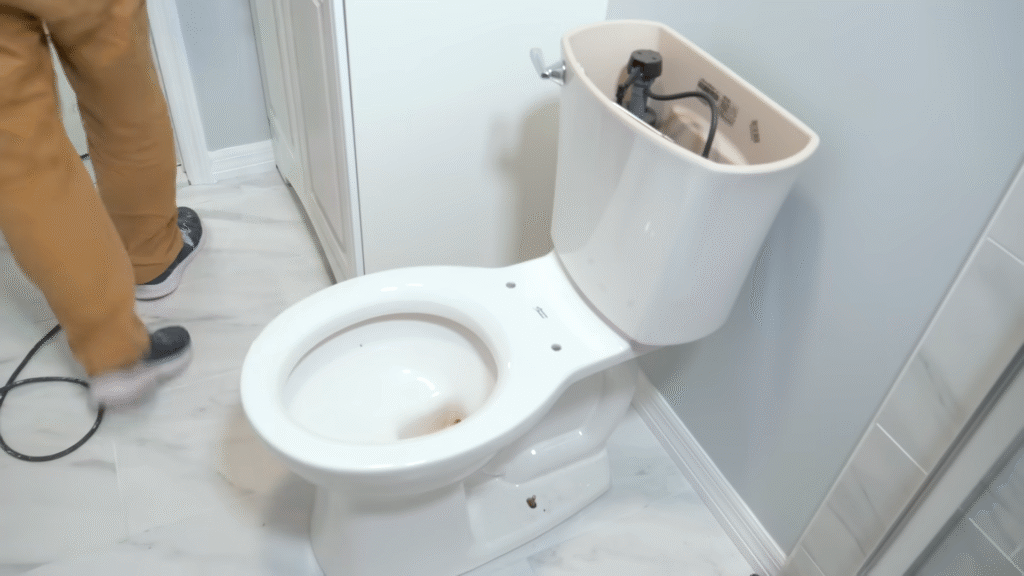
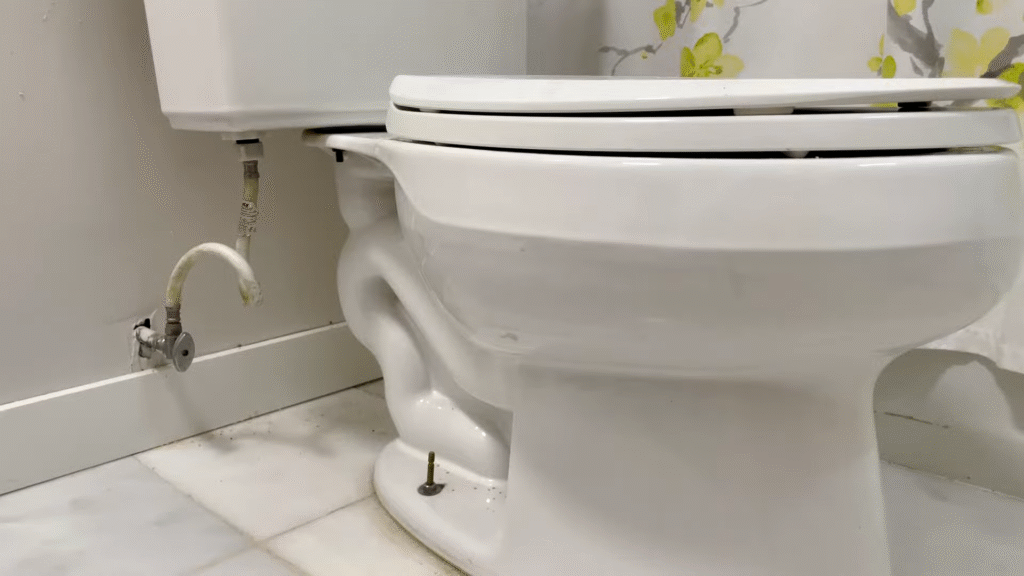
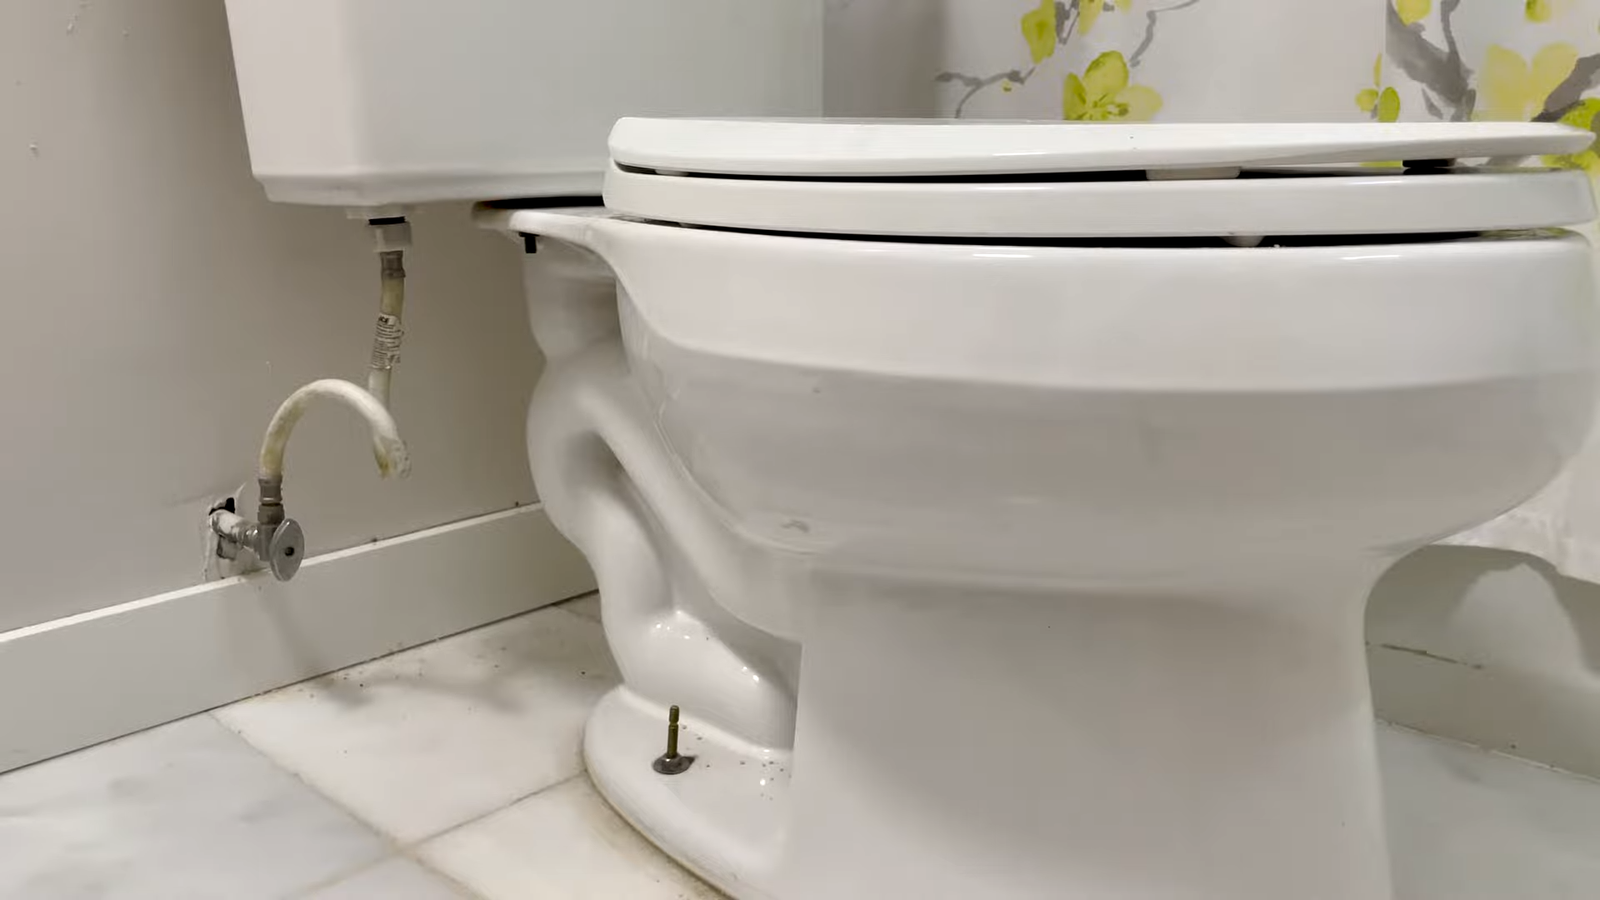
If you’ve ever installed or replaced a toilet, you’ve probably noticed one small but irritating problem: a gap between the back of your toilet and the wall. It looks odd, collects dust, and sometimes even makes people wonder if the toilet was installed incorrectly.
Don’t worry—you’re not alone. This is a surprisingly common issue that homeowners face, and luckily, it has multiple solutions depending on your bathroom’s setup.
1. Why Does a Gap Between the Toilet and the Wall Happen?
Before you grab your toolbox, let’s talk about why that annoying gap exists. The gap isn’t always the result of sloppy work—it often comes down to design and measurement.
- Standard rough-in measurements: Most toilets in the U.S. are designed for a 12-inch rough-in (the distance between the wall and the center of the toilet’s flange/bolts). However, bathrooms sometimes have 10-inch or 14-inch rough-ins, which means the toilet won’t sit flush against the wall.
- Drywall thickness: If you renovated or added new drywall, it might add up to an inch of thickness, creating a small gap where none existed before.
- Toilet design: Some modern toilets have rounded or sculpted tanks that don’t rest snugly against the wall.
- Uneven floors or walls: An older home with shifting foundations or slightly warped walls can also push the toilet forward.
According to plumbing industry estimates, around 30% of toilet installations in remodels result in some kind of wall gap. That means you’re definitely not alone in this struggle.
2. Measuring the Rough-In Distance

The first step in fixing the problem is measuring your rough-in distance. Grab a tape measure and do this:
- Measure from the wall (not the baseboard—ignore it) to the center of the toilet flange bolts that hold the toilet down.
- Typical measurements will be 10, 12, or 14 inches.
- Compare your measurement with the toilet you currently have installed.
Here’s where my own story comes in: when I remodeled my guest bathroom, I installed a beautiful one-piece toilet—only to discover it was made for a 12-inch rough-in while my bathroom actually had a 14-inch rough-in. That extra 2-inch gap looked like the toilet was shyly stepping away from the wall.
Lesson learned: always measure before buying or reinstalling a toilet.
3. Solution 1: Move the Toilet Flange
If you’re a perfectionist (or just want things done the “right” way), the most effective fix is to move the toilet flange closer to the wall.
- This requires cutting into the floor, moving the drain pipe, and reinstalling the flange in the correct location.
- It’s the most precise solution but also the most labor-intensive.
For many homeowners, this job is best left to a plumber unless you’re comfortable cutting into subfloors and handling PVC or cast iron drain pipes.
Pros: Permanent fix, looks flawless.
Cons: Expensive and labor-heavy.
Fun fact: A professional plumber might charge between $250–$700 depending on how complex the move is.
4. Solution 2: Use an Offset Flange

An easier alternative to relocating the whole drain is to use an offset toilet flange.
- This special flange allows you to shift the toilet’s position by up to 2 inches.
- It works great if your toilet is just slightly off (like with a 14-inch rough-in and a 12-inch toilet).
Installation involves removing the toilet, replacing the old flange with the offset one, and resealing everything with a new wax ring.
I actually used this method in my own bathroom after realizing I didn’t want to spend hundreds cutting into the floor. It worked like a charm—the toilet slid closer to the wall, and the gap disappeared.
Pros: Cheaper than moving the whole flange, effective for small gaps.
Cons: Can be tricky to install if your floor is concrete.
5. Solution 3: Replace with the Correct Rough-In Toilet
Sometimes the simplest fix is just admitting defeat and getting a new toilet that matches your rough-in.
- If your gap is too large to fix with an offset flange, this is the most straightforward option.
- Toilets are sold specifically in 10-inch, 12-inch, and 14-inch rough-in models.
Sure, it means investing in a new fixture, but it might save you frustration and give your bathroom a polished, intentional look.
According to Home Depot, 12-inch rough-in toilets make up about 80% of the market, while 10-inch and 14-inch models are less common but still widely available.
Pros: Cleanest and easiest in the long run.
Cons: Extra cost, especially if you just bought your current toilet.
6. Solution 4: Hide the Gap with a Shelf or Cabinet

Not every fix has to involve heavy-duty plumbing. If the gap isn’t huge (say 1–3 inches), you can disguise it with creative furniture or décor.
- A slim over-the-toilet shelf can make the space look intentional.
- A custom-fit cabinet can fill the gap while adding storage.
I’ve seen people turn that awkward gap into a bonus space for extra toilet paper rolls—practical and clever.
Pros: Quick, affordable, and stylish.
Cons: Doesn’t actually fix the plumbing layout, just hides it.
7. Solution 5: Caulk and Seal for Small Gaps
If your toilet only has a tiny half-inch gap, you may not need to move anything at all.
- Use caulk or trim molding to create a smooth transition.
- This also helps prevent dust, dirt, and water from collecting in that awkward space.
Think of it like adding a little makeup to cover a blemish—no one else will notice, but it makes you feel better.
8. Solution 6: Build Out the Wall
This one might sound extreme, but hear me out: if you’re already doing a bathroom remodel, you can build out the wall slightly.
- Adding a thin layer of drywall, wainscoting, or decorative paneling behind the toilet can reduce or eliminate the gap.
- You can even integrate a small recessed shelf for storing bathroom essentials.
This works especially well if the gap is too large for caulk but too small to justify replacing the toilet.
9. Tools and Materials You Might Need
Here’s a quick checklist in case you’re rolling up your sleeves:
- Tape measure (for accurate rough-in measurement)
- Adjustable wrench (to remove toilet bolts)
- Wax ring (for reinstalling toilet)
- Offset flange (if using that method)
- Caulk gun and caulk (for sealing small gaps)
- Level (to ensure toilet sits properly)
- Replacement toilet (if you go that route)
10. Mistakes to Avoid
When fixing a toilet gap, I’ve seen people make avoidable mistakes. Learn from others’ experiences:
- Ignoring the wax ring: Always replace it when moving or reinstalling a toilet. Reusing it can cause leaks.
- Measuring from the baseboard: Always measure from the finished wall to the flange center. Baseboards throw off the numbers.
- Forcing the toilet: Never try to shove the toilet closer to the wall. You’ll risk cracking the porcelain or damaging the flange.
- Skipping the level: An uneven toilet not only looks odd but can wobble and damage flooring over time.
Conclusion
Fixing a gap between your toilet and the wall isn’t as complicated as it first seems. Whether you go for a precise fix like an offset flange, a practical solution like buying the correct rough-in toilet, or a clever disguise like adding shelving, there’s always a way to make your bathroom look intentional and polished.
The key takeaway? Always measure before you install. That one simple step can save you hours of frustration (and a few hundred dollars).
So next time you see that awkward space, don’t sigh in defeat. Pick the solution that works best for your home, budget, and DIY confidence—and you’ll have a bathroom setup that looks and feels just right.
FAQs
1. What is the standard rough-in measurement for toilets?
Most toilets are designed for a 12-inch rough-in, but some bathrooms are built for 10-inch or 14-inch models. Always measure before buying.
2. Can I use an offset flange to fix a large gap?
Offset flanges can adjust the toilet position by up to 2 inches. For larger gaps, you’ll need a different solution, like replacing the toilet.
3. Is it safe to caulk around the base of the toilet?
Yes, caulking prevents dirt and moisture buildup. However, always leave a small gap at the back for detecting leaks.
4. How much does it cost to hire a plumber for this fix?
Hiring a plumber to move a flange can cost between $250–$700 depending on complexity. Using an offset flange yourself can save a lot of money.
5. Should the toilet always touch the wall?
Not necessarily. Some toilets are designed with a small gap for easier cleaning or aesthetic reasons. The key is that it looks intentional and functions properly.

