Installing a toilet sounds simple until you hit the million-dollar question: do you install a toilet before or after tile? If you’ve ever been stuck staring at a bathroom remodel, wondering if you should set the toilet on bare subfloor or wait until the tile is in, you’re not alone.
This is one of the most common debates in home improvement circles, and trust me—getting it wrong can lead to leaks, wobbling toilets, or even ripping out fresh tile.
1. Should You Install a Toilet After Tile?

Here’s the straightforward answer: yes, you should always install a toilet after tile.
Why? The toilet needs to sit on a level, finished surface to prevent rocking, leaks, or uneven gaps. If you place it directly on subfloor and then add tile around it, you risk creating awkward edges and an unstable setup.
Think of it like putting the cherry on top of a sundae. You wouldn’t plop it down before you’ve even added the whipped cream, right? The toilet, in this case, is your cherry—it’s the finishing touch that only makes sense once the base (the tile) is in place.
2. What Happens If You Install Before Tile?
Let’s say you ignore the advice and set your toilet before tiling. What could go wrong? A lot, actually:
- Unstable base: The toilet may rock if the tiles don’t perfectly meet the base. That’s a fast track to leaks and frustration.
- Poor sealing: The wax ring (which prevents water from seeping out) won’t compress evenly if the base isn’t flat and finished.
- Ugly edges: You’ll likely end up with tile cuts around the toilet that look sloppy and amateurish.
- Future removal headaches: If you ever need to replace the toilet, you’ll struggle with awkward gaps where the old base once sat.
I once saw a DIY remodel where the homeowner tiled around the old toilet. It looked like the toilet was wearing little ceramic shoes. Cute? Maybe. Practical? Definitely not.
3. The Proper Sequence of a Bathroom Remodel

To avoid mistakes, here’s the correct order of operations:
- Rough-in plumbing (drain line, flange, supply line).
- Subfloor installation (plywood or cement board).
- Tile installation (cut carefully around the flange).
- Toilet installation (on top of finished tile).
That’s the flow professionals follow, and it ensures everything lines up properly.
4. Why Tile Under the Toilet?
Some folks argue it’s unnecessary to tile under a toilet since you won’t see it. But here’s why tiling underneath matters:
- Moisture protection: Tile acts as a waterproof barrier, protecting subfloor from splashes and condensation.
- Easy replacement: When you upgrade your toilet later, the tile beneath ensures a seamless look.
- Structural stability: A full tiled surface distributes the toilet’s weight evenly.
According to the National Kitchen & Bath Association (NKBA), tiling under fixtures can extend the lifespan of your bathroom flooring by 30–40%. That’s a stat worth paying attention to.
5. The Role of the Toilet Flange

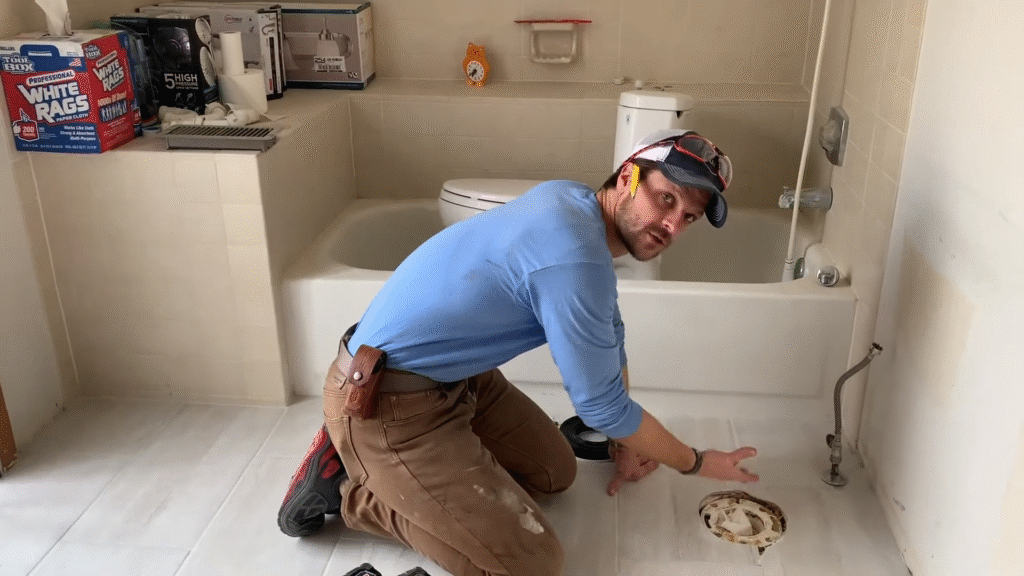
Here’s where it gets a little technical. The toilet flange is the pipe fitting that connects your toilet to the drain. The flange should always sit on top of the finished tile—not flush with subfloor, not below tile, but directly on the tile.
If your flange sits too low because you tiled afterward, you’ll end up with leaks or weak wax ring compression. You can fix this with flange extenders, but it’s always better to get it right the first time.
6. Common Mistakes DIYers Make
Here are the errors I see most often when people tackle this project:
- Cutting tiles too loosely: Leaving a wide gap around the flange, which weakens support.
- Using thin wax rings: If the flange is too low, the ring won’t seal properly.
- Skipping caulk: Not sealing around the toilet base allows water to seep under tiles.
- Not checking for level: A slightly uneven floor will make the toilet rock.
During one job, I thought “close enough” would cut it with my tile cuts around the flange. Spoiler: it wasn’t close enough. I ended up re-cutting three tiles before getting the fit right. Don’t repeat my mistake—precision matters.
7. Tools and Materials You’ll Need
If you’re planning to install a toilet after tiling, here’s your toolkit:
- Tape measure and pencil
- Tile saw (for clean cuts around the flange)
- Level
- Wax ring (or wax-free seal)
- Closet bolts
- Toilet bowl and tank
- Adjustable wrench
- Caulk gun with bathroom-grade silicone caulk
Trust me—skimping on tools will only make this harder. The wax ring alone is a $5 part that can prevent hundreds of dollars in water damage if installed properly.
8. Step-by-Step Toilet Installation After Tile
Let’s break down the process like a recipe:
- Check the flange: Make sure it’s level and sits on top of your tile.
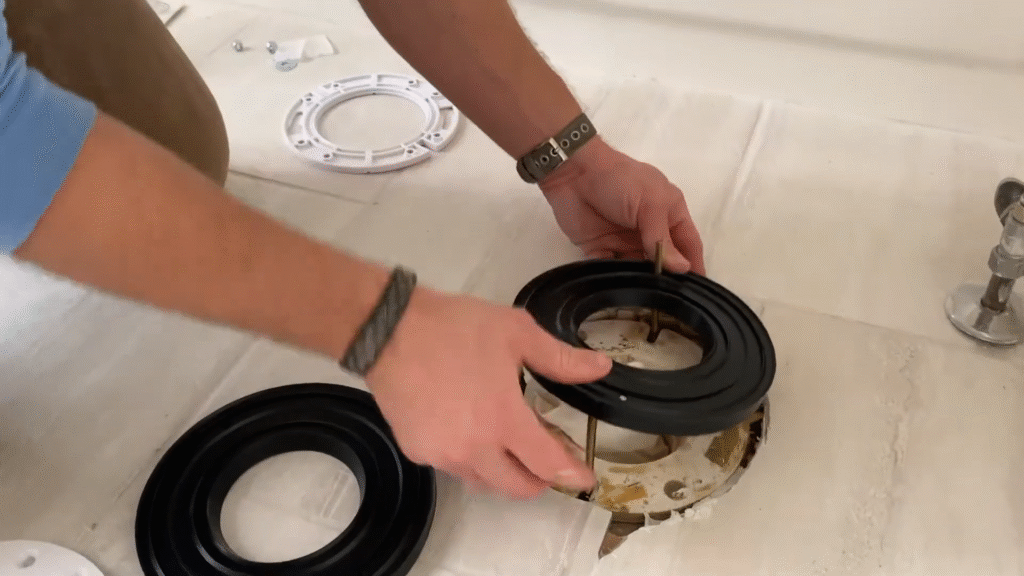
- Install closet bolts: Slide them into the flange slots, pointing upward.
- Set the wax ring: Place it on the flange, not the toilet base.
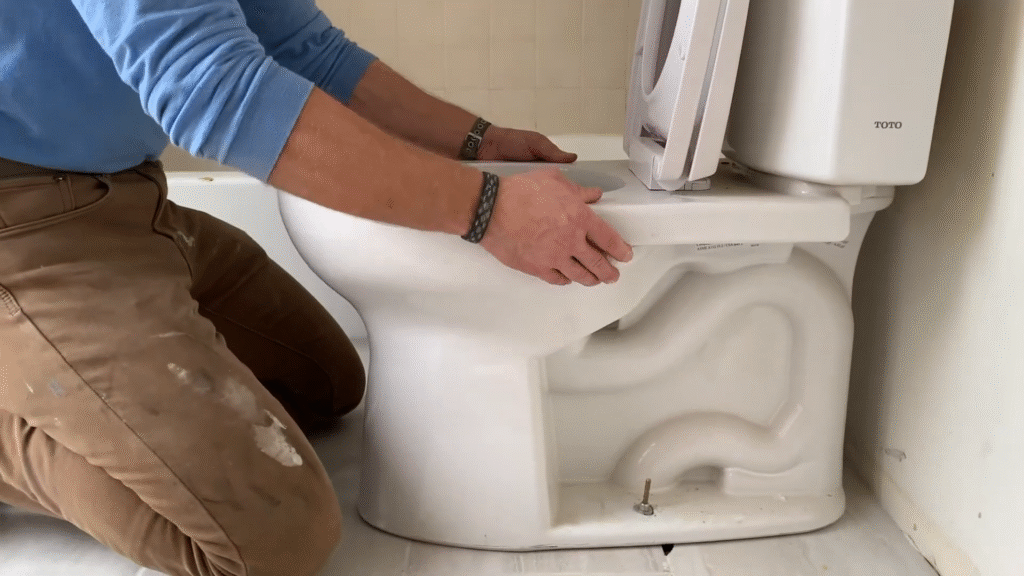
- Lower the toilet: Carefully align it with the bolts and press down evenly.
- Tighten bolts: Alternate sides to keep pressure even, but don’t overtighten (porcelain cracks easily).
- Attach tank (if separate): Follow manufacturer instructions.
- Connect water supply line: Hand-tighten, then give a small wrench turn.
- Check for leaks: Flush a few times and inspect around the base.
- Apply caulk: Seal around the toilet base, leaving a small gap at the back for detection of future leaks.
9. Wax Ring vs. Wax-Free Seal
Here’s another hot debate: wax ring or wax-free seal?
- Wax ring: Traditional, cheap, reliable when installed correctly. Downside? They can deform if the toilet rocks.
- Wax-free seal: Made from rubber, reusable, easier to install, and more forgiving if you need adjustments.
According to a 2023 Home Depot survey, about 65% of DIYers now prefer wax-free seals for ease of use. Personally, I still swear by wax rings for tried-and-true reliability, but I can’t deny wax-free options have saved me during tricky installs.
10. Leveling the Toilet on Tile
Tile floors aren’t always perfectly level, and that can spell disaster for a toilet. If your toilet rocks after installation:
- Use toilet shims (small plastic wedges) under the base.
- Once stable, caulk around the toilet to lock it in place.
Never rely on tightening bolts to “force” the toilet flat. That’s how cracked porcelain happens—expensive lesson learned the hard way.
11. How Much Weight Can a Toilet Handle on Tile?
Here’s an interesting fact: a properly installed toilet on tile can support over 1,000 pounds of weight. That’s because the weight is distributed evenly across the base and tile surface. The real weak point isn’t the toilet itself—it’s improper installation that causes stress points.
So don’t worry about heavy usage. If installed correctly, your toilet and tile can handle whatever life throws at them.
12. Cost Considerations
If you hire a professional:
- Tile installation: $8–$25 per square foot (depending on material).
- Toilet installation: $150–$400 labor.
DIY can save you that toilet install cost, but mistakes (like cracking tile or leaks) can quickly erase those savings. Always weigh your confidence level against potential risks.
13. Preventing Water Damage
Bathrooms are notorious for hidden leaks. To protect your tile and subfloor:
- Always seal around the toilet base with silicone.
- Leave a small gap in the caulk at the back—if water leaks, you’ll see it instead of trapping it.
- Inspect for soft or spongy floors near the toilet every few months.
Water damage repairs can cost $2,000–$6,000 depending on severity. A $5 tube of caulk is cheap insurance.
14. When to Replace a Toilet During Remodel
If your toilet is more than 20 years old, it’s probably time to replace it during the remodel. Modern toilets use less water (1.28 gallons per flush vs. old models at 3.5+ gallons). That’s a big difference on your water bill.
According to the EPA WaterSense Program, switching to a high-efficiency toilet can save a household over 13,000 gallons of water per year. That’s like filling a backyard pool just from savings.
Conclusion
So, should you install a toilet after tile? Absolutely. It’s not just about looks—it’s about stability, longevity, and avoiding costly mistakes. The sequence matters: subfloor, tile, flange, then toilet. Done right, you’ll have a bathroom that’s not only functional but also built to last.
I learned the hard way that shortcuts in bathroom remodels never pay off. If you take the time to do it right—installing your toilet after tile—you’ll thank yourself every time you walk into a leak-free, rock-solid bathroom.
FAQs
1. Do you put the toilet flange on top of the tile or flush with it?
Always on top of the finished tile. This ensures proper wax ring compression and prevents leaks.
2. Can I reuse my old wax ring when reinstalling a toilet after tiling?
No, wax rings are single-use. Always replace them with a fresh one.
3. Is it okay to caulk around the base of the toilet?
Yes, but leave a small gap at the back to detect leaks.
4. What if my flange is too low after tiling?
You can use a flange extender or stackable wax rings to raise the seal.
5. Should I tile the entire bathroom floor or just around the toilet area?
Always tile the entire floor. It ensures stability, looks cleaner, and makes future toilet replacements easier.

