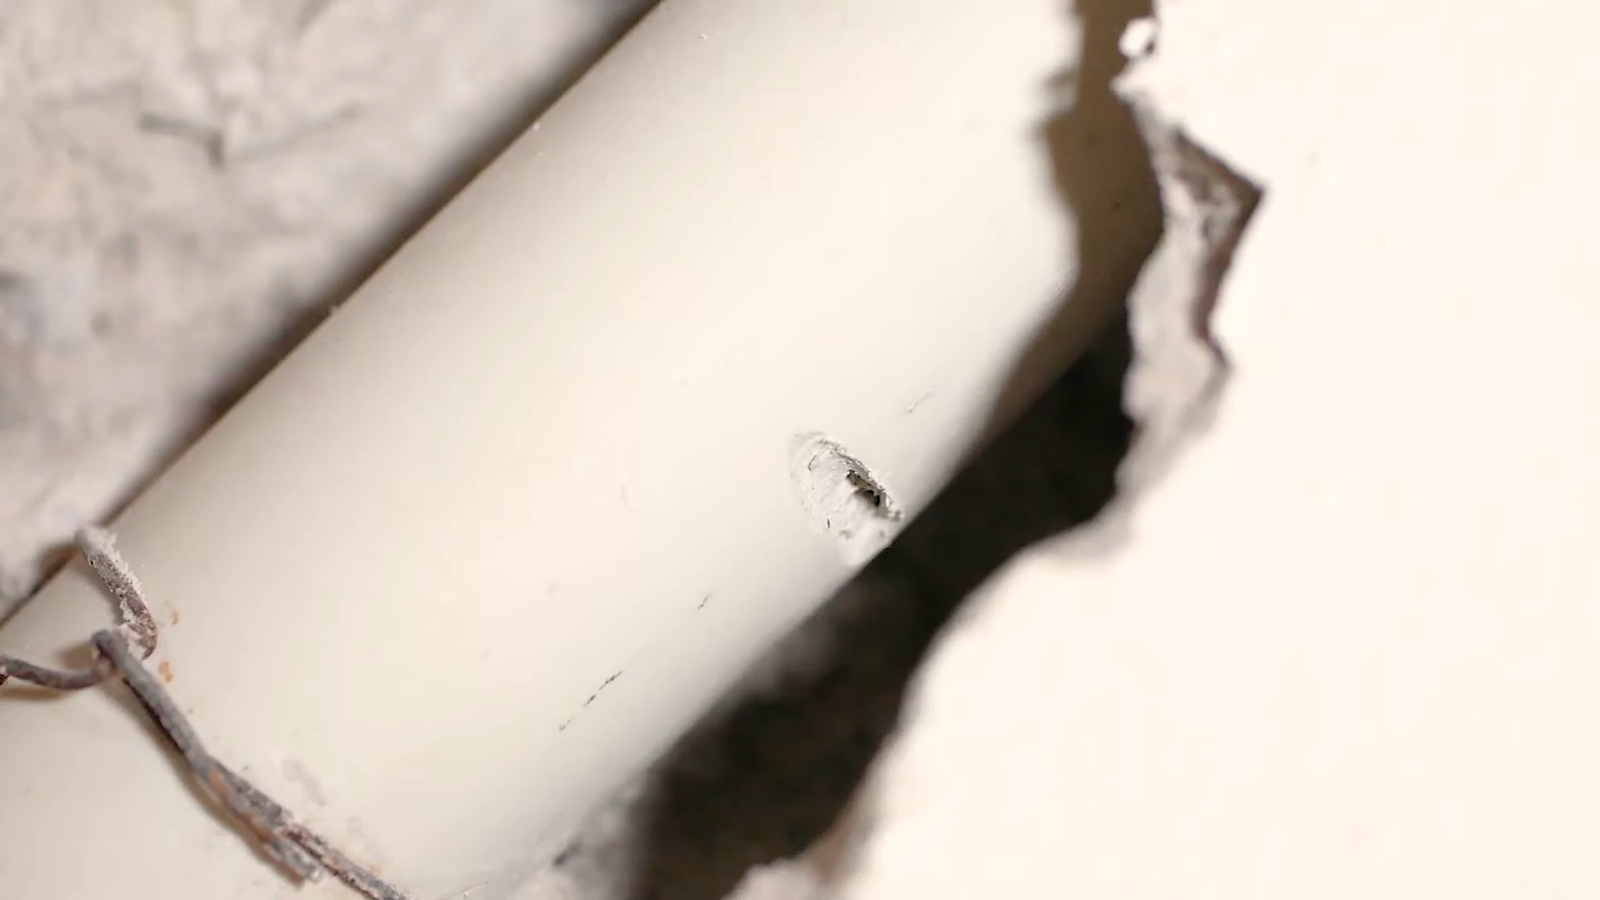
When a PVC pipe cracks, it can feel like your home has suddenly decided to turn into an indoor swimming pool. But don’t panic.
Fixing a crack in PVC pipe is one of those things that seems overwhelming at first, but with the right know-how, you’ll be able to patch it up like a pro.
Whether it’s a hairline crack or a full-on split, this guide will walk you through every step, every option, and every tip you need.
1. Why PVC Pipes Crack in the First Place
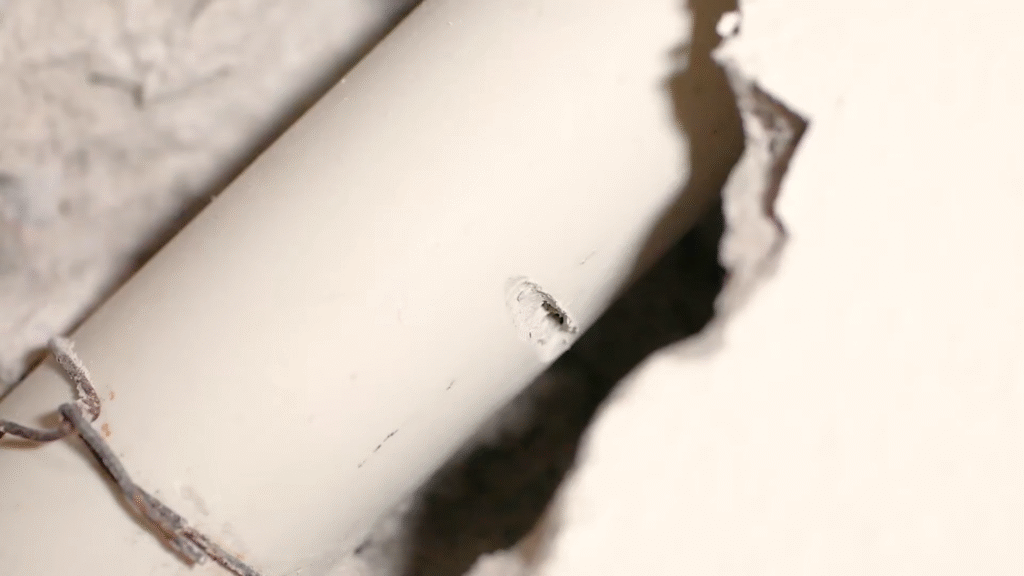
Before you even grab the glue or tape, it helps to know why PVC pipes crack. Think of it like understanding why your car broke down—it makes the fix easier and prevents it from happening again.
- Age and Wear: PVC is strong, but it’s not invincible. Over time, constant water pressure, exposure to sunlight, or temperature swings make the plastic brittle. Once it loses its flexibility, cracks are inevitable.
- Freezing Water: Ever left a soda can in the freezer too long? Water expands as it freezes, and if it’s trapped inside a PVC pipe, the pressure can cause it to split.
- Improper Installation: Sometimes pipes are cut at the wrong angle, or joints are glued poorly. Those tiny mistakes might not show right away, but they become weak points that eventually crack.
- Excessive Pressure: If your water pressure is too high, PVC may struggle to handle the constant force, especially at joints. A pressure above 80 psi is risky for residential piping.
Personal note: I once had a PVC line in my backyard split clean in half because I thought wrapping it in duct tape was enough insulation for winter. Lesson learned—the hard way.
2. Identifying the Type of Crack
Not all cracks are created equal. Some are surface-level nuisances, while others mean the pipe is ready to give up entirely. Here’s how to know what you’re dealing with:
- Hairline Cracks: These are thin, surface-level lines. They may not leak right away but will get worse over time.
- Leaking Cracks: Water seeps through these constantly, leaving damp spots or slow drips.
- Split Pipes: The most serious—when the pipe has broken open, spilling water everywhere.
- Joint Cracks: These appear at fittings and are usually caused by stress or poor installation.
Identifying the crack early saves you time and money. According to plumbing repair stats, a small crack repair may cost under $50 in DIY materials, while ignoring it could lead to $1,000+ in water damage repair.
3. Tools and Materials You’ll Need
Think of this step like gathering your ingredients before cooking. The fix will be much smoother if you have everything ready.
- PVC Primer and Cement (for permanent fixes)
- Epoxy Putty (great for quick repairs)
- Fiberglass Wrap or Repair Tape
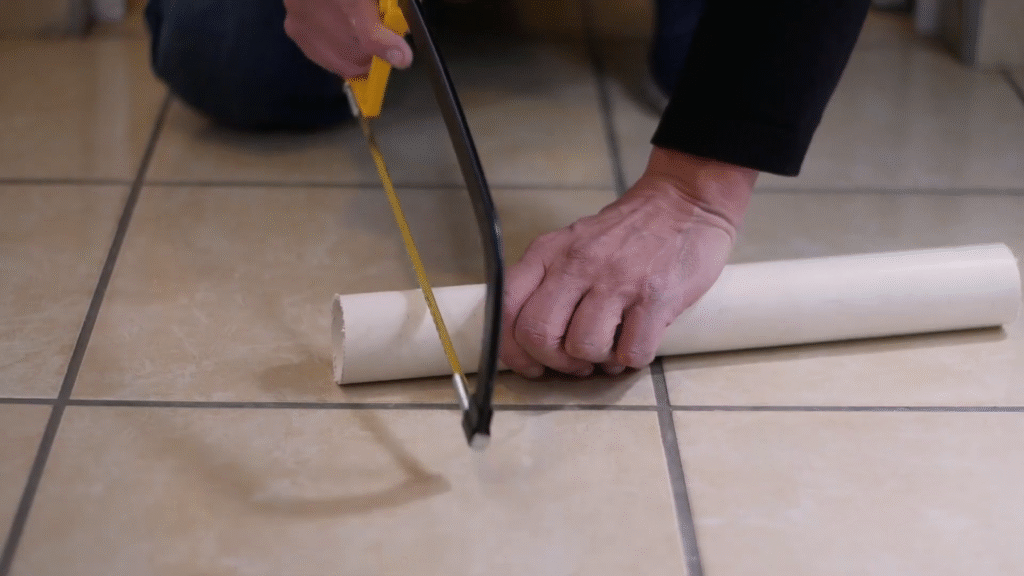
- Hacksaw or Pipe Cutter
- Sandpaper or Emery Cloth
- Measuring Tape
- Replacement PVC Pipe and Fittings (if needed)
- Marker for measurements
- Safety Gear: gloves and goggles
Pro tip: Always keep epoxy putty and fiberglass wrap in your toolbox. They’re like first aid for your pipes—quick, reliable, and lifesaving in emergencies.
4. Temporary Fixes for Cracked PVC Pipes
Sometimes you just need a quick patch to stop the water until you can do a full replacement. Here are the best temporary fixes:
a) Epoxy Putty
Epoxy putty works like clay that hardens into stone. You knead it, press it over the crack, and let it cure. Within minutes, it creates a waterproof seal.
- Works best on small to medium cracks.
- Can last for weeks if applied properly.
b) Fiberglass Repair Tape
This tape activates with water and hardens as it dries. Wrap it tightly around the crack, overlapping by a few inches on both sides.
- Strong enough for pressurized water lines.
- Sets in about 15–30 minutes.
c) Rubber and Clamp Method
If you’re in full MacGyver mode, cut a piece of rubber (from an old hose) and secure it over the crack with hose clamps.
- This won’t win style points but can stop leaks for days.
Story time: I once used a bicycle inner tube and duct clamps to stop a backyard sprinkler line leak. It looked ridiculous but held up for an entire summer.
5. Permanent Fix: Cutting and Replacing the Damaged Section
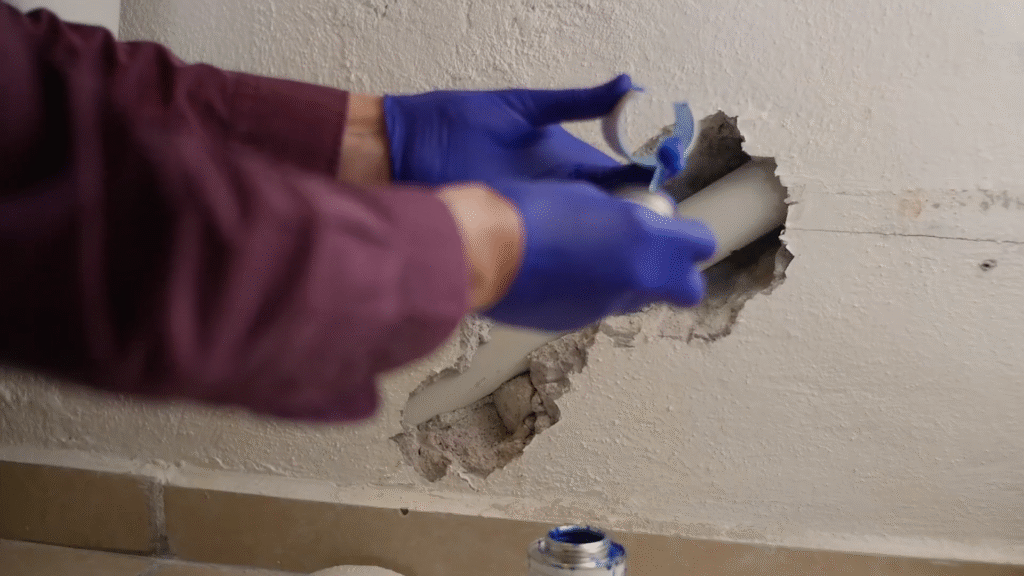
Temporary fixes are fine, but if you want peace of mind, the best solution is replacing the damaged section. Here’s the step-by-step:
- Turn Off the Water Supply
Always shut off the main water valve before starting. - Mark the Damaged Area
Use a marker to outline 1–2 inches beyond each side of the crack. - Cut the Pipe
Use a hacksaw or pipe cutter to remove the section. Make clean, straight cuts. - Dry Fit the Replacement
Measure a new section of pipe and test it with couplings before gluing. - Prime and Cement
Apply PVC primer to both the pipe ends and the fittings, then apply cement. Quickly insert the new piece, twisting slightly for a secure fit. - Let It Cure
Wait at least 15 minutes before turning the water back on. Full cure takes about 24 hours, but you can usually test it earlier.
This method ensures the repair is as strong as the original pipe—sometimes even stronger.
6. Using Slip Couplings for Easier Repairs
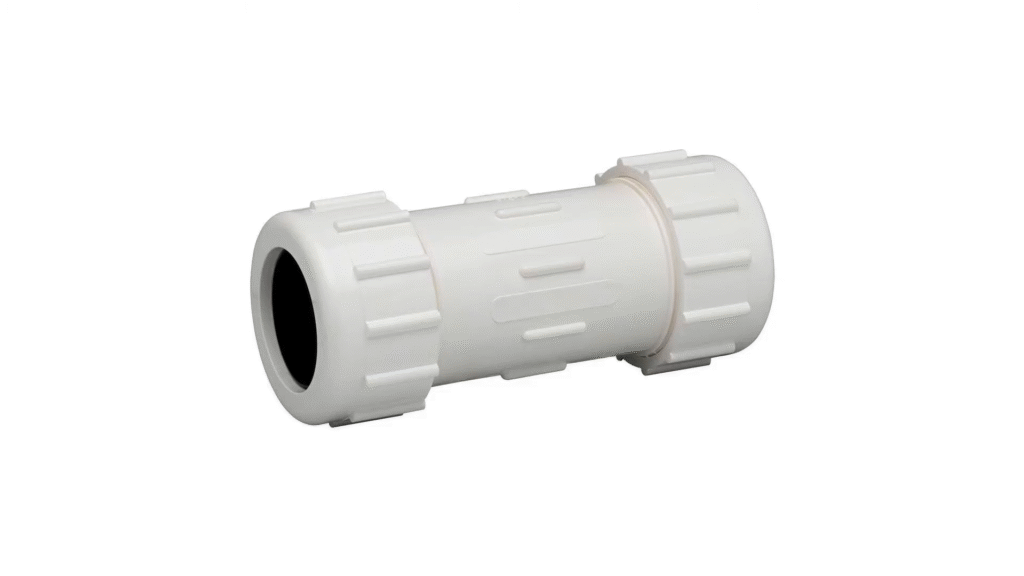
If cutting and measuring sounds overwhelming, slip couplings (also called repair couplings) are your friend. These fittings slide over the pipe and lock into place without needing precise measurements.
- Ideal for tight spaces where cutting and replacing an entire section is tough.
- Available at most hardware stores for just a few dollars.
- Saves a lot of time compared to cutting multiple fittings.
Think of slip couplings as the “band-aid that heals the wound” instead of just covering it.
7. Repairing Cracks at Joints
Joint cracks can be tricky because the damage happens where pipes are glued together. Here’s what to do:
- Small Cracks at Joints: Use epoxy putty or fiberglass wrap to seal around the fitting.
- Large Cracks at Joints: Unfortunately, you’ll need to cut out the joint and replace it entirely.
Joints handle the most stress in a PVC system, so if one cracks, it’s often a sign you should inspect the rest of your plumbing.
8. Preventing Future Cracks
Fixing a crack is only half the battle—you want to make sure it doesn’t happen again. Here’s how:
- Insulate Pipes: Especially in cold climates. Foam sleeves or heat tape prevent freezing.
- Check Water Pressure: Keep it under 80 psi. A simple pressure gauge costs under $15.
- Avoid Sunlight Exposure: UV rays weaken PVC. If pipes are outdoors, cover them or paint them with a UV-resistant paint.
- Support Long Runs: Use pipe straps every 3–4 feet to prevent sagging and stress.
- Use the Right Glue: Cheap or wrong cement leads to weak joints. Always use PVC-specific cement.
Fun fact: According to the American Water Works Association, nearly 10% of water in U.S. homes is wasted due to leaks, often from cracked pipes. Fixing and preventing cracks not only saves you money—it saves gallons of water.
9. When to Call a Professional
Sometimes the DIY route just isn’t enough. Call a plumber if:
- The crack is in a main water supply line.
- The pipe is in a hard-to-reach spot like underground or behind walls.
- You’ve tried fixing it, but the leak keeps coming back.
A professional repair may cost between $150–$500, depending on complexity, but it’s worth the peace of mind when water damage could cost thousands.
Conclusion
Fixing cracks in PVC pipes doesn’t have to be a nightmare. Whether you choose a quick patch with epoxy putty, a wrap with fiberglass tape, or go all-in with a full replacement, you now know the steps. The real secret is prevention—keep your pipes insulated, supported, and protected from excessive pressure or UV exposure.
The next time you hear that dreaded drip-drip sound, you won’t panic—you’ll grab your tools and handle it like a pro. Because let’s be honest: there’s nothing more satisfying than fixing something yourself and knowing water damage won’t ruin your day.
FAQs
1. Can I use duct tape to fix a cracked PVC pipe?
Duct tape may slow the leak temporarily, but it won’t hold against water pressure. It’s fine in an emergency for a few hours, but use epoxy or fiberglass tape for a real temporary fix.
2. How long will epoxy putty last on a PVC crack?
If applied correctly, epoxy putty can last weeks or even months. However, it’s still considered a temporary fix and should be followed by a permanent replacement.
3. Can PVC cracks be repaired without cutting the pipe?
Yes. Small cracks can be sealed with epoxy or fiberglass wrap. For large cracks or splits, cutting and replacing the section is the only reliable method.
4. What is the best glue for PVC pipe repairs?
Always use PVC primer and cement. They chemically fuse the pipe and fittings, creating a bond stronger than the pipe itself.
5. How do I know if I should replace the whole pipe instead of repairing?
If the pipe is old, brittle, or has multiple cracks, replacing the entire run is smarter. A single repair won’t stop future cracks if the material is failing everywhere.

