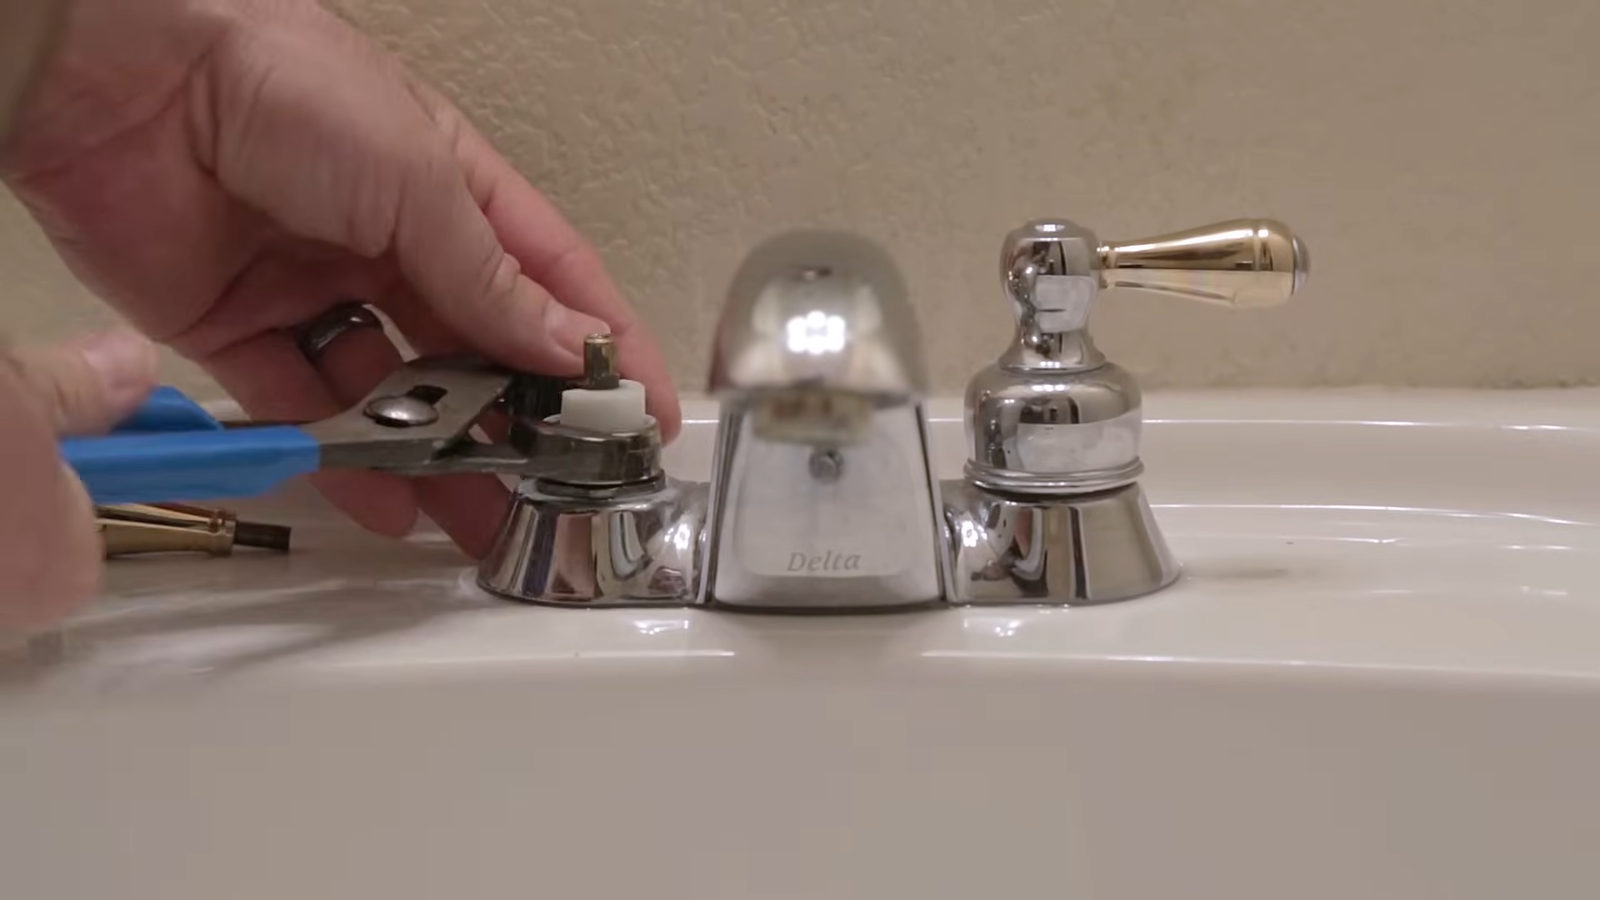
If you’ve ever stood in your bathroom listening to the maddening drip-drip of a leaky faucet at 2 AM, you know it’s not just about wasted water—it’s about your sanity. According to the U.S. Environmental Protection Agency (EPA), a single leaky faucet can waste over 3,000 gallons of water per year.
That’s not just bad for the planet, it’s bad for your wallet too. The good news? Repairing a bathroom faucet isn’t rocket science. With the right tools, a little patience, and some know-how, you can save yourself hundreds of dollars in plumber fees and feel like a DIY hero in your own home.
1. Identify the Type of Faucet You Have
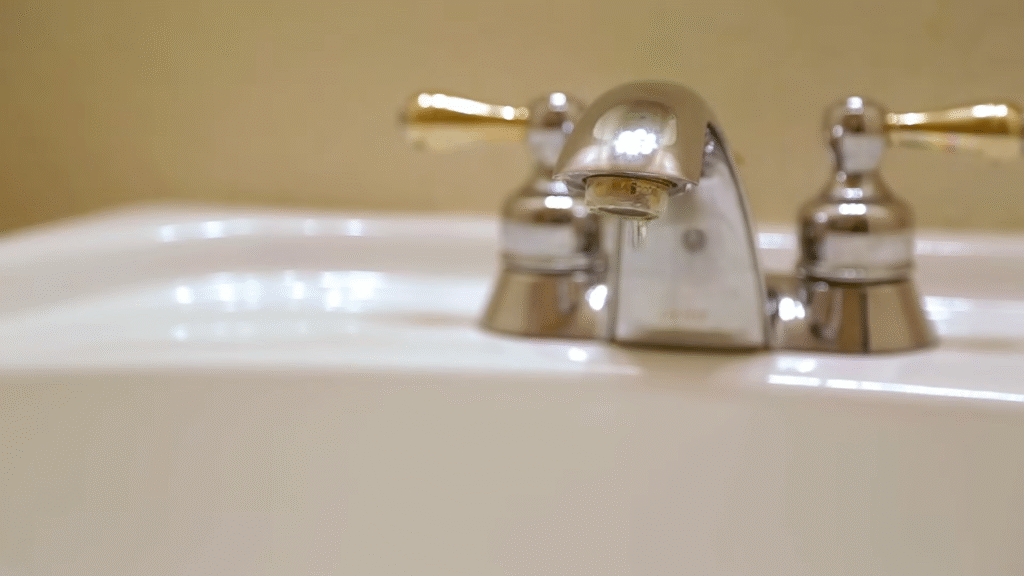
Before you even think about reaching for a wrench, you need to know what kind of faucet you’re dealing with. Just like cars have different engines, faucets have different mechanisms.
The four most common types are:
- Compression Faucets – Old-school style with separate hot and cold handles that you twist. These usually leak because of worn washers.
- Ball Faucets – Typically found in kitchens, but sometimes in bathrooms. They have a single handle and use a ball bearing system.
- Cartridge Faucets – Popular in modern bathrooms. They can have one or two handles and use a replaceable cartridge inside.
- Ceramic Disk Faucets – Sleek and durable, with a wide cylindrical body and a single lever handle.
Personal Tip: I once wasted two hours trying to replace a washer in a cartridge faucet, only to realize cartridges don’t even use washers. Don’t repeat my mistake—identify your faucet first!
2. Gather the Tools and Materials You’ll Need
A successful faucet repair is all about preparation. Think of it like cooking a recipe—you don’t want to start only to realize you’re missing the salt.
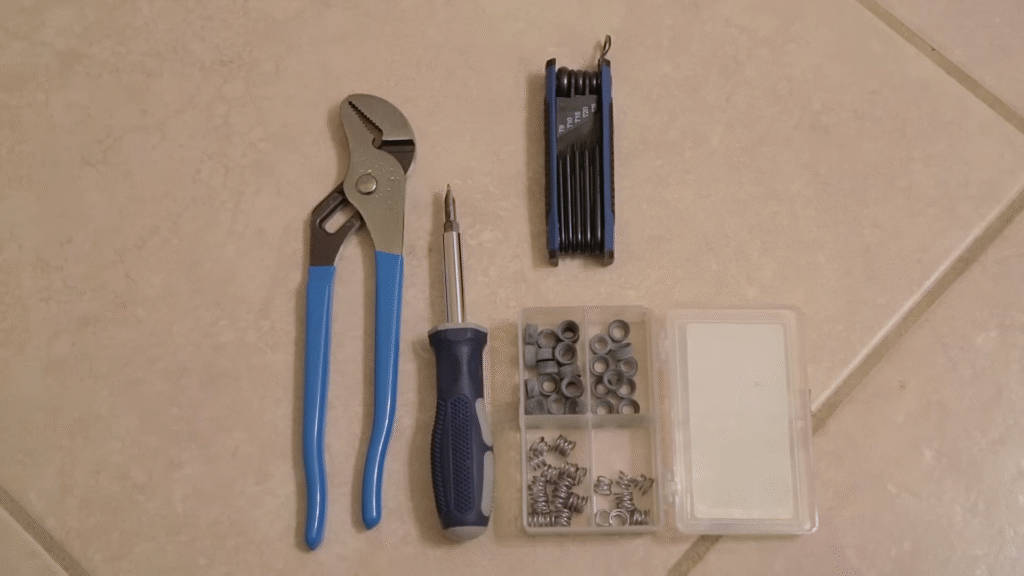
Here’s your basic toolkit:
- Adjustable wrench or basin wrench
- Screwdrivers (Phillips and flat-head)
- Allen wrench (for handles with set screws)
- Replacement parts (washer, O-ring, or cartridge depending on faucet type)
- Plumber’s grease
- Towels or rags (trust me, you’ll need them)
- A small bowl or tray (to keep screws from disappearing into the sink abyss)
Pro Tip: Take your old part to the hardware store for a perfect match. Faucets are like fingerprints—no two brands make parts exactly the same.
3. Shut Off the Water Supply
This step is non-negotiable. If you skip it, prepare for an impromptu bathroom waterpark.
Look under your sink for the shut-off valves. Turn both the hot and cold valves clockwise until they stop. If your valves are stuck, don’t force them with brute strength—you risk breaking them. Instead, spray a little penetrating oil and wait a few minutes.
After shutting off, turn on the faucet to release any remaining pressure and make sure no more water flows.
4. Disassemble the Faucet
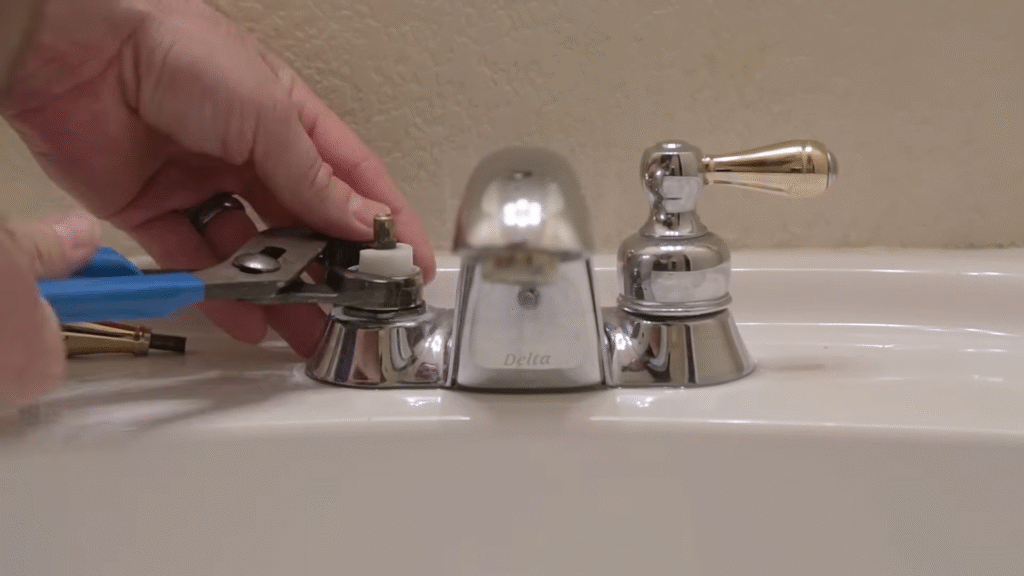
Now comes the fun part—taking things apart.
- For compression faucets, remove the handle by unscrewing the cap and exposing the packing nut.
- For cartridge faucets, pop off the decorative cap, loosen the screw underneath, and pull the handle off. Then remove the retaining clip or nut holding the cartridge in place.
- For ball faucets, you’ll usually need a special repair kit that comes with all the small parts.
- For ceramic disk faucets, lift off the handle and remove the disk cylinder.
Personal Anecdote: The first time I opened a faucet, I thought I’d broken it when tiny springs fell out. Turns out, they were supposed to. Always keep a towel in the sink to catch runaway parts.
5. Inspect the Parts for Damage
Now that your faucet is open, you’re basically a faucet detective. Look for clues.
- Washer cracks or flattening? That’s your leak culprit.
- O-rings brittle or worn? Time to swap them out.
- Cartridge clogged or cracked? Replace it.
- Ceramic disk scratched? A scratch the size of a hair can cause constant leaks.
If everything looks intact, sometimes the leak is caused by mineral buildup. A good soak in white vinegar can clear that up.
6. Replace the Worn Components
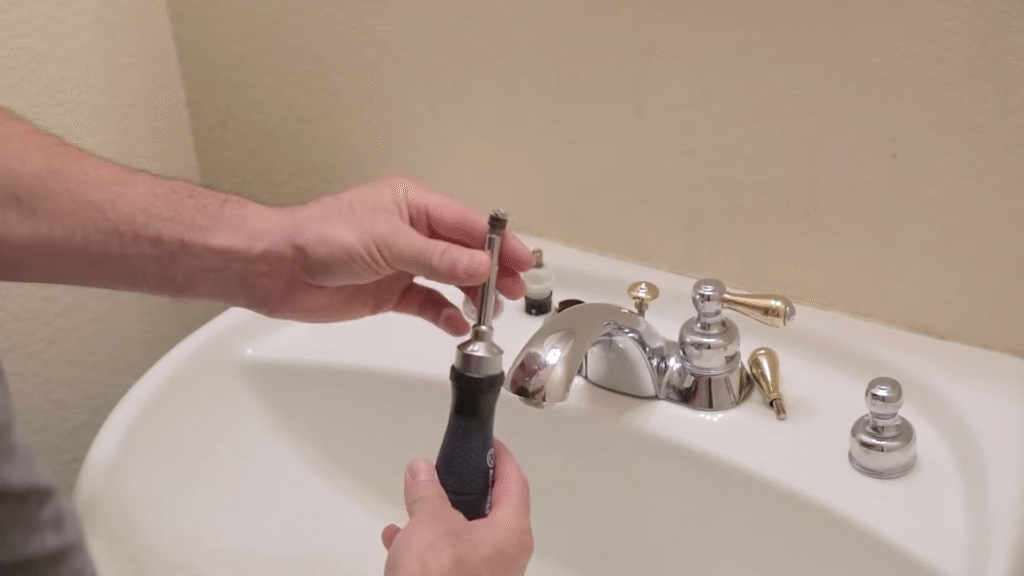
Here’s where the real magic happens.
- Compression faucets: Replace the rubber washer and re-grease the stem.
- Cartridge faucets: Pop in a brand-new cartridge.
- Ball faucets: Replace springs, seats, and O-rings from a repair kit.
- Ceramic disk faucets: Replace the entire disk cylinder if needed.
Always coat new parts with a little plumber’s grease. Think of it as lotion for your faucet—it keeps things moving smoothly and prevents premature wear.
7. Reassemble the Faucet
Reassembly is just the reverse of disassembly, but here’s the golden rule: don’t overtighten. A faucet isn’t a car wheel; cranking it down too hard can crack delicate parts.
Make sure everything fits snugly, and double-check that all clips, nuts, and screws are back in place.
8. Turn the Water Back On and Test
Slowly turn your shut-off valves counterclockwise to restore water flow. Open the faucet and let it run for a few seconds to flush out any air bubbles or debris.
Now, the moment of truth—does it still drip?
If yes, don’t panic. Recheck your parts. Sometimes a washer isn’t seated properly, or an O-ring twisted during installation.
Personal Win: The first time I repaired my own faucet, I must have tested it ten times, waiting for a drip that never came. The feeling was pure victory—like slaying a household dragon.
9. Know When to Call a Professional
Let’s be real: DIY faucet repair saves money, but sometimes it’s smarter to wave the white flag.
Call a plumber if:
- You can’t identify your faucet type
- The leak persists even after part replacement
- Your shut-off valves are stuck or broken
- The faucet body itself is cracked
According to HomeAdvisor, the average faucet repair by a plumber costs between $120 and $300. Doing it yourself usually costs under $20 in parts. But if the problem is bigger than you expected, hiring a pro might save you from costly water damage.
10. Prevent Future Faucet Problems
Now that you’ve conquered your faucet, let’s keep it that way.
- Clean your aerator every few months (unscrew the tip and rinse out debris).
- Avoid cranking handles too hard—gentle pressure works just as well.
- Check for small drips early before they become gushers.
- If your home has hard water, consider installing a water softener. Hard water minerals are faucet killers.
Think of faucet maintenance like dental hygiene—skip the checkups, and you’ll end up with a costly repair.
Conclusion
Repairing a bathroom faucet might sound intimidating, but once you break it down step by step, it’s surprisingly doable. You don’t need to be a plumber to fix a drip—you just need some patience, the right tools, and a willingness to get your hands a little wet.
Not only will you save money and conserve water, but you’ll also earn serious bragging rights. Next time you hear someone complain about their leaky faucet, you’ll smile knowing you’ve mastered one of the most common home repairs.
FAQs
1. How do I repair a bathroom faucet that drips constantly?
Most constant drips are caused by a worn washer, O-ring, or cartridge. Shut off the water, disassemble the faucet, replace the worn part, and reassemble.
2. What tools do I need to fix a bathroom faucet?
At minimum, you’ll need an adjustable wrench, screwdriver, replacement parts (like washers or cartridges), plumber’s grease, and a towel to catch small parts.
3. How much money can I save by repairing my faucet myself?
A DIY repair often costs under $20. Hiring a plumber averages $120–$300. Over a year, fixing a drip can save up to 3,000 gallons of water and reduce your bill significantly.
4. What if my faucet is still leaking after repair?
Recheck that the replacement part is the correct size and installed properly. If it still leaks, the faucet body may be damaged, or the shut-off valves may be faulty—time to call a plumber.
5. How often should I replace faucet parts?
Washers and O-rings typically last 1–2 years. Cartridges and ceramic disks can last 5–10 years depending on water quality. Regular maintenance extends lifespan.

