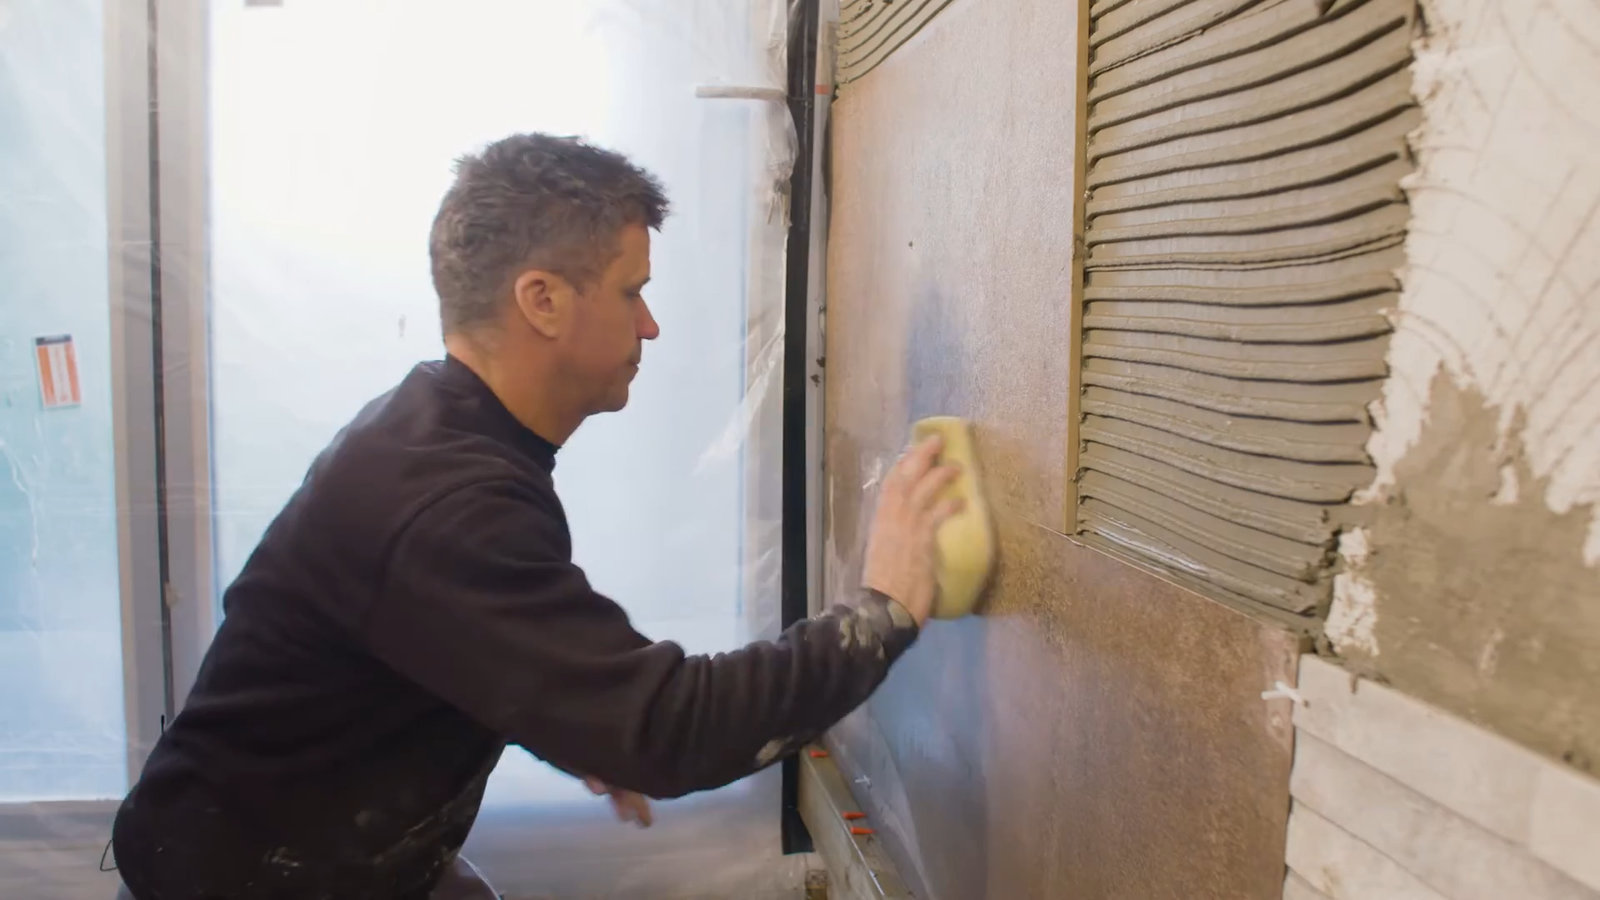
When your bathroom wall tiles start looking like they’re about to pack their bags and leave, it’s a clear sign they need fixing. Maybe a few tiles cracked, or the grout has worn out and tiles are loosening.
Whatever the case, fixing bathroom wall tiles isn’t as scary as it seems. With the right tools, a bit of patience, and some practical know-how, you can get the job done like a pro.
1. Why Bathroom Wall Tiles Crack or Come Loose
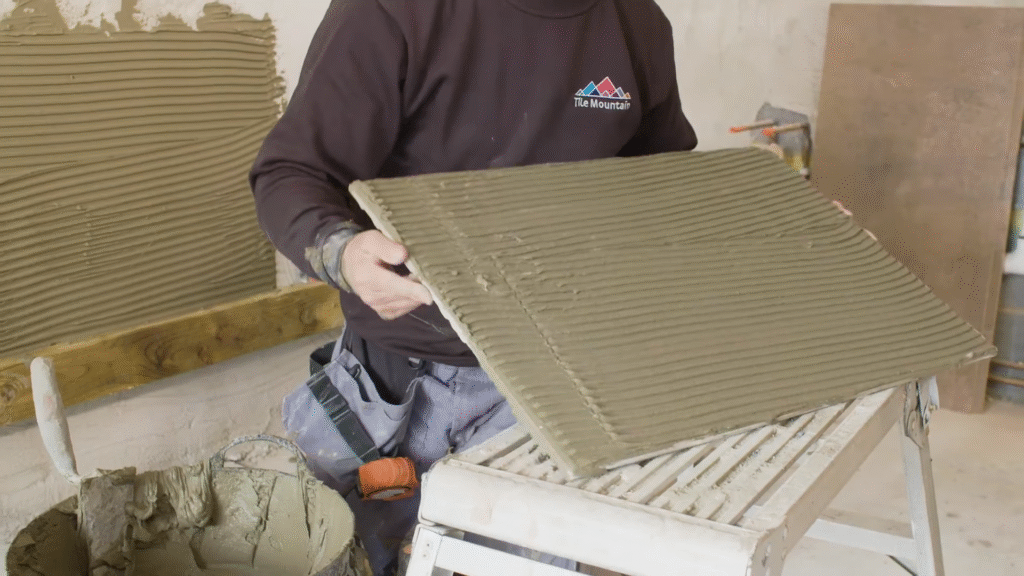
Before you even think about fixing tiles, you need to understand why they’re misbehaving. Tiles don’t just pop off the wall for fun. Here are the main culprits:
- Moisture Problems: Bathrooms are like tropical rainforests. Steam, leaks, or poor ventilation can weaken the adhesive behind tiles.
- Poor Adhesive Application: If the tiles weren’t installed properly the first time, they’ll eventually loosen.
- Structural Movement: Houses shift slightly over time. These small movements can crack grout lines and loosen tiles.
- Impact Damage: Dropped shampoo bottles or accidental bumps can crack tiles.
I remember when I accidentally dropped a heavy hairdryer on my bathroom wall. One tile cracked right in the middle like a spider web. That was my first DIY tile repair mission.
Knowing the cause helps you prevent the same problem from happening again after you fix it.
2. Tools and Materials You’ll Need
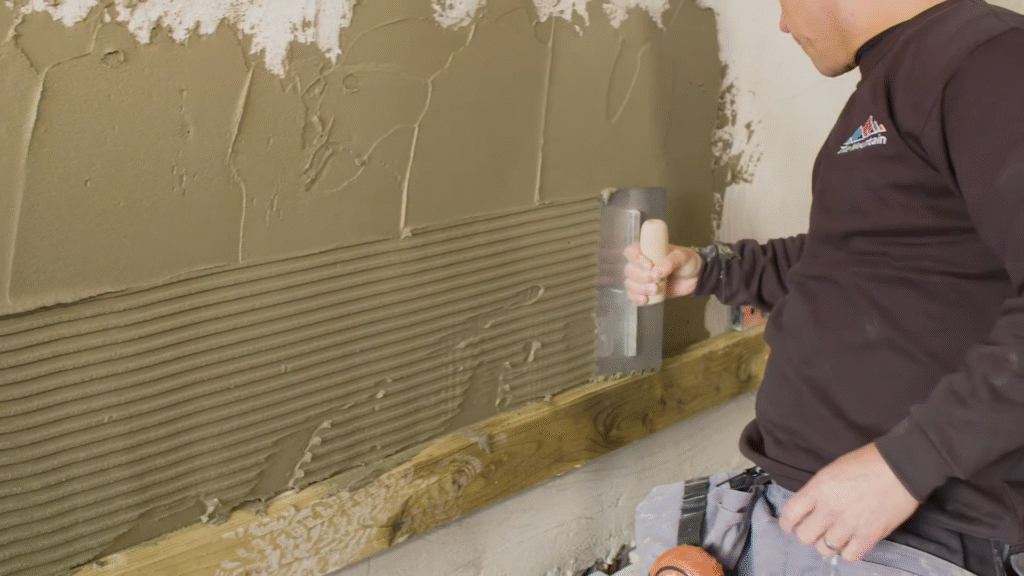
Think of this like preparing for battle. You wouldn’t charge in without the right armor. Here’s your arsenal:
- Replacement tiles (or reuse the old ones if they’re intact)
- Tile adhesive (ready-mix or powdered thin-set mortar)
- Grout (match the color of existing grout)
- Notched trowel
- Tile spacers
- Grout float
- Tile cutter or nippers (only if you need to trim tiles)
- Level
- Rubber mallet
- Sponge and bucket of water
- Tile adhesive remover or scraper
- Protective gloves and safety glasses
Tip: Always buy a little extra grout and adhesive. Running out halfway is like running out of gas on the freeway—frustrating and preventable.
3. Removing the Damaged Tile Safely
Now comes the fun (and slightly messy) part—removing the old tile.
- Protect the area: Use masking tape around the tile you’re removing to avoid damaging nearby ones.
- Break the grout lines: Use a grout saw or utility knife to cut around the edges of the tile.
- Loosen the tile: Place a chisel at the edge and tap gently with a hammer. If it doesn’t budge, tap a little harder, but don’t go full Hulk-mode or you’ll damage the wall.
- Remove adhesive: Scrape off the old adhesive completely so you have a smooth surface to work with.
When I did this the first time, I got impatient and hammered too hard. Ended up cracking two good tiles next to the damaged one. Lesson: patience saves you money.
4. Preparing the Surface for New Tile
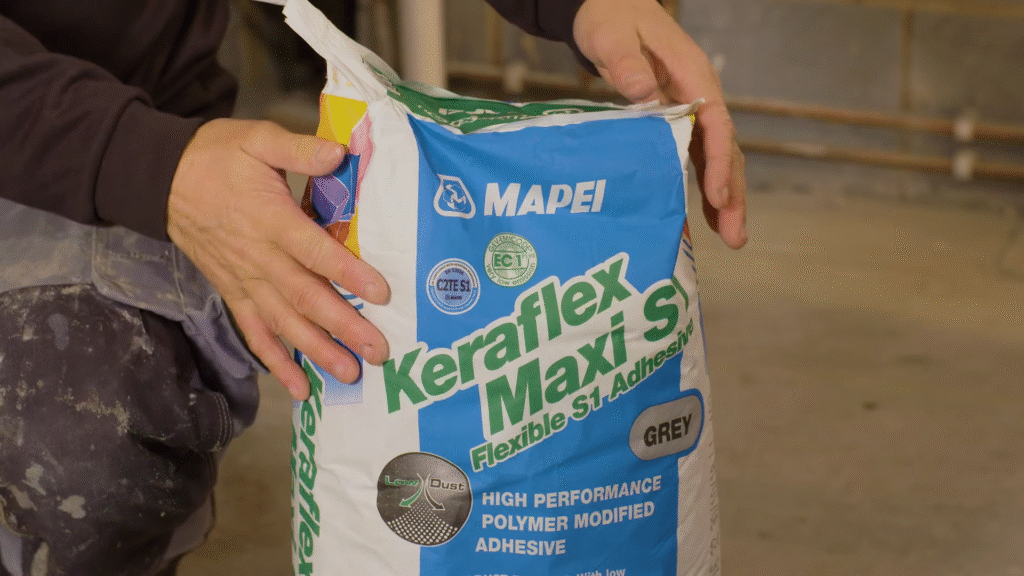
A solid foundation is everything. If you just slap a tile on uneven or dirty surfaces, it won’t hold.
- Clean thoroughly: Remove every bit of old adhesive.
- Check for moisture: If the wall behind is damp, stop and fix the leak before continuing.
- Level the surface: Fill small holes or uneven spots with wall filler and let it dry.
Think of it like painting a wall—you’d never paint over peeling layers. The smoother your surface, the longer your tile will stay in place.
5. Applying Tile Adhesive the Right Way
Here’s where many people go wrong. Adhesive is like the glue holding your relationship with the tile together—get it wrong, and it’ll fall apart.
- Mix adhesive if needed: Follow the instructions carefully.
- Spread with notched trowel: Apply adhesive evenly on the wall, holding the trowel at a 45-degree angle.
- Butter the back: For better bonding, spread a thin layer on the back of the tile as well.
- Position the tile: Press it firmly into place and twist slightly to remove air bubbles.
- Check alignment: Use spacers and a level to make sure it sits straight.
Don’t rush. Adhesive usually gives you a few minutes to adjust before it sets, so take advantage of that wiggle room.
6. Replacing Multiple Tiles
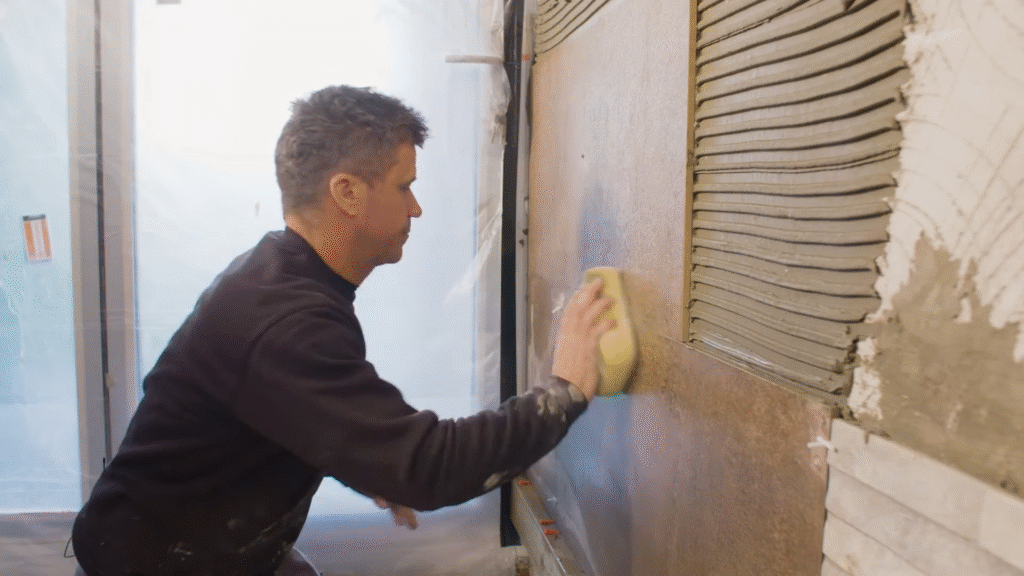
If you’re replacing more than one tile, work systematically.
- Start from the bottom up so gravity works with you, not against you.
- Use tile spacers to maintain even grout lines.
- Check alignment every few tiles with a level.
When I helped a friend fix her bathroom, she insisted on starting from the top row. Let’s just say gravity had its way, and we had to redo the whole section.
7. Grouting Like a Pro
Once the adhesive is fully set (usually 24 hours), it’s grout time.
- Mix grout: Follow instructions and mix to a peanut butter-like consistency.
- Apply with grout float: Press grout diagonally across tiles, making sure every gap is filled.
- Remove excess: Wipe diagonally with a damp sponge before it dries.
- Buff the haze: Once dry, use a dry cloth to buff away the cloudy film.
Tip: Don’t use too much water on the sponge, or you’ll weaken the grout. I once overdid it, and my grout lines ended up crumbling within weeks.
8. Sealing the Grout
Grout is porous, meaning it can absorb water like a sponge. Sealing it prevents mold and stains.
- Apply grout sealer with a brush or applicator.
- Let it soak in, then wipe off excess.
- Reapply every 6–12 months for best results.
This step is often skipped, but it’s the difference between tiles that last years versus tiles that fail in months.
9. Preventing Future Tile Problems
Fixing tiles is one thing, but making sure they stay fixed is smarter.
- Improve ventilation: Install an exhaust fan to reduce humidity.
- Use quality adhesive and grout: Don’t cut corners here.
- Clean regularly: Mild cleaners keep grout fresh and mold-free.
- Inspect periodically: Look out for loose grout or small cracks before they get worse.
My bathroom now has a small dehumidifier, and I haven’t had a single loose tile since. A little prevention goes a long way.
10. Common Mistakes to Avoid
Here’s the cheat sheet of what not to do:
- Using the wrong adhesive for wet areas.
- Not letting adhesive dry fully before grouting.
- Skipping spacers and ending up with uneven lines.
- Forgetting to seal grout.
- Hammering tiles too hard during removal.
I made at least three of these mistakes during my first attempt. Hopefully, this list saves you the trouble.
11. Cost of Fixing Bathroom Wall Tiles
Let’s talk money. DIY tile fixing is cheaper than hiring a professional, but how much cheaper?
- DIY Costs:
- Adhesive: $15–$25
- Grout: $10–$20
- Tools (if you don’t already have them): $30–$50
- Replacement tiles: $1–$5 each
- Professional Costs:
- Labor: $40–$100 per hour
- Materials: Often marked up by contractors
On average, DIY saves you 60–70% of the cost. Plus, there’s the satisfaction of standing in your bathroom thinking, “Yeah, I fixed that.”
12. Time Required
Fixing tiles isn’t an afternoon coffee break project.
- Removing tiles: 1–2 hours (depends on number and stubbornness)
- Preparing surface: 30–60 minutes
- Applying adhesive and replacing: 1–3 hours
- Drying time: 24 hours
- Grouting and sealing: 1–2 hours
So realistically, you’re looking at a 2–3 day project if you include drying times.
13. When to Call a Professional
Sometimes DIY isn’t enough. Here’s when to bring in a pro:
- Large sections of tiles are loose.
- Water damage behind the wall.
- You don’t have the tools or time.
- You’re dealing with natural stone tiles (trickier to install).
If your bathroom wall feels spongy or crumbles when you remove tiles, stop right there. That’s a bigger structural issue, and a pro should handle it.
Conclusion
Fixing bathroom wall tiles is a skill every homeowner should have. It’s cheaper, faster, and more satisfying than waiting for a professional. The key is in the details: proper preparation, using the right adhesive, grouting correctly, and sealing afterward. If you take your time and avoid the common mistakes, your tiles will stay in place for years.
The first time I fixed tiles, I felt nervous, but by the end, I couldn’t stop admiring the result. It’s one of those projects that makes you proud every time you step into the bathroom.
FAQs
1. Can I reuse the old tile after removing it?
Yes, if the tile comes out intact and you clean off the old adhesive, you can reuse it. Just be careful during removal.
2. How long should I wait before using the shower after fixing tiles?
Wait at least 48 hours after grouting and sealing before exposing the tiles to water.
3. Do I need to seal ceramic tiles themselves?
No, ceramic tiles are non-porous. You only need to seal the grout lines.
4. What if the replacement tile is slightly different in shade?
Tile batches can vary slightly. Place the new tile in a less noticeable area if possible, or replace multiple tiles for a uniform look.
5. Can I fix tiles without removing them completely?
If a tile is just loose but not damaged, you can carefully inject adhesive behind it using a syringe-style applicator. But cracked tiles must be replaced.

