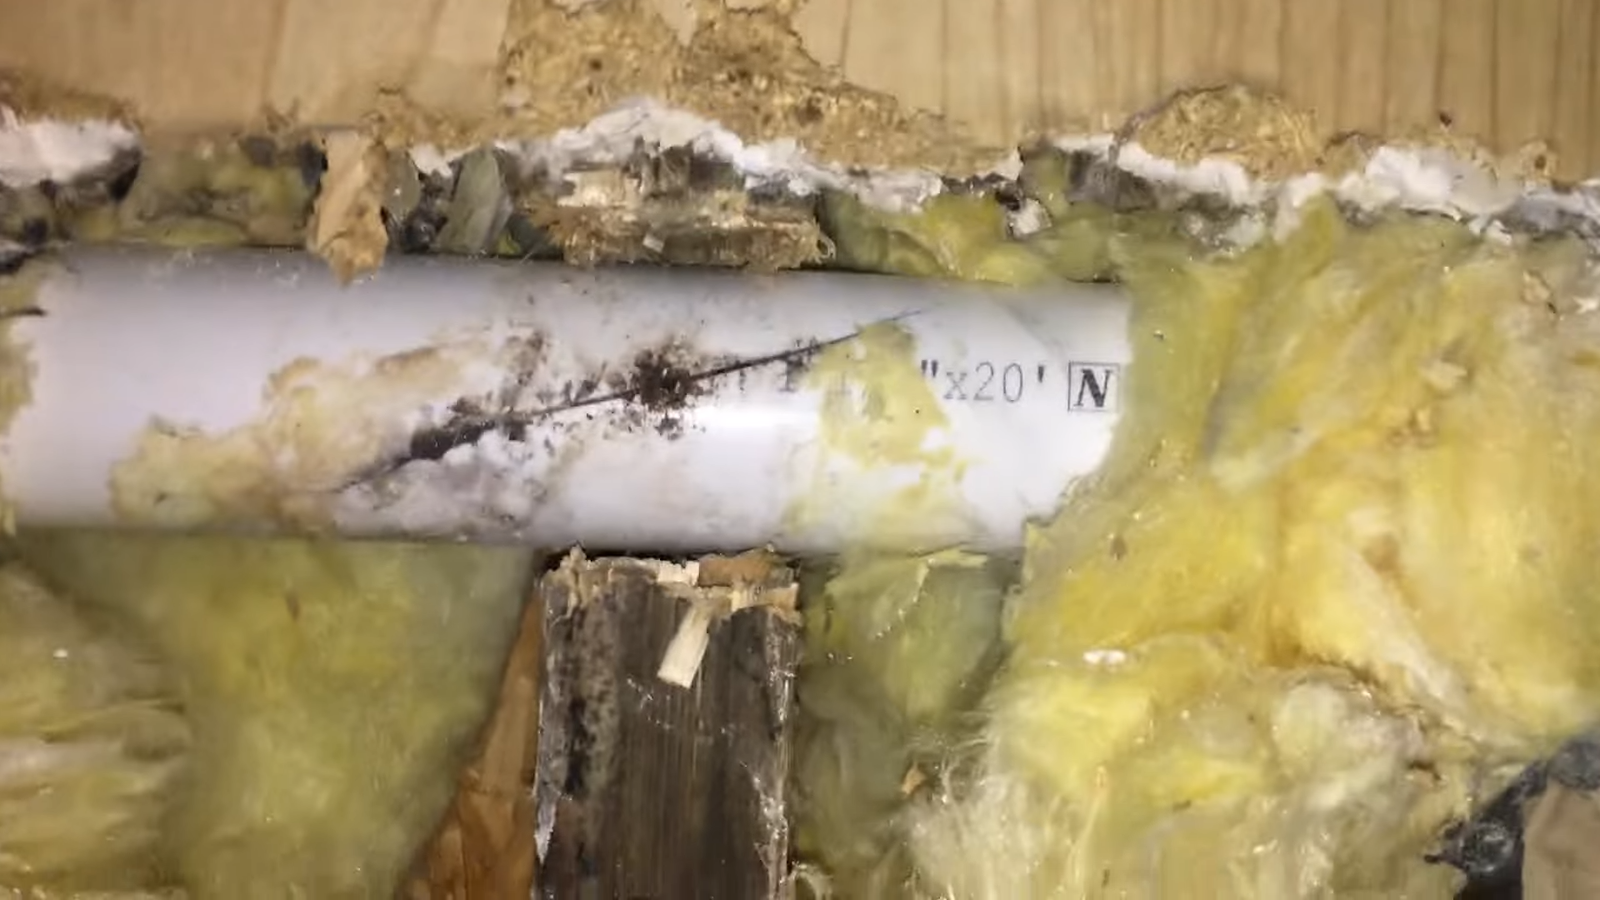
A leaking bathroom pipe is more than just a dripping nuisance—it’s a slow-motion disaster waiting to chew through your walls, floors, and bank account.
The good news? Fixing it doesn’t always require calling in a plumber with a hefty bill. With the right knowledge, a few tools, and a calm head, you can handle most bathroom pipe leaks yourself.
1. Why Bathroom Pipe Leaks Happen
Before you can fix a problem, you need to understand why it started. Bathroom pipes leak for several reasons, and each one needs a slightly different approach.
- Loose connections: Over time, the nuts and joints holding pipes together can loosen due to vibration or water pressure.
- Worn-out washers or seals: Rubber and silicone parts eventually degrade, especially with constant exposure to hot water.
- Corrosion: If you have older metal pipes, rust can eat away at the surface until water finds its way out.
- Cracks: Freezing temperatures, shifting foundations, or even just old age can crack pipes.
- High water pressure: According to the U.S. Environmental Protection Agency, average home water pressure should be 40–60 psi. If yours consistently pushes above 80 psi, it can strain pipes and fittings until they leak.
Think of your bathroom plumbing like the circulatory system of a house. Too much pressure, weak seals, or old age—and something eventually bursts.
2. Spotting the Leak Before It Worsens
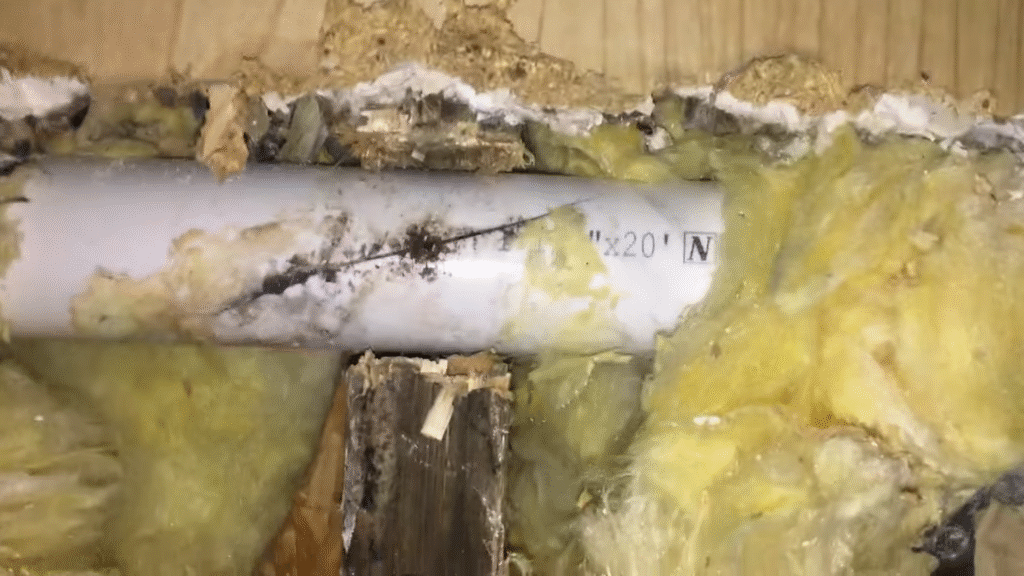
The trickiest part of fixing a leaking bathroom pipe isn’t always the repair—it’s finding where the water is escaping. Water has a sneaky way of traveling along surfaces before dripping somewhere else.
Here’s how to track it down:
- Look for visible drips under sinks, near joints, or along exposed pipes.
- Check for water stains on ceilings or walls beneath the bathroom. Brownish spots are a telltale sign.
- Smell for mustiness. A leak that’s been around for a while will usually leave behind a damp, moldy odor.
- Turn off all water-using appliances, then check your water meter. If it’s still running, you’ve got a hidden leak.
Personal tip: When my sink pipe once started dripping, I followed the sound of a faint “plop” into the cabinet below. Turns out, a tiny loose joint was the culprit. Don’t underestimate how small a leak can look while causing massive damage over time.
3. Tools and Materials You’ll Need
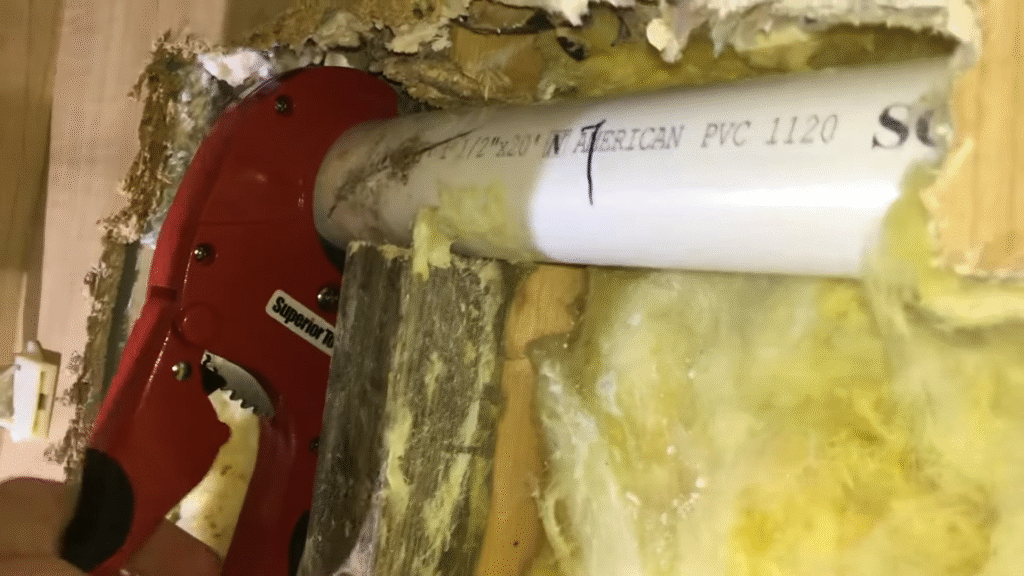
Repairing a leak doesn’t require a workshop full of fancy gadgets. A simple plumber’s starter kit will do the job for most bathroom leaks.
Here’s a handy checklist:
- Adjustable wrench – for tightening connections.
- Pipe wrench – for larger, stubborn fittings.
- Plumber’s tape (Teflon tape) – seals threaded connections.
- Pipe repair clamp – a temporary but effective fix for cracks.
- Epoxy putty – quick patch for small holes or cracks.
- Replacement washers and O-rings – essentials for fixing faucet or joint leaks.
- PVC cutter or hacksaw – if a section of pipe needs replacing.
- Bucket and towels – because water will spill, always.
Pro tip: Always keep plumber’s tape and epoxy putty in your home toolkit. They’ve saved me more than once when a leak popped up unexpectedly on a Sunday night.
4. Shutting Off the Water Supply
Before you touch a single pipe, stop the flow. Otherwise, you’ll turn your bathroom floor into a swimming pool.
- Find the shut-off valve: For sinks and toilets, it’s usually under or behind the fixture. For showers or bathtubs, you may need to shut off the main water line to the house.
- Turn clockwise until fully closed.
- Drain the remaining water by opening the faucet. This reduces the mess when you disconnect pipes.
This step might sound obvious, but you’d be surprised how many DIYers skip it in excitement—and end up ankle-deep in water.
5. Fixing Leaks at Pipe Joints
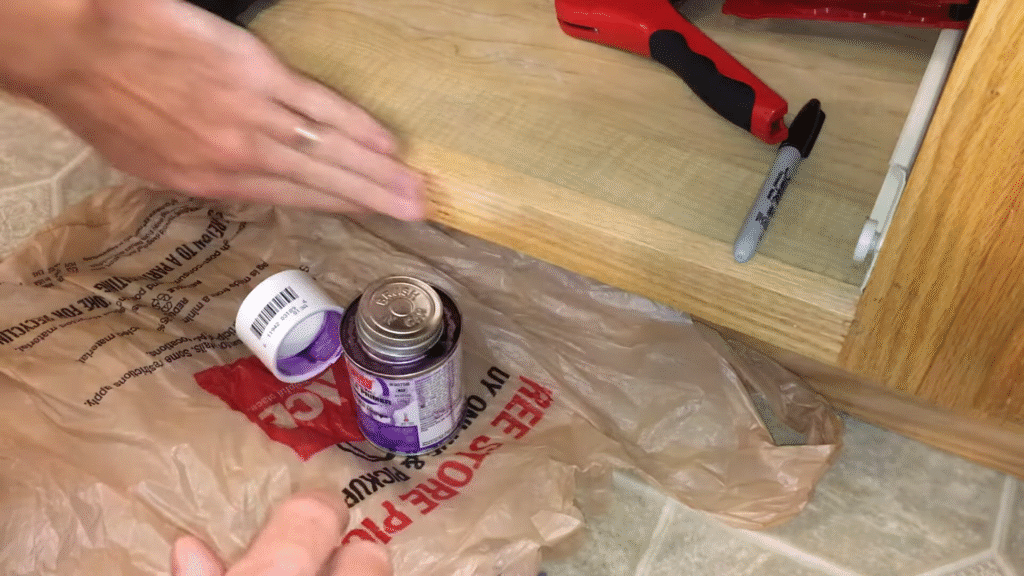
Most bathroom leaks happen at joints, where two pipes meet. Luckily, these are also the easiest to fix.
Here’s the process:
- Dry the area thoroughly with a towel.
- Tighten the joint using an adjustable wrench. Don’t overdo it—you can crack the fitting.
- If tightening doesn’t work, disassemble the joint.
- Wrap plumber’s tape clockwise around the threads.
- Reattach and tighten the connection.
If the washer or O-ring inside is worn, replace it before reassembling. It’s like changing the batteries in a remote—small, cheap, and instantly effective.
6. Repairing Cracked Pipes
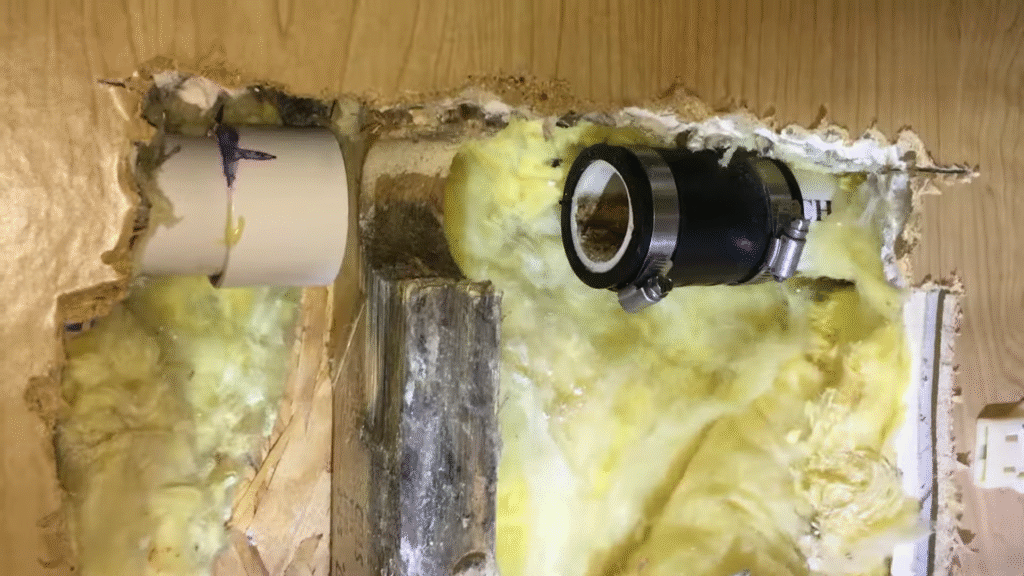
If your bathroom pipe itself has cracked, the fix depends on how bad the damage is.
- Small cracks or pinholes: Use epoxy putty. Knead it like clay, then press it firmly over the crack. Smooth it out and let it cure according to the instructions (usually 5–10 minutes).
- Larger cracks: Install a pipe repair clamp. This is a metal sleeve that goes around the pipe and stops the leak until you can replace the section.
- Severe cracks: Cut out the damaged section with a PVC cutter or hacksaw and replace it with a new piece of pipe, connecting it with couplings.
Statistics show that around 10% of U.S. homes have plumbing leaks that waste nearly 90 gallons of water daily (EPA). Fixing even a small crack saves both water and your sanity.
7. Dealing with Leaking Faucets
Sometimes what seems like a leaking pipe is actually a leaky faucet. Constant dripping is not just annoying—it can waste up to 3,000 gallons of water per year from a single faucet.
The fix:
- Shut off water to the faucet.
- Remove the handle with a screwdriver.
- Take out the cartridge, washer, or O-ring (depending on the faucet type).
- Replace the worn part with a new one.
- Reassemble and test.
Personal note: I once lived with a dripping faucet for two weeks thinking it wasn’t urgent. My water bill shot up, and the drip drove me insane at night. Lesson learned—don’t delay.
8. Temporary vs Permanent Fixes
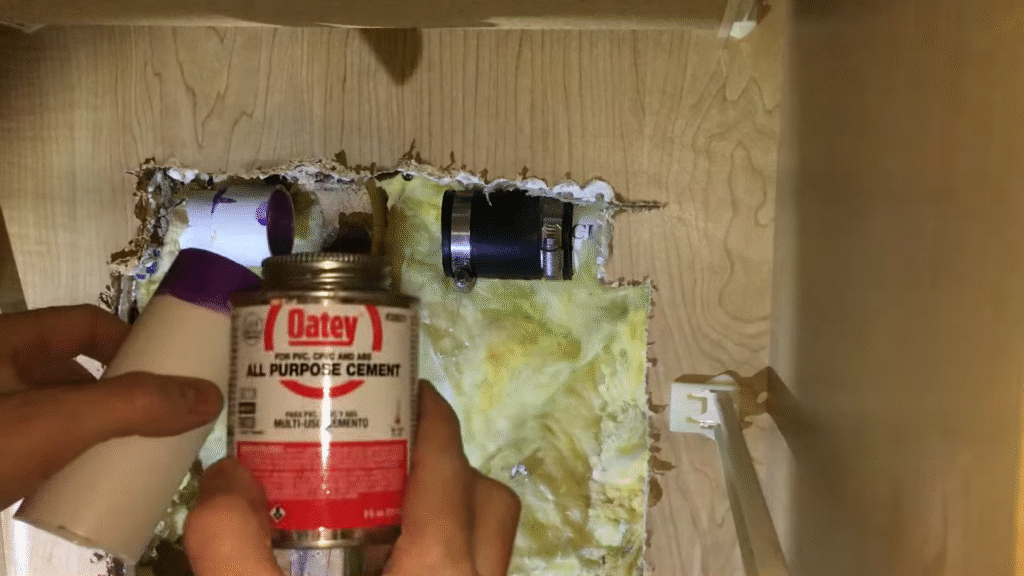
When dealing with bathroom pipe leaks, it’s important to distinguish between patch jobs and long-term repairs.
- Temporary fixes: Epoxy putty, repair clamps, rubber patches, and tape. Great for emergencies but not forever.
- Permanent fixes: Replacing pipes, fittings, or washers with new, high-quality parts.
Temporary solutions buy you time, but if you want peace of mind, replace the damaged section. Otherwise, the leak will come back like an unwanted sequel.
9. Preventing Future Leaks
The best repair is the one you never need. A little preventive maintenance goes a long way.
- Check visible pipes under sinks every month.
- Insulate pipes in cold areas to prevent freezing and cracking.
- Keep water pressure between 40–60 psi. Install a pressure regulator if needed.
- Replace washers, O-rings, and flexible supply lines every few years before they fail.
- Avoid harsh chemical drain cleaners—they corrode pipes over time.
A neighbor of mine replaced his supply hoses proactively, and when I saw the old ones, they were on the verge of bursting. That small maintenance step saved him a major flood.
10. When to Call a Professional
DIY is empowering, but sometimes the problem is bigger than what you can realistically handle. Call a licensed plumber if:
- The leak is inside a wall or ceiling.
- Multiple pipes are affected.
- You have old galvanized steel pipes (which corrode badly).
- You can’t find the source despite checking everywhere.
While a plumber may cost between $150–$400 per job on average, that’s cheaper than repairing thousands in water damage.
Conclusion
Repairing a leaking bathroom pipe isn’t rocket science, but it does require patience, the right tools, and a bit of know-how. From tightening joints and swapping washers to patching cracks and replacing pipe sections, most leaks are manageable with a steady hand. Remember—always shut off the water first, use temporary fixes wisely, and don’t hesitate to call in a professional if things look complicated.
A small drip today can easily become tomorrow’s indoor waterfall. Handle it early, handle it right, and your bathroom (and wallet) will thank you.
FAQs on How to Repair Leaking Bathroom Pipe
1. Can I use duct tape to stop a bathroom pipe leak?
Duct tape might slow the leak temporarily, but it’s not waterproof under pressure. Use plumber’s tape or epoxy putty instead for a reliable temporary fix.
2. How much does it cost to repair a leaking bathroom pipe?
DIY repairs often cost less than $30 in materials. Hiring a plumber usually ranges from $150–$400, depending on the severity and location of the leak.
3. How long will epoxy putty last on a pipe leak?
Epoxy putty can last months, sometimes even years, but it’s considered a temporary solution. For a permanent fix, replace the damaged section of pipe.
4. What’s the fastest way to stop a bathroom pipe from leaking?
The quickest method is applying a pipe repair clamp or epoxy putty after shutting off the water. These stop the leak in minutes until you arrange a permanent repair.
5. How do I know if my bathroom leak is serious?
If you see water stains, mold, or hear dripping behind walls, the leak may be serious. Surface-level drips at joints are usually easy fixes, but hidden leaks often require professional help.

