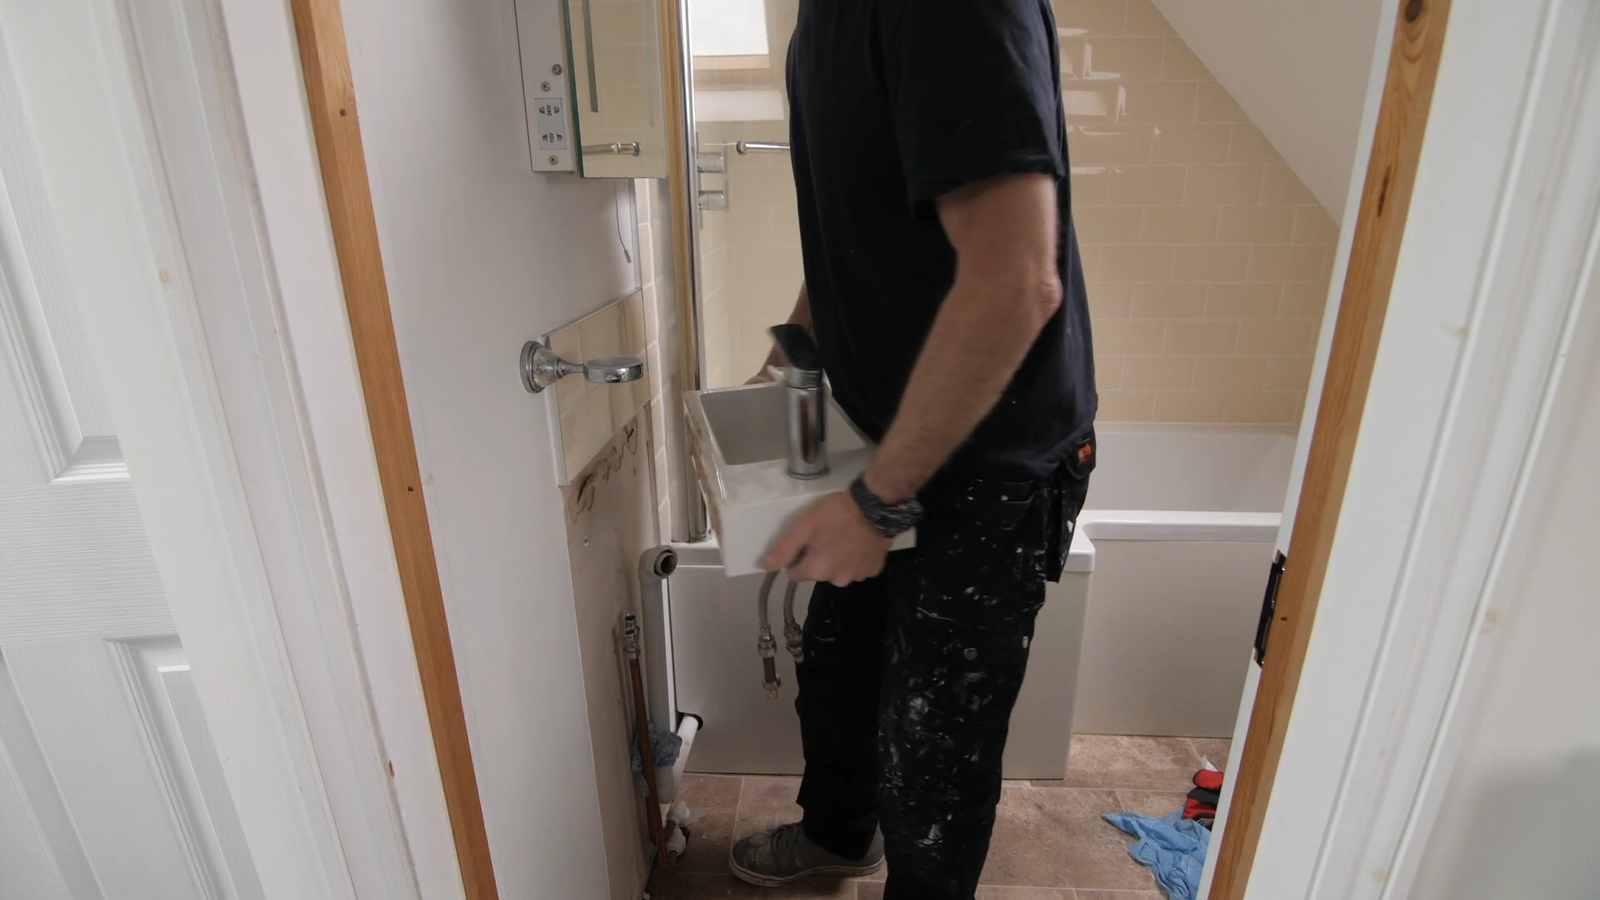
Refitting a bathroom isn’t just about swapping out tiles and fixtures—it’s like giving your home a brand-new heartbeat.
Bathrooms are where we begin and end our days, and when they’re outdated, cramped, or poorly designed, they can drag down the comfort of an entire house.
1. Why Refit a Bathroom in the First Place?
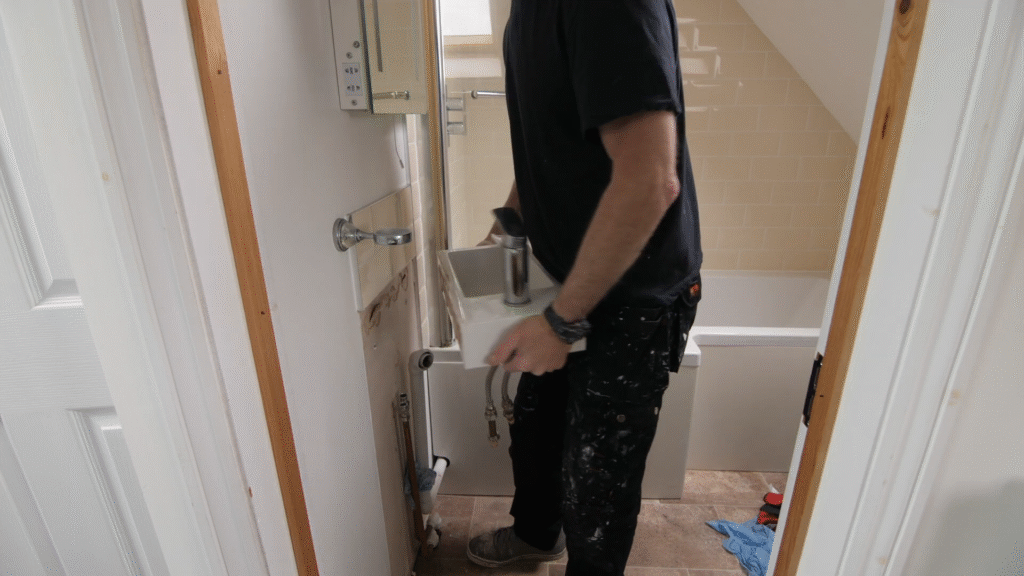
Before we grab the hammer or start scrolling through Pinterest, let’s talk about the “why.” Bathrooms are one of the top three rooms that impact your home’s value. According to Remodeling Magazine’s Cost vs. Value Report (2024), a midrange bathroom remodel has an average return on investment of 67.2%.
But beyond resale value, think about this: the average person spends about 30 minutes a day in the bathroom. Over a lifetime, that’s roughly 1.5 years! Imagine living those years in a dull, cracked, or leaky space versus a clean, well-lit sanctuary.
For me, my first bathroom refit came after realizing I dreaded taking showers because the grout lines were blackened, and the sink tap wobbled like a loose tooth. It wasn’t just about aesthetics—it was about functionality and hygiene.
So if your bathroom is outdated, leaking, or just doesn’t match your lifestyle anymore, it’s time.
2. Planning the Perfect Bathroom Refit
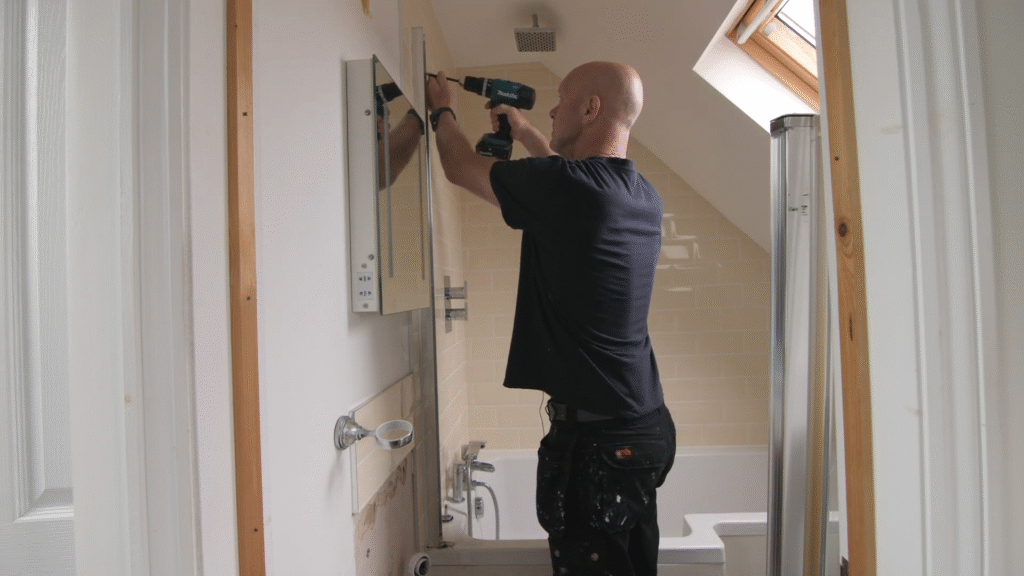
If you skip proper planning, you’re essentially building a house of cards in a hurricane. A bathroom refit is 80% planning and 20% doing. Here’s how to approach it:
- Set a realistic budget: The average bathroom remodel costs between $6,000 and $15,000, depending on size and finish. Always keep an extra 15–20% aside for unexpected issues (trust me, you’ll find some).
- Measure twice, order once: Get precise measurements of walls, floor space, and plumbing locations. A misplaced toilet waste pipe can cost you weeks of delay.
- Decide on layout: Will the shower move? Is the tub staying? Moving plumbing adds big costs, so weigh the trade-offs.
- Prioritize must-haves vs. nice-to-haves: Heated towel rail = nice-to-have. Leak-free shower tray = must-have.
When I planned my second bathroom, I learned the hard way that forgetting ventilation meant condensation would fog up mirrors and peel paint in no time. Lesson: ventilation is not optional—it’s essential.
3. Budgeting Without Losing Your Shirt
Money is the elephant in the room with every renovation. Bathrooms are deceptively small but expensive because of the specialist work (plumbing, tiling, electrics).
Here’s how costs typically break down:
- Labor: 40–60%
- Fixtures & fittings: 20–30%
- Tiles & finishes: 15–20%
- Unexpected repairs: 10–15%
If you’re handy, you can save by doing demolition, painting, or even tiling yourself. But never cut corners on plumbing or electrics—these are areas where DIY mistakes can be catastrophic.
Pro tip: buy fixtures online. For my last refit, I saved nearly $800 by ordering a basin unit and shower enclosure online instead of a local showroom. Just double-check the spec sheets.
4. Demolition: Out With the Old
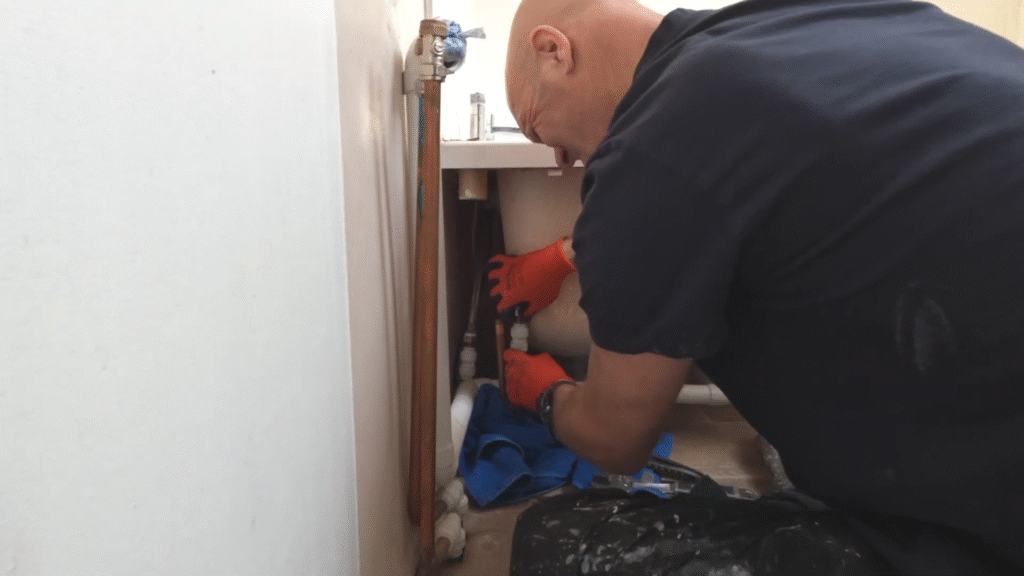
Here’s the fun part—ripping it all out. But don’t swing a sledgehammer like you’re in a Hollywood movie. Careless demolition can break pipes, damage subfloors, and leave you with a bigger mess.
Steps for safe demolition:
- Turn off the water supply – sounds obvious, but people forget.
- Drain the system – flush toilets, run taps until water is out.
- Remove fixtures in order:
- Start with toilet
- Then sink
- Then bath/shower
- Strip tiles carefully – use a chisel and hammer, wear goggles.
- Check the subfloor and walls – look for water damage or rot.
When I pulled out my old tub, I discovered a slow leak had rotted the subfloor beneath it. It was a gut punch, but I was grateful I caught it before it collapsed.
5. Plumbing First Fix
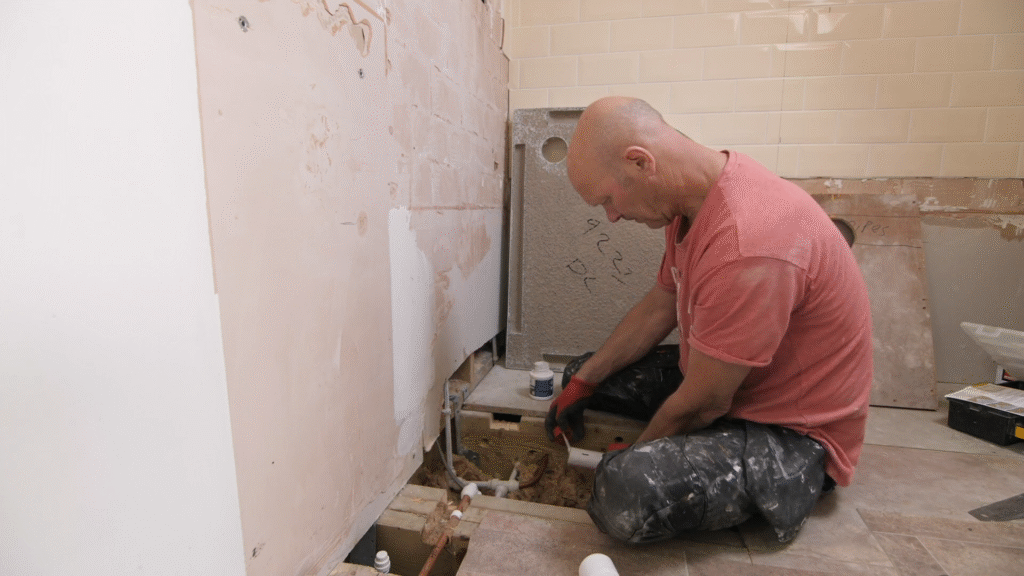
The “first fix” is basically all the hidden work: pipes, waste, and feeds. If you’re moving fixtures, this is when the heavy lifting happens.
- Toilet waste pipes must have the correct fall (usually 1:40 slope).
- Shower waste should be as short and straight as possible to avoid blockages.
- Water supply: Upgrade to modern PEX or copper where old pipes exist.
Pro tip: If your house still has galvanized pipes, replace them now. They corrode inside and restrict flow.
A plumber once told me, “Everything you hide behind tiles will eventually leak if done poorly.” It stuck with me. Always use quality fittings and test before closing walls.
6. Electrical First Fix
Bathrooms have strict regulations because water and electricity are a risky mix.
Things to plan for:
- Lighting zones: Use IP-rated lights for wet areas.
- Shaver sockets: These must be in safe zones, usually away from direct water.
- Extractor fan: At least 15 liters per second airflow.
- Underfloor heating (if you’re going all out).
Hiring a qualified electrician isn’t optional—it’s required by law in most regions. Don’t risk it.
7. Prepping Walls and Floor
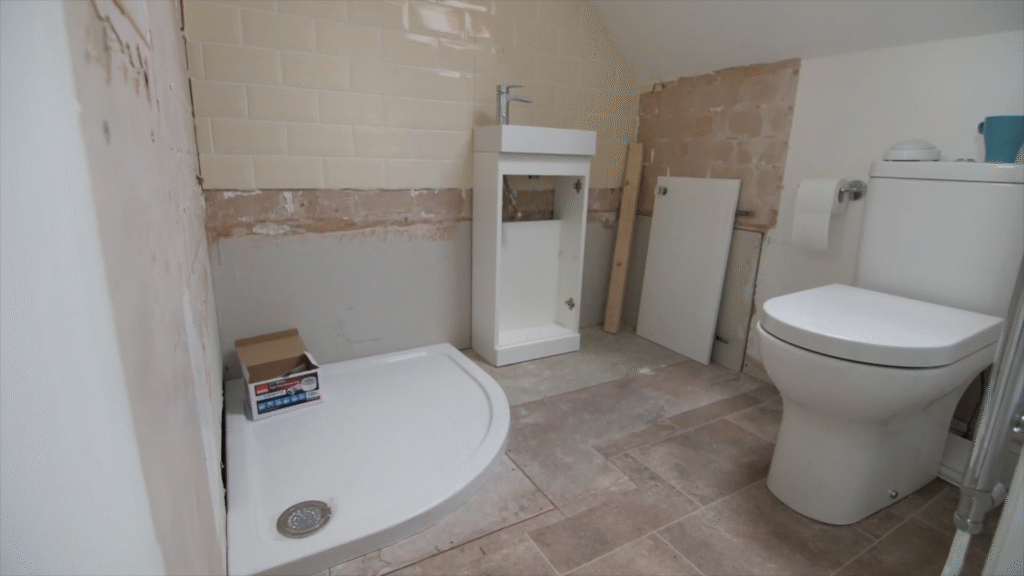
Once pipes and cables are in, it’s time to get the bones right.
- Level floors: Uneven floors mean rocking toilets and cracked tiles. Use self-leveling compound.
- Board walls: Use moisture-resistant plasterboard or cement board. Standard plasterboard will crumble with moisture.
- Waterproof wet zones: Especially around showers and baths. A tanking kit is cheap insurance.
Think of this step like applying primer before painting. Nobody sees it, but it determines how good the finish looks later.
8. Installing the Bath or Shower Base
Always fit the bath or shower tray before tiling. That way, the tiles sit over the lip, creating a watertight seal.
- Baths: Check level carefully. Even a 2mm slope can make water pool.
- Shower trays: Bed them in mortar for stability. Wobbling trays = cracked seals = leaks.
Personal story: On my first refit, I tiled before fitting the tray. Big mistake. I had to redo half the wall because the tray didn’t align properly. Learn from me—fit trays and baths first.
9. Tiling: The Make-or-Break Stage
Tiles are the face of your bathroom. Bad tiling can ruin everything.
- Plan layout before sticking anything—avoid tiny slivers of tiles in corners.
- Use spacers for consistent grout lines.
- Cut edges neatly—invest in a tile cutter.
- Use waterproof adhesive and grout in wet areas.
Stat: Around 70% of bathroom leaks come from poor tiling and sealing.
I’ll admit, tiling tested my patience more than anything. I redid one wall three times because my lines drifted. It’s slow work, but when you stand back and see perfect symmetry, it’s worth it.
10. Fitting the Toilet, Sink, and Shower
This is where your bathroom starts looking real again.
- Toilet: Use a flexible pan connector if alignment is tricky. Always seal to the floor.
- Sink: Secure the basin before connecting waste. Test for drips.
- Shower: Use quality mixer valves and test with full pressure before tiling over.
A golden rule I live by: every joint gets tested before being hidden. Run water for at least 5 minutes, then check again.
11. Lighting and Ventilation
Good lighting transforms a bathroom. Go for layered lighting:
- Ceiling downlights for general brightness.
- Mirror lights for shaving/makeup.
- Accent lighting (LED strips under vanities).
And don’t skimp on ventilation. A fan costing $150 can save thousands in mold damage.
12. Finishing Touches
These are the details that make the room feel complete:
- Heated towel rails
- Mirrors (anti-fog if possible)
- Storage units
- Silicone seals around edges
When I added a backlit mirror, it instantly made the room feel like a hotel suite. Sometimes it’s the small things that elevate the whole space.
13. Common Mistakes to Avoid
- Forgetting ventilation
- Poor waterproofing
- Not testing pipes before tiling
- Rushing tiling layout
- Choosing style over practicality (that freestanding tub looks great but eats space)
Conclusion
Refitting a bathroom is messy, stressful, and sometimes expensive—but it’s also one of the most rewarding projects you can tackle in a home. With proper planning, careful execution, and a bit of patience, you can turn an outdated, leaky box into a modern, functional sanctuary.
Every time I walk into the bathroom I refitted myself, I feel a tiny burst of pride. And that’s something money can’t buy.
FAQs on How to Refit a Bathroom
1. How long does a bathroom refit take?
On average, 2–3 weeks, depending on complexity. DIY projects can take longer if you’re learning as you go.
2. Can I refit a bathroom myself?
Yes, you can handle demolition, tiling, and painting. But plumbing and electrics should be done by professionals unless you’re fully qualified.
3. What’s the cheapest way to refit a bathroom?
Keep the same layout to avoid moving pipes, source fixtures online, and do the tiling yourself.
4. Do I need to waterproof the entire bathroom?
Not the entire room, but all wet zones (shower, bath, and sink splashbacks) should be waterproofed.
5. What adds the most value in a bathroom refit?
Modern showers, double sinks (if space allows), and quality tiling tend to boost both comfort and resale value.

