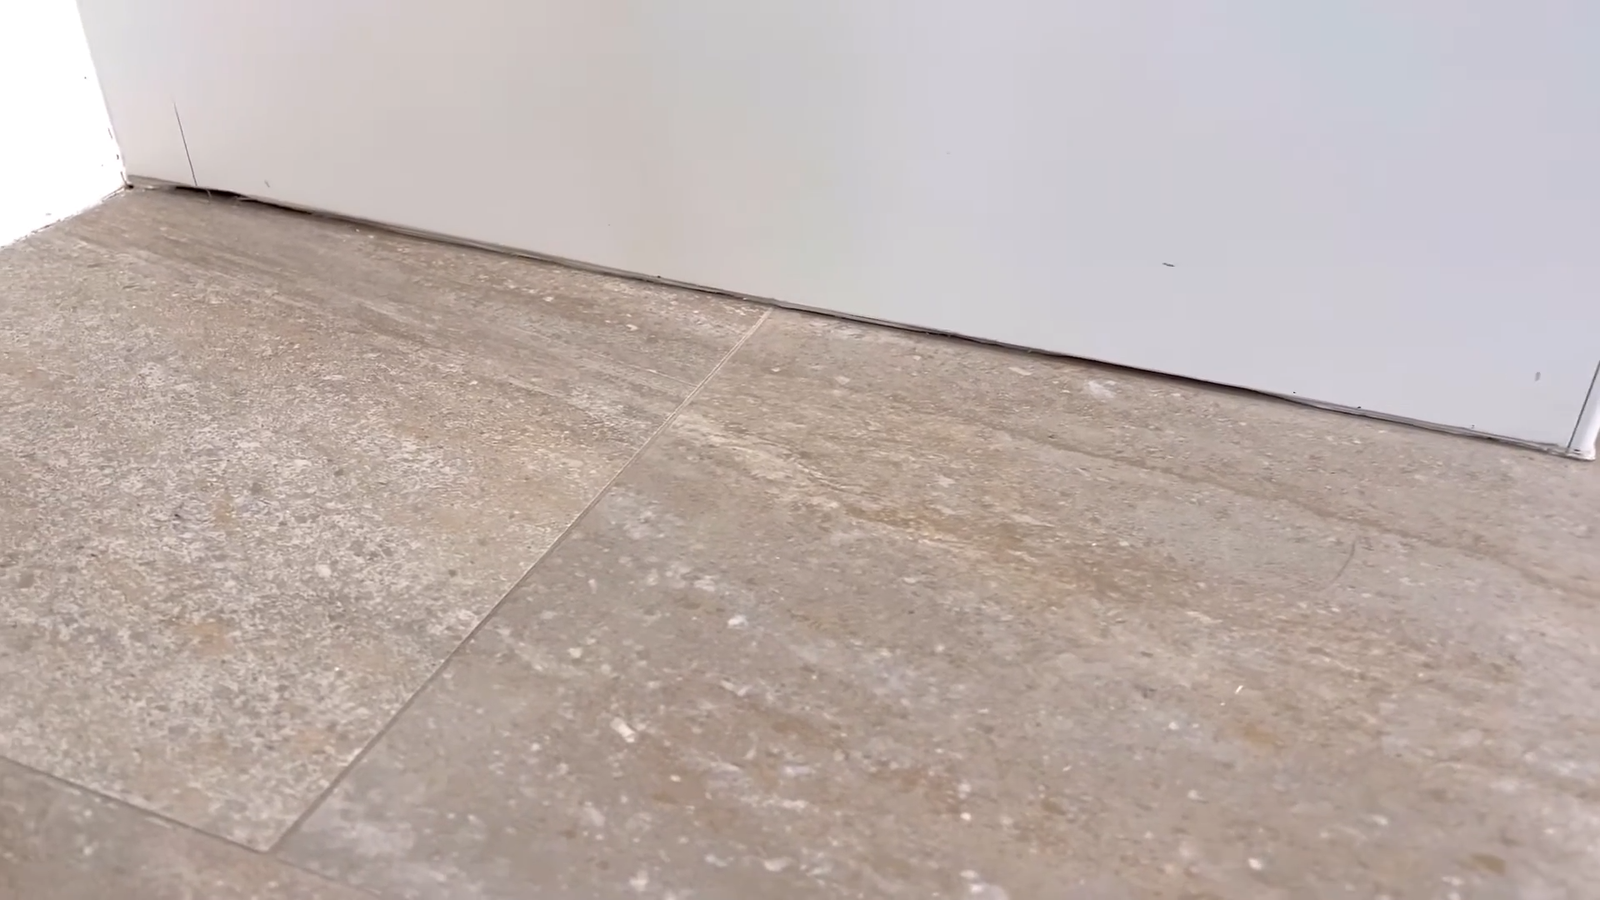
Gaps between a bath panel and the floor are one of those little annoyances that you probably notice every single time you step into the bathroom. They’re not just unsightly — they can also let in moisture, dust, and even insects if left untreated.
Fixing this gap is easier than most people think, and doing it right ensures your bathroom looks neat while preventing future issues like mold growth, water damage, or cracked flooring.
I’ve personally dealt with this a couple of times — once in my old apartment where the landlord did a quick “patch job” that came apart in weeks, and again in my own home where I learned the importance of choosing the right sealant and method.
1. Why You Shouldn’t Ignore the Gap
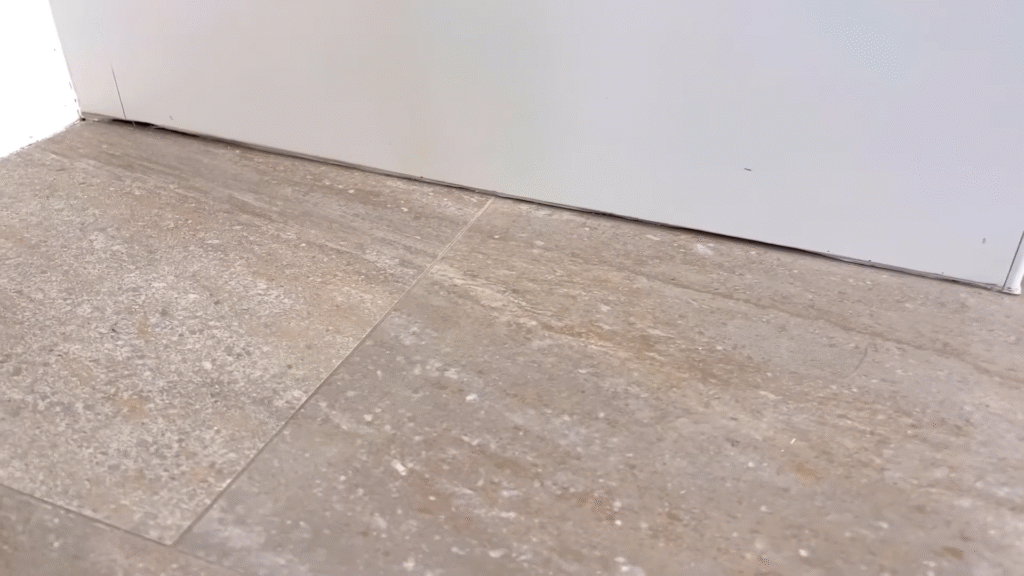
Think of that gap like a small crack in your favorite mug — it might look harmless now, but it will only get worse with time. When water splashes out of the tub and seeps into that little space, it can cause:
- Mold and mildew: A damp, dark space is like an open invitation. According to the EPA, mold can start to grow within 24–48 hours of moisture exposure.
- Damage to flooring: Wood floors can warp, laminate can bubble, and even tiles can loosen if water keeps trickling in.
- Pest problems: Tiny insects love squeezing into little cracks. It’s practically an Airbnb listing for ants and silverfish.
- Ugly appearance: Even if you’re not a perfectionist, the gap makes your bathroom look unfinished.
Trust me, once you fix it, you’ll notice how much cleaner and “put together” your bathroom feels.
2. Measure the Gap First
Before grabbing any tools, measure the width and depth of the gap. You don’t need an engineering degree — just a small tape measure or even a ruler.
- Small gaps (under 5mm): Perfect for caulk or sealant.
- Medium gaps (5mm–15mm): May require a backer rod before sealing.
- Large gaps (15mm and above): You’ll likely need trim, edging strips, or to re-fit the bath panel entirely.
When I first did mine, I underestimated the width and ended up with half the caulk sinking into the abyss. Learn from my mistake: measure carefully.
3. The Tools and Materials You’ll Need
Fixing the gap doesn’t require a full tool shed. A small kit will do:
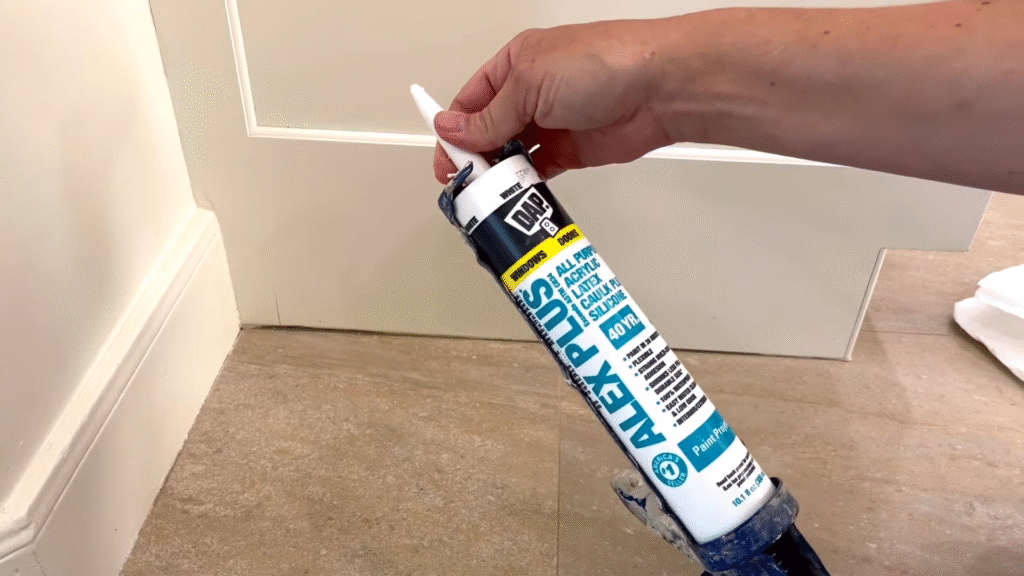
- Caulk/sealant: Use a waterproof bathroom sealant (preferably mold-resistant silicone).
- Caulk gun: Makes application smoother.
- Backer rod: A foam strip for larger gaps, helps save sealant and creates a neat finish.
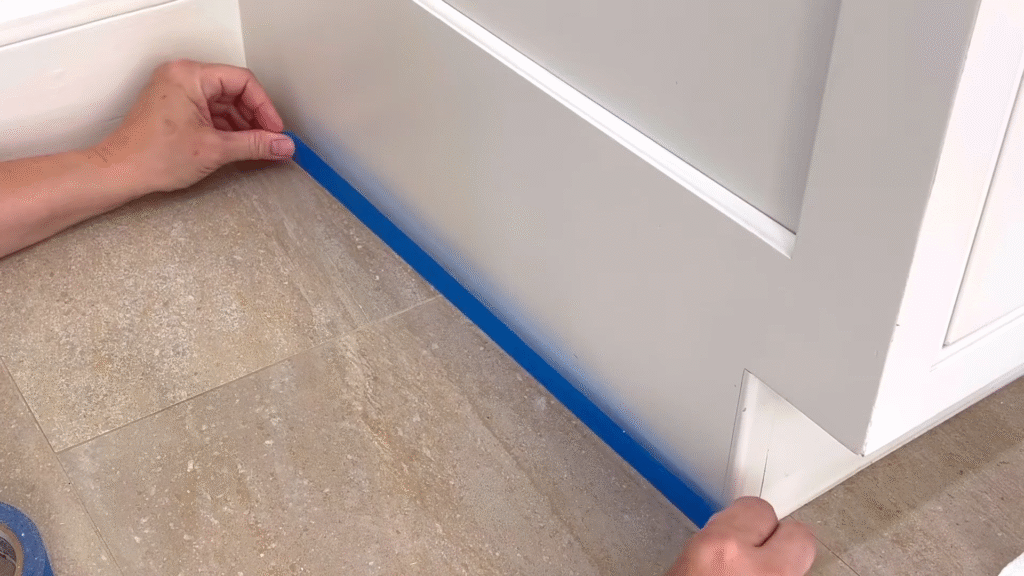
- Masking tape: For straight lines and preventing messy edges.
- Utility knife: To cut old caulk or trim the backer rod.
- Soapy water + cloth: For smoothing out the bead of caulk.
Pro tip: If you’re someone who gets nervous about caulking, masking tape is your best friend. Lay it on both sides of the gap, apply your sealant, smooth it, and peel the tape off for a perfect edge.
4. Step-by-Step Method for Small Gaps
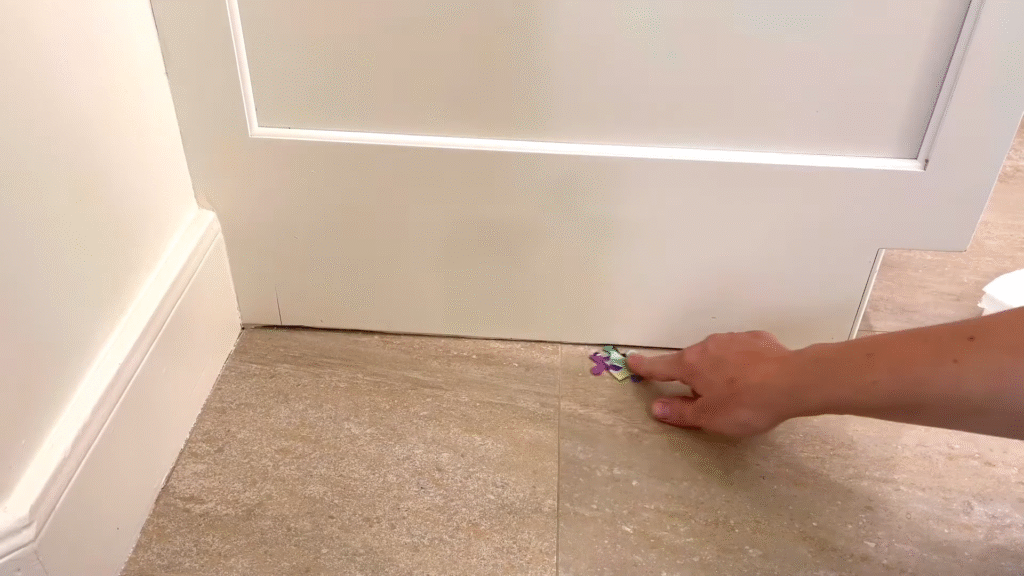
If your gap is tiny (the most common issue), here’s how to handle it:
- Clean the area: Wipe off dust, grime, or any leftover adhesive. Sealant sticks best to a clean surface.
- Dry completely: Moisture trapped underneath will prevent proper sealing.
- Apply masking tape: Run strips along the panel edge and floor edge to guide your caulking.
- Cut the sealant tube tip: Make the opening slightly smaller than the gap.
- Apply the sealant: Using steady pressure on the caulk gun, run a continuous bead along the gap.
- Smooth it out: Wet your finger or use a caulking tool dipped in soapy water, then glide over the bead.
- Remove tape immediately: Don’t wait for it to dry — peel it right away for a crisp line.
When I did this, I was shocked at how professional it looked even though I had zero experience. It’s one of those DIY jobs where a little effort pays off big.
5. Medium Gaps: Using a Backer Rod
For medium-sized gaps, sealant alone won’t cut it. That’s where a backer rod comes in.
- Cut the rod slightly longer than the gap length.
- Gently push it into the space until it’s snug but not squashed.
- Apply caulk over it the same way as before.
The backer rod acts like a filler sponge, preventing the caulk from sinking in and wasting half a tube. Plus, it helps keep the finish neat and durable.
6. Large Gaps: When Sealant Isn’t Enough
If your gap looks more like a canyon than a crack, it’s time to get creative. Options include:
- Trim strips: PVC or wooden trims designed for bathrooms can cover large spaces.
- Flexible bath seals: These adhesive strips are bendable and waterproof, making them great for irregular gaps.
- Re-fitting the panel: Sometimes the bath panel isn’t aligned properly. Adjusting or replacing it may be the smartest fix.
In my case, an older tub had warped panels that no sealant could hide. A trim strip solved it beautifully — and no one could tell it was a cover-up job.
7. Choosing the Right Sealant
Not all caulks are created equal. Here’s what you need to look for:
- Silicone-based: Best for bathrooms since they’re flexible and waterproof.
- Mold-resistant: Especially important for damp spaces.
- Clear vs. white: White looks clean and matches most panels, but clear works well if your flooring or bath panel has patterns.
According to market surveys, over 70% of bathroom sealant failures happen because homeowners used the wrong product — usually general-purpose caulk instead of a dedicated bathroom sealant.
8. How Long Does It Last?
A well-sealed gap can last 5–10 years depending on bathroom use and cleaning habits. Heavy scrubbing with abrasive cleaners can shorten its lifespan, while gentle cleaning extends it.
I sealed mine about four years ago and it still looks fresh — but I’m careful not to attack it with harsh bleach. Instead, I use a mild bathroom cleaner and a soft sponge.
9. Mistakes to Avoid
Let me share a few “rookie mistakes” I made the first time:
- Applying sealant to a wet gap: It never sticks properly.
- Using too much caulk: It creates a messy, uneven line.
- Skipping masking tape: Unless you’re a pro, your bead won’t look neat.
- Not smoothing the bead: Leaving it as-is makes it look like a child decorated the bathroom.
Avoid these, and you’ll feel like a DIY genius when you’re done.
10. Maintenance Tips After Sealing
Once the gap is filled, keep it looking fresh:
- Check annually: Look for cracks, mold, or peeling.
- Re-seal if needed: Don’t wait for water damage to happen first.
- Clean gently: Use mild bathroom sprays, not abrasive scrubs.
I set a reminder every spring to inspect all seals in the bathroom. It takes 5 minutes and saves hundreds in repairs down the road.
Conclusion
Fixing the gap between a bath panel and the floor isn’t just about looks — it’s about protecting your bathroom from hidden damage. Whether you’re dealing with a hairline crack or a gaping space, the right approach makes the repair simple and long-lasting. With the right sealant, a backer rod for medium gaps, or trim strips for larger ones, you can handle it in less than an afternoon.
Once you do it, you’ll wonder why you waited so long — and every time you walk into your bathroom, you’ll enjoy the satisfaction of a job well done.
FAQs
1. Can I use regular caulk to fill the gap?
No, always use a bathroom-grade silicone sealant. Regular caulk isn’t waterproof enough and will fail quickly.
2. How do I know if I need a backer rod?
If the gap is wider than 5mm but less than 15mm, use a backer rod before applying sealant. It saves material and gives a better finish.
3. What if the bath panel itself is loose?
In that case, re-fit or replace the panel first. Sealing over a loose panel won’t last.
4. How long does it take for sealant to dry?
Most bathroom silicone sealants take 24 hours to fully cure. Avoid using the tub until it’s dry.
5. Can I paint over the sealant to match my flooring?
No, silicone sealant doesn’t take paint well. Instead, choose a sealant color (clear, white, or gray) that blends with your floor and bath panel.

