When it comes to bathrooms, kitchens, or any spot that demands waterproof sealing, silicone sealant is the go-to hero. But what if you already have silicone in place and it starts looking rough, moldy, or peeling?
Can you just slap a new layer of silicone over the old one and call it a day? Short answer: you can, but you probably shouldn’t—at least not without knowing what you’re doing.
1. Why People Want to Silicone Over Silicone
I get it. Removing old silicone is tedious. It clings to surfaces like an ex who doesn’t get the hint. You scrape, pull, peel, and it still leaves behind sticky remnants. That’s why the thought of simply applying new silicone over old silicone feels like a life hack.
People usually consider this option for three main reasons:
- Time-saving: No one wants to spend hours scraping when the sink is leaking.
- Convenience: If you don’t have the tools, removing silicone is a pain.
- Cosmetic cover-up: Old silicone looks discolored, but functionally it might still be okay.
Here’s the problem: silicone doesn’t stick well to silicone. Unlike other sealants, silicone has a slick surface that resists bonding. That means your new bead might look good for a week, but it will likely peel or lift when exposed to water, soap, or movement.
2. The Science of Why Silicone Doesn’t Stick to Silicone
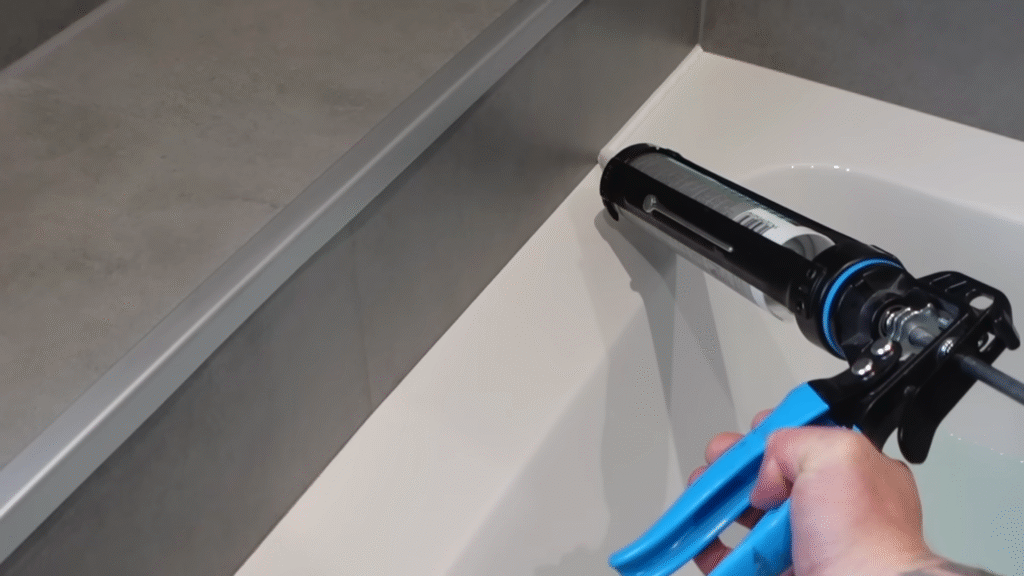
Let’s geek out for a second, because knowing the why will make this much easier to understand.
Silicone sealants are made of polysiloxane polymers, which create a flexible, rubber-like layer when cured. Once it’s cured, it becomes non-porous and chemically resistant. This is amazing for waterproofing, but terrible if you want something else to stick to it—including more silicone.
Here’s a simple analogy: imagine trying to tape a sticker onto a greasy frying pan. It won’t grip because the surface has nothing for the adhesive to grab onto. That’s exactly what happens when you try to apply fresh silicone on old silicone.
In fact, according to Dow Corning (a leading silicone manufacturer), adhesion failure is the most common cause of silicone re-sealing problems, and 8 out of 10 times, it happens because the old silicone wasn’t removed.
3. Situations Where You Can Silicone Over Silicone
Okay, so does that mean you should never do it? Not necessarily. There are certain situations where going over old silicone is acceptable:
- Temporary fixes – If your shower is leaking and guests are arriving tomorrow, laying a thin bead over the old one can buy you time.
- When the old silicone is intact – If it’s still firmly in place, not peeling, and mold-free, you can sometimes add a fresh layer for cosmetic improvement.
- If you roughen the old surface – Lightly sanding or scoring the old bead gives the new silicone something to grip.
But keep this in mind: this is like putting a fresh coat of paint over peeling walls. It might look better for a while, but it won’t last.
4. When You Should Never Silicone Over Silicone
There are cases where this shortcut will absolutely backfire:
- If the old silicone is moldy: Mold doesn’t stop growing just because you cover it. The spores will eventually eat through the new layer.
- If the old bead is peeling or cracked: New silicone won’t magically glue it back in place.
- In high-moisture areas (showers, tubs): The constant exposure to water will weaken any weak bond.
- Where structural sealing matters (windows, outdoor joints): Here, leaks can cause wood rot, rust, or insulation damage.
Think of it like patching a hole in your tire with duct tape—it may roll down the driveway, but you wouldn’t want to take it on the highway.
5. How to Properly Remove Old Silicone
If you’re serious about a lasting repair, removing old silicone is the only way to go. And while it’s not fun, it’s absolutely doable if you know the tricks.
Here’s a step-by-step guide that’s saved me many headaches:
- Cut away the bulk: Use a utility knife or razor scraper to slice along the edges of the bead.
- Peel off the strips: Grab a corner and pull. Sometimes, if you’re lucky, it comes off in one glorious satisfying strip.
- Remove residue: Silicone leaves behind a thin film. This is where people usually give up. But it’s the most important step.
- Use a silicone remover (brands like Goo Gone or WD-40 Specialist).
- Alternatively, rubbing alcohol or white vinegar can help.
- Scrub the surface: Use a nylon scrub pad or old toothbrush to clear the film.
- Dry completely: Water is the enemy of adhesion. Make sure the surface is bone-dry before applying new silicone.
Here’s a personal tip: I once tried skipping the residue removal because I was in a rush. Guess what? My brand-new seal peeled within two showers. Lesson learned—the prep is everything.
6. Tricks for Applying New Silicone Perfectly
Once the surface is clean, you want to make sure your new bead looks professional and lasts. Here’s how:
- Use painter’s tape: Mask both sides of the joint to keep lines crisp.
- Cut the nozzle at an angle: About 45 degrees, so you can push the bead into the joint.
- Apply in one smooth motion: Don’t stop and start, or you’ll get bumps.
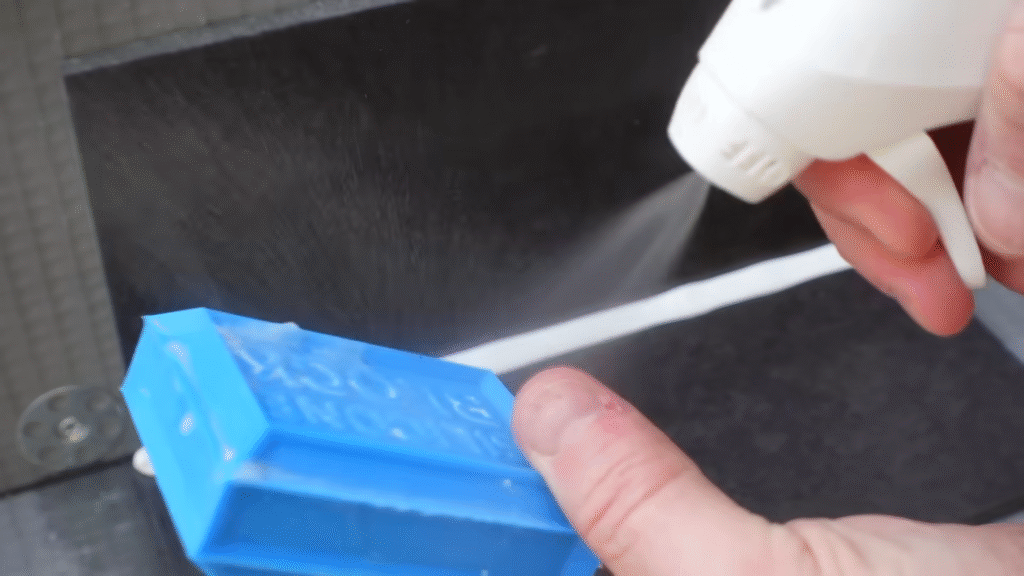
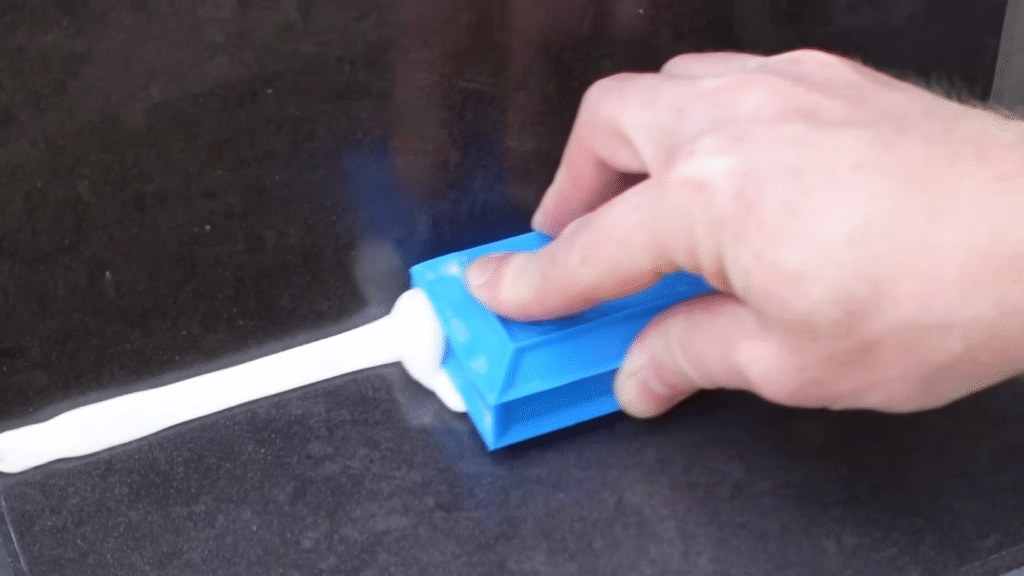
- Tool the bead: Wet your finger with soapy water and run it along the bead to smooth it out.
- Let it cure: Don’t touch it for at least 24 hours (or longer, depending on the product).
Fun fact: According to a Home Innovation Research Lab study, improper application reduces silicone’s lifespan by 40%, even if the product itself is high quality.
7. Alternatives to Silicone
What if you absolutely hate the idea of scraping silicone every few years? You’re not alone. Luckily, there are alternatives.
- Acrylic caulk: Easier to remove, paintable, but less flexible and not as waterproof.
- Polyurethane sealant: Extremely strong adhesion, but messier to apply.
- Hybrid polymer sealants: Newer products (like MS polymer) combine flexibility and adhesion.
While silicone remains the king in wet areas, sometimes mixing up your products depending on the surface can save you maintenance later.
8. The Cost of Doing It Wrong
Let’s talk numbers, because home repairs are as much about budgets as they are about time.
- Average cost of a silicone tube: $5–$10.
- Cost of damage from a leak under a tub: Easily $500–$2,000 for water damage repair.
- Mold remediation in a bathroom: $1,000–$5,000, depending on spread.
So, saving 30 minutes by skipping removal might seem smart in the moment, but long-term it’s like gambling with your wallet.
9. My Personal Experience
A few years ago, I thought I was clever by running a bead of silicone over old, slightly yellowed caulk in my kitchen sink. It looked perfect—shiny, white, smooth. For about two weeks. Then water seeped underneath, lifting the new silicone like a bad sticker job. The mold that grew underneath? Let’s just say it turned into a science experiment I wish I hadn’t hosted.
Since then, I’ve learned the hard truth: shortcuts with silicone almost always come back to haunt you.
10. Best Practices You Should Follow
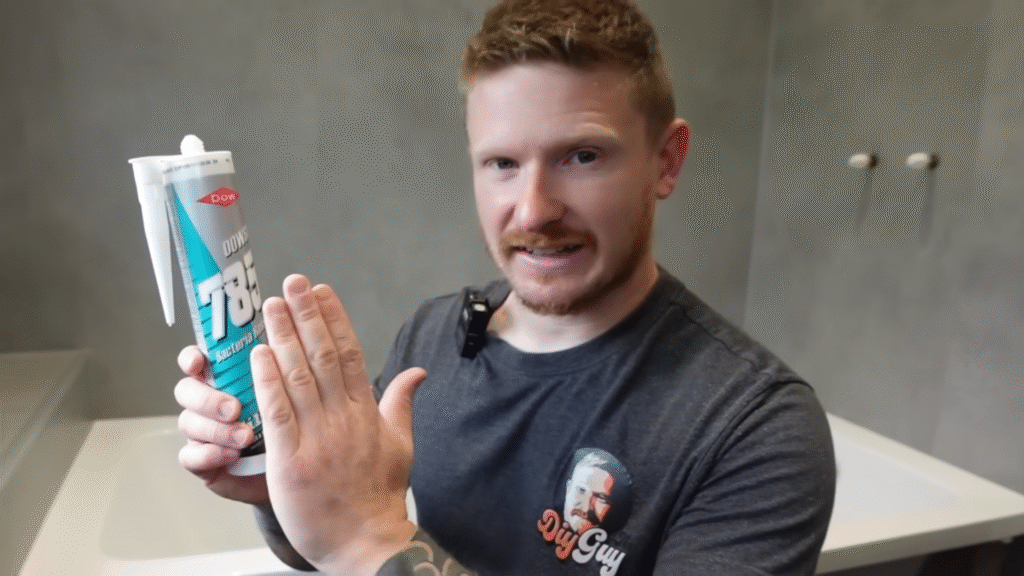
To wrap up the essentials, here’s your cheat sheet for silicone success:
- Remove old silicone completely whenever possible.
- Only silicone over silicone if it’s intact and clean (and you’re okay with a short-term fix).
- Never seal over mold or cracked silicone.
- Prep the surface meticulously—it’s 70% of the job.
- Invest in quality silicone—it can last 10–20 years when applied correctly.
Conclusion
So, can you silicone over silicone? Yes, technically—but it’s like putting new wallpaper over crumbling drywall. It might look okay short-term, but it’s not a reliable fix. For lasting, mold-free, watertight results, removing the old silicone is the way to go.
Sure, it takes more elbow grease, but trust me: your future self will thank you when your bathroom stays fresh and leak-free for years instead of weeks.
FAQs
1. Can you silicone over silicone without removing it?
Yes, but it’s not recommended. Silicone doesn’t bond well to itself, so the new layer may peel or fail quickly.
2. How do you remove old silicone easily?
Use a utility knife to cut away the bulk, then apply a silicone remover or rubbing alcohol to clear residue before scrubbing clean.
3. What happens if you put silicone over moldy silicone?
The mold will keep growing underneath, eventually breaking through the new layer and creating an unhealthy environment.
4. How long should silicone last?
High-quality silicone applied correctly can last 10–20 years, but in high-moisture areas, it often needs replacement after 5–10 years.
5. Is there a sealant better than silicone?
For wet areas, silicone is usually best, but hybrid polymer sealants or polyurethane sealants can offer stronger adhesion in certain applications.
