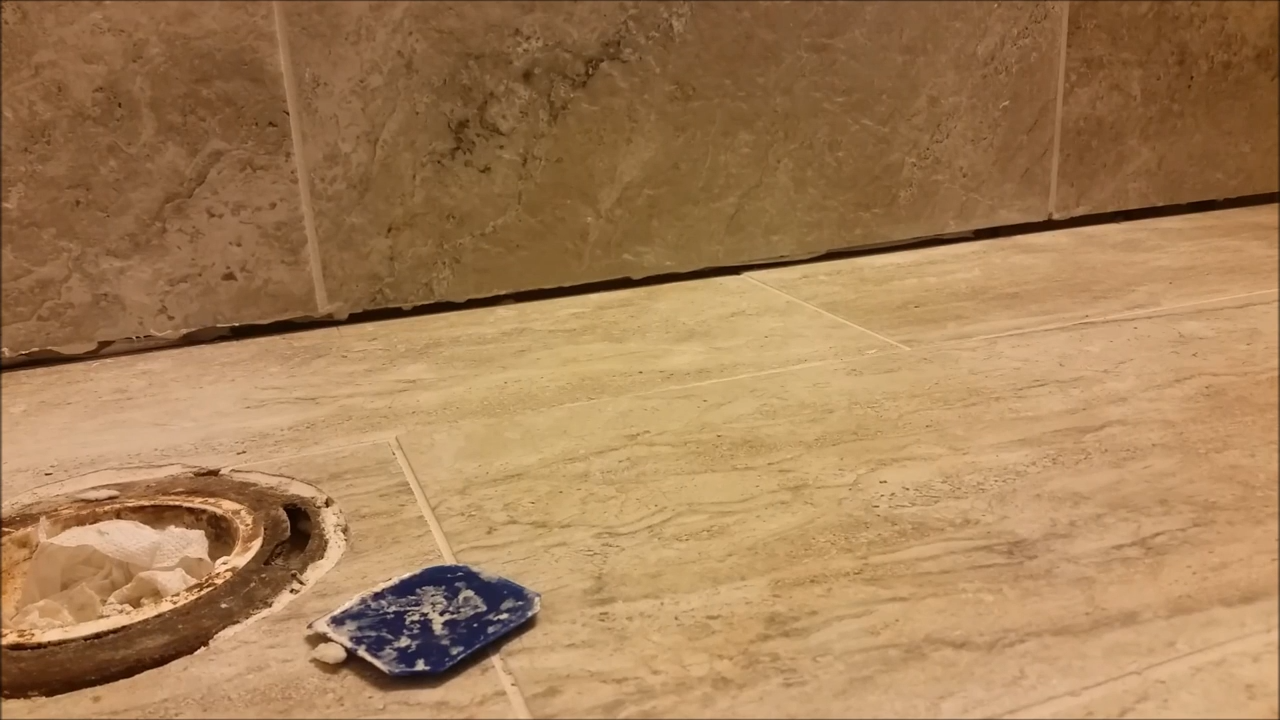
Let’s be honest—bathroom gaps are sneaky little troublemakers. They might look harmless at first, but leave them alone, and suddenly you’ve got water seeping under tiles, mold peeking out from corners, and even tiny insects making your bathroom their Airbnb.
Sealing bathroom gaps isn’t just about keeping things looking neat—it’s about protecting your home from water damage, mold growth, and unnecessary repair costs.
1. Why Bathroom Gaps Are a Bigger Problem Than You Think
Here’s the thing: water is sneaky. Even the tiniest bathroom gap can let moisture in, and once it slips through, you’ve got trouble. Studies show that bathroom moisture is one of the top causes of mold growth in homes, with the Environmental Protection Agency (EPA) estimating that 50% of U.S. homes have some form of preventable dampness issue.
Think of gaps like open invitations. Not sealing them means you’re basically saying:
- “Come on in, mold spores, the party’s in the corner of my shower.”
- “Hey, water, feel free to rot my wooden subfloor.”
- “Bugs, here’s a free tunnel straight into my bathroom.”
The cost of not sealing is often far higher than the few minutes it takes to fix it. According to HomeAdvisor, water damage repairs can cost $1,200–$5,000 on average, while a tube of high-quality bathroom caulk costs less than $10.
2. The Common Gaps You’ll Find in a Bathroom
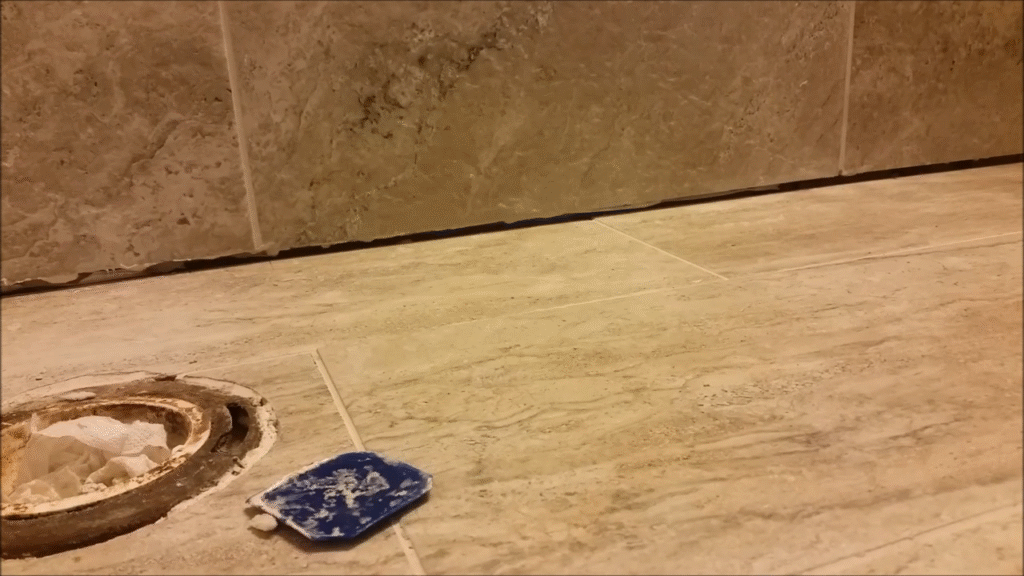
When I first started sealing bathroom gaps, I made the mistake of assuming it was just about the bathtub. Wrong. Bathrooms are full of sneaky cracks that love to hide. Here are the most common ones you should be aware of:
- Bathtub to wall gaps – That line where your tub meets the tile is usually the first trouble spot.
- Sink to countertop gaps – Soap, water, and toothpaste crumbs love this one.
- Toilet base gaps – Not sealing here invites moisture, and yes, even bugs.
- Shower corner gaps – These spots see heavy water exposure.
- Floor to wall baseboard gaps – Tiny but mighty at letting water through.
If you take a flashlight and carefully inspect your bathroom, you’ll probably find at least one gap you never noticed before. And once you see it, you won’t unsee it—trust me.
3. Choosing the Right Sealant
This is where most people go wrong. They grab whatever caulk is sitting in their garage and slap it on. Big mistake. Bathrooms need specialized sealants that are resistant to water, mold, and mildew.
Here’s what you should look for:
- Silicone caulk – Best for bathtubs, showers, and sinks. It’s flexible, waterproof, and resists mold. Downside: a bit trickier to apply.
- Acrylic latex caulk with silicone – Easier to work with, paintable, and decent water resistance. Works well for less exposed areas.
- Polyurethane sealant – Super tough, but not always necessary for small bathroom jobs.
Pro tip: Always buy “bath and kitchen” labeled caulk, because those are specifically formulated to fight constant moisture and mildew. I once used regular painter’s caulk on my shower corner (rookie mistake) and within two months, the black mold spots were back mocking me. Lesson learned.
4. Tools You’ll Need to Seal Bathroom Gaps
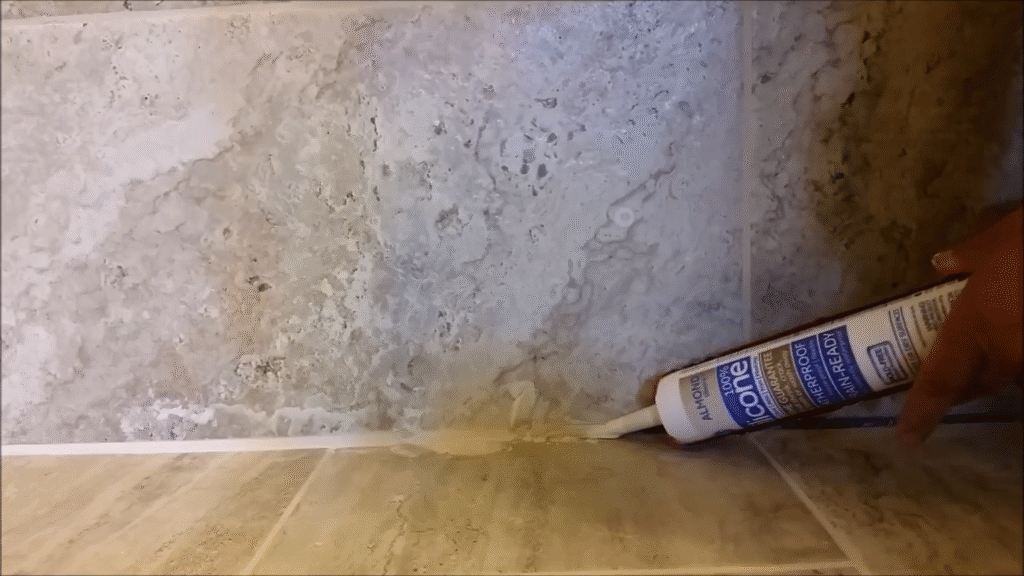
Sealing a gap might sound like a job requiring an entire toolbox, but it’s really just a handful of essentials:
- Caulk gun (for caulk tubes) or squeeze tube if you prefer simpler handling
- Painter’s tape (for clean, straight lines)
- Utility knife or scraper (to remove old caulk)
- Rubbing alcohol or vinegar (to clean the surface before sealing)
- Paper towels or rags
- Gloves (optional, but silicone sticks like crazy to skin)
You don’t need to overcomplicate it. Think of this as baking a cake—you only need a few ingredients, but the way you use them makes all the difference.
5. Step-by-Step Guide: How to Seal Bathroom Gaps
Now let’s get into the fun part. Here’s the exact process I use whenever I need to seal a bathroom gap.
Step 1: Remove Old Caulk
If there’s old or damaged caulk, scrape it off completely with a utility knife or scraper. Don’t be lazy here—new caulk won’t stick properly to old residue.
Step 2: Clean the Surface
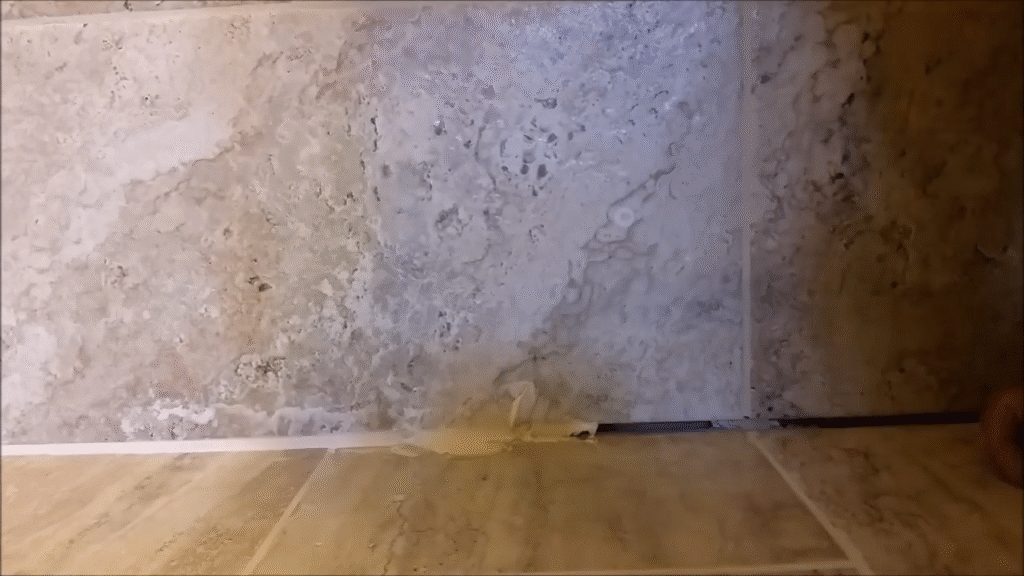
Wipe the area with rubbing alcohol or vinegar. The surface must be completely dry and grease-free. If it’s wet, the caulk won’t adhere.
Step 3: Tape the Edges
Apply painter’s tape along both sides of the gap. This gives you professional-looking straight lines. Trust me, freehanding it usually ends up looking like spaghetti sauce smeared on the wall.
Step 4: Cut the Caulk Tube Tip
Cut the tip at a 45-degree angle and make sure the opening size matches the gap width. Too big, and you’ll flood the crack. Too small, and you’ll have to go over it multiple times.
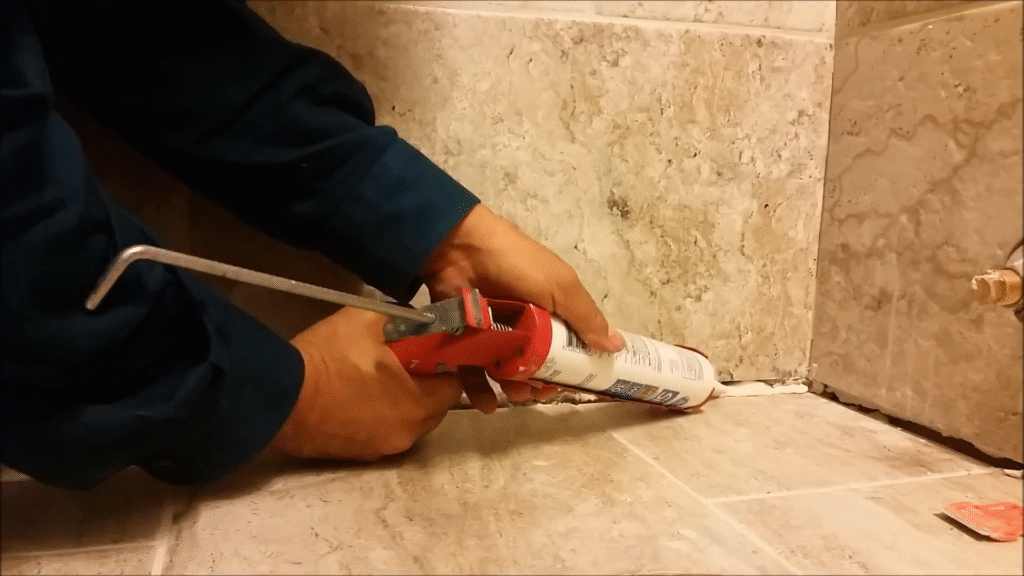
Step 5: Apply the Caulk
Slowly run the caulk gun or tube along the gap, applying steady pressure. Don’t rush—smooth consistency is key.
Step 6: Smooth It Out
Dip your finger in water (or soapy water) and gently run it along the line to smooth it. This also presses it into the gap. Pro tip: keep a damp rag nearby to wipe excess quickly.
Step 7: Let It Cure
Most bathroom caulks need 24 hours to fully cure before getting wet. Some fast-dry versions allow showering after 6–8 hours, but always check the packaging.
6. Mistakes to Avoid When Sealing Gaps
I’ve made these mistakes so you don’t have to:
- Applying caulk on wet surfaces – It won’t stick properly.
- Using the wrong caulk – Regular caulk will mold quickly.
- Skipping tape – Leads to messy, uneven lines.
- Not removing old caulk fully – Causes poor adhesion.
- Over-applying caulk – Thick blobs don’t dry evenly and look sloppy.
It’s better to apply a thin, even bead than to drown the gap in sealant.
7. How Long Does Bathroom Caulk Last?
Here’s a truth most people don’t realize: bathroom caulk doesn’t last forever. On average, good-quality bathroom caulk lasts 5 years before it starts cracking, peeling, or growing mold. In high-moisture bathrooms (like small windowless ones), it may need replacing in 2–3 years.
Signs it’s time to re-caulk:
- Black mold spots you can’t clean off
- Caulk pulling away from the wall
- Cracks or holes in the sealant
- Musty smell around the bathtub or toilet base
Think of caulk like the tires on your car—it needs regular replacement to keep everything safe and functional.
8. Costs and Time Involved
You don’t need to hire a contractor for this unless it’s a massive job. The cost breakdown is simple:
- Caulk tube: $5–$10
- Caulk gun: $10–$20 (reusable)
- Painter’s tape and cleaning supplies: $5–$8
Total cost: usually under $20–$30 for a complete bathroom reseal.
Time: 30–60 minutes depending on how many gaps you’re sealing.
When you compare this to thousands of dollars in potential water damage repairs, sealing gaps is one of the best home maintenance hacks out there.
9. Keeping Bathroom Gaps Sealed Longer
Sealing is one thing—maintenance is another. Here’s how to make your seal last longer:
- Ventilate your bathroom – Always use an exhaust fan to reduce moisture.
- Wipe down wet areas – Especially around the tub and sink after use.
- Avoid harsh cleaners on caulk – They can break it down faster.
- Inspect regularly – Check every few months for cracks or peeling.
A little upkeep means your caulk can easily last its full lifespan without constant re-doing.
Conclusion
Sealing bathroom gaps isn’t glamorous, but it’s one of those small wins that save you from huge headaches later. With the right sealant, a steady hand, and a little patience, you can block water, mold, and bugs from sneaking into places they don’t belong.
I always say: a sealed bathroom is a happy bathroom. The hour you spend caulking today is basically a future “thank you” note to yourself—one that saves your wallet, your health, and your bathroom’s looks.
FAQs
1. How do you seal bathroom gaps without making a mess?
Use painter’s tape on both sides of the gap, apply caulk slowly, and smooth it with a damp finger. Remove the tape before the caulk dries for clean lines.
2. What’s the best caulk for bathrooms?
100% silicone caulk is the best for tubs, showers, and sinks since it’s waterproof and mold-resistant. For areas you plan to paint, use acrylic latex caulk with silicone.
3. How long should bathroom caulk dry before using water?
Most caulks require 24 hours to cure fully. Fast-dry versions may be ready in 6–8 hours, but always check the product label.
4. Can I caulk over old caulk?
It’s not recommended. Old caulk prevents proper adhesion, and new caulk will peel quickly. Always remove old caulk before applying new.
5. How often should I re-caulk my bathroom?
On average, every 3–5 years. High-moisture bathrooms may need it sooner if you see cracks, peeling, or mold growth.

